
Playing Cards Storage Box
The Secret to an Amazing Maple Finish
Years ago, I was asked by a teacher to come up with a wood box to hold cards he uses in his lessons. Since the project was small, I could use the best looking wood I available to me. That project was way before I started YouTube so I’ve recreated the project to show the full build and also included a crazy finishing process! You will absolutely want to try this technique the next time you use maple or any other light, figured wood.
The box itself is a great little project! It’s fun to make on its own, but can also be a great gift - especially if you have the ability to personalize items. The wood box holds a standard size deck of playing cards (in my case traditional Bicycle brand cards) which can be found in just about any large retailer. The card deck box uses beautifully figured wood on the exterior, an interior wood liner, and a removable lid with magnets. This project has a bit of extra enjoyment for me personally because the wood came from a tree I cut with my Alaskan chainsaw mill. I’m always happy to use wood I’ve sourced myself, but it would have looked fantastic with just about any wood finish I had there in the shop. But, even so, I decided to up the wow factor even more with that unique finishing process to really enhance that beautiful wood figure!

Playing Cards Storage Box
Make your own version of this project by using my digital plans. They take you step by step through the entire process!
Get Out the Dye
To get the best out of the figured maple, grab some dye. I like to use a water-based dye stain. It’s easy to apply and dries fast. Start by sanding your project thoroughly with 120, 180, and 220 grit sandpaper. Remove all the saw dust from the project and get out the following:
Rag, paper towel, or brush
Water
A small cup

Dilute the dye with water until it’s the intensity that you desire. Dye colors are pretty strong, even the medium brown dye stain I used. Mixing the dye with water results in a lighter color. I always recommend testing your mixture on a sample board to ensure it’s the color you want. I’ve used water:dye ratios ranging from 3:1 to 6:1 depending on the workpiece. In terms of dyes, I like a lighter brown color, but yellows, oranges, and yellows work great. I’ve even used green!

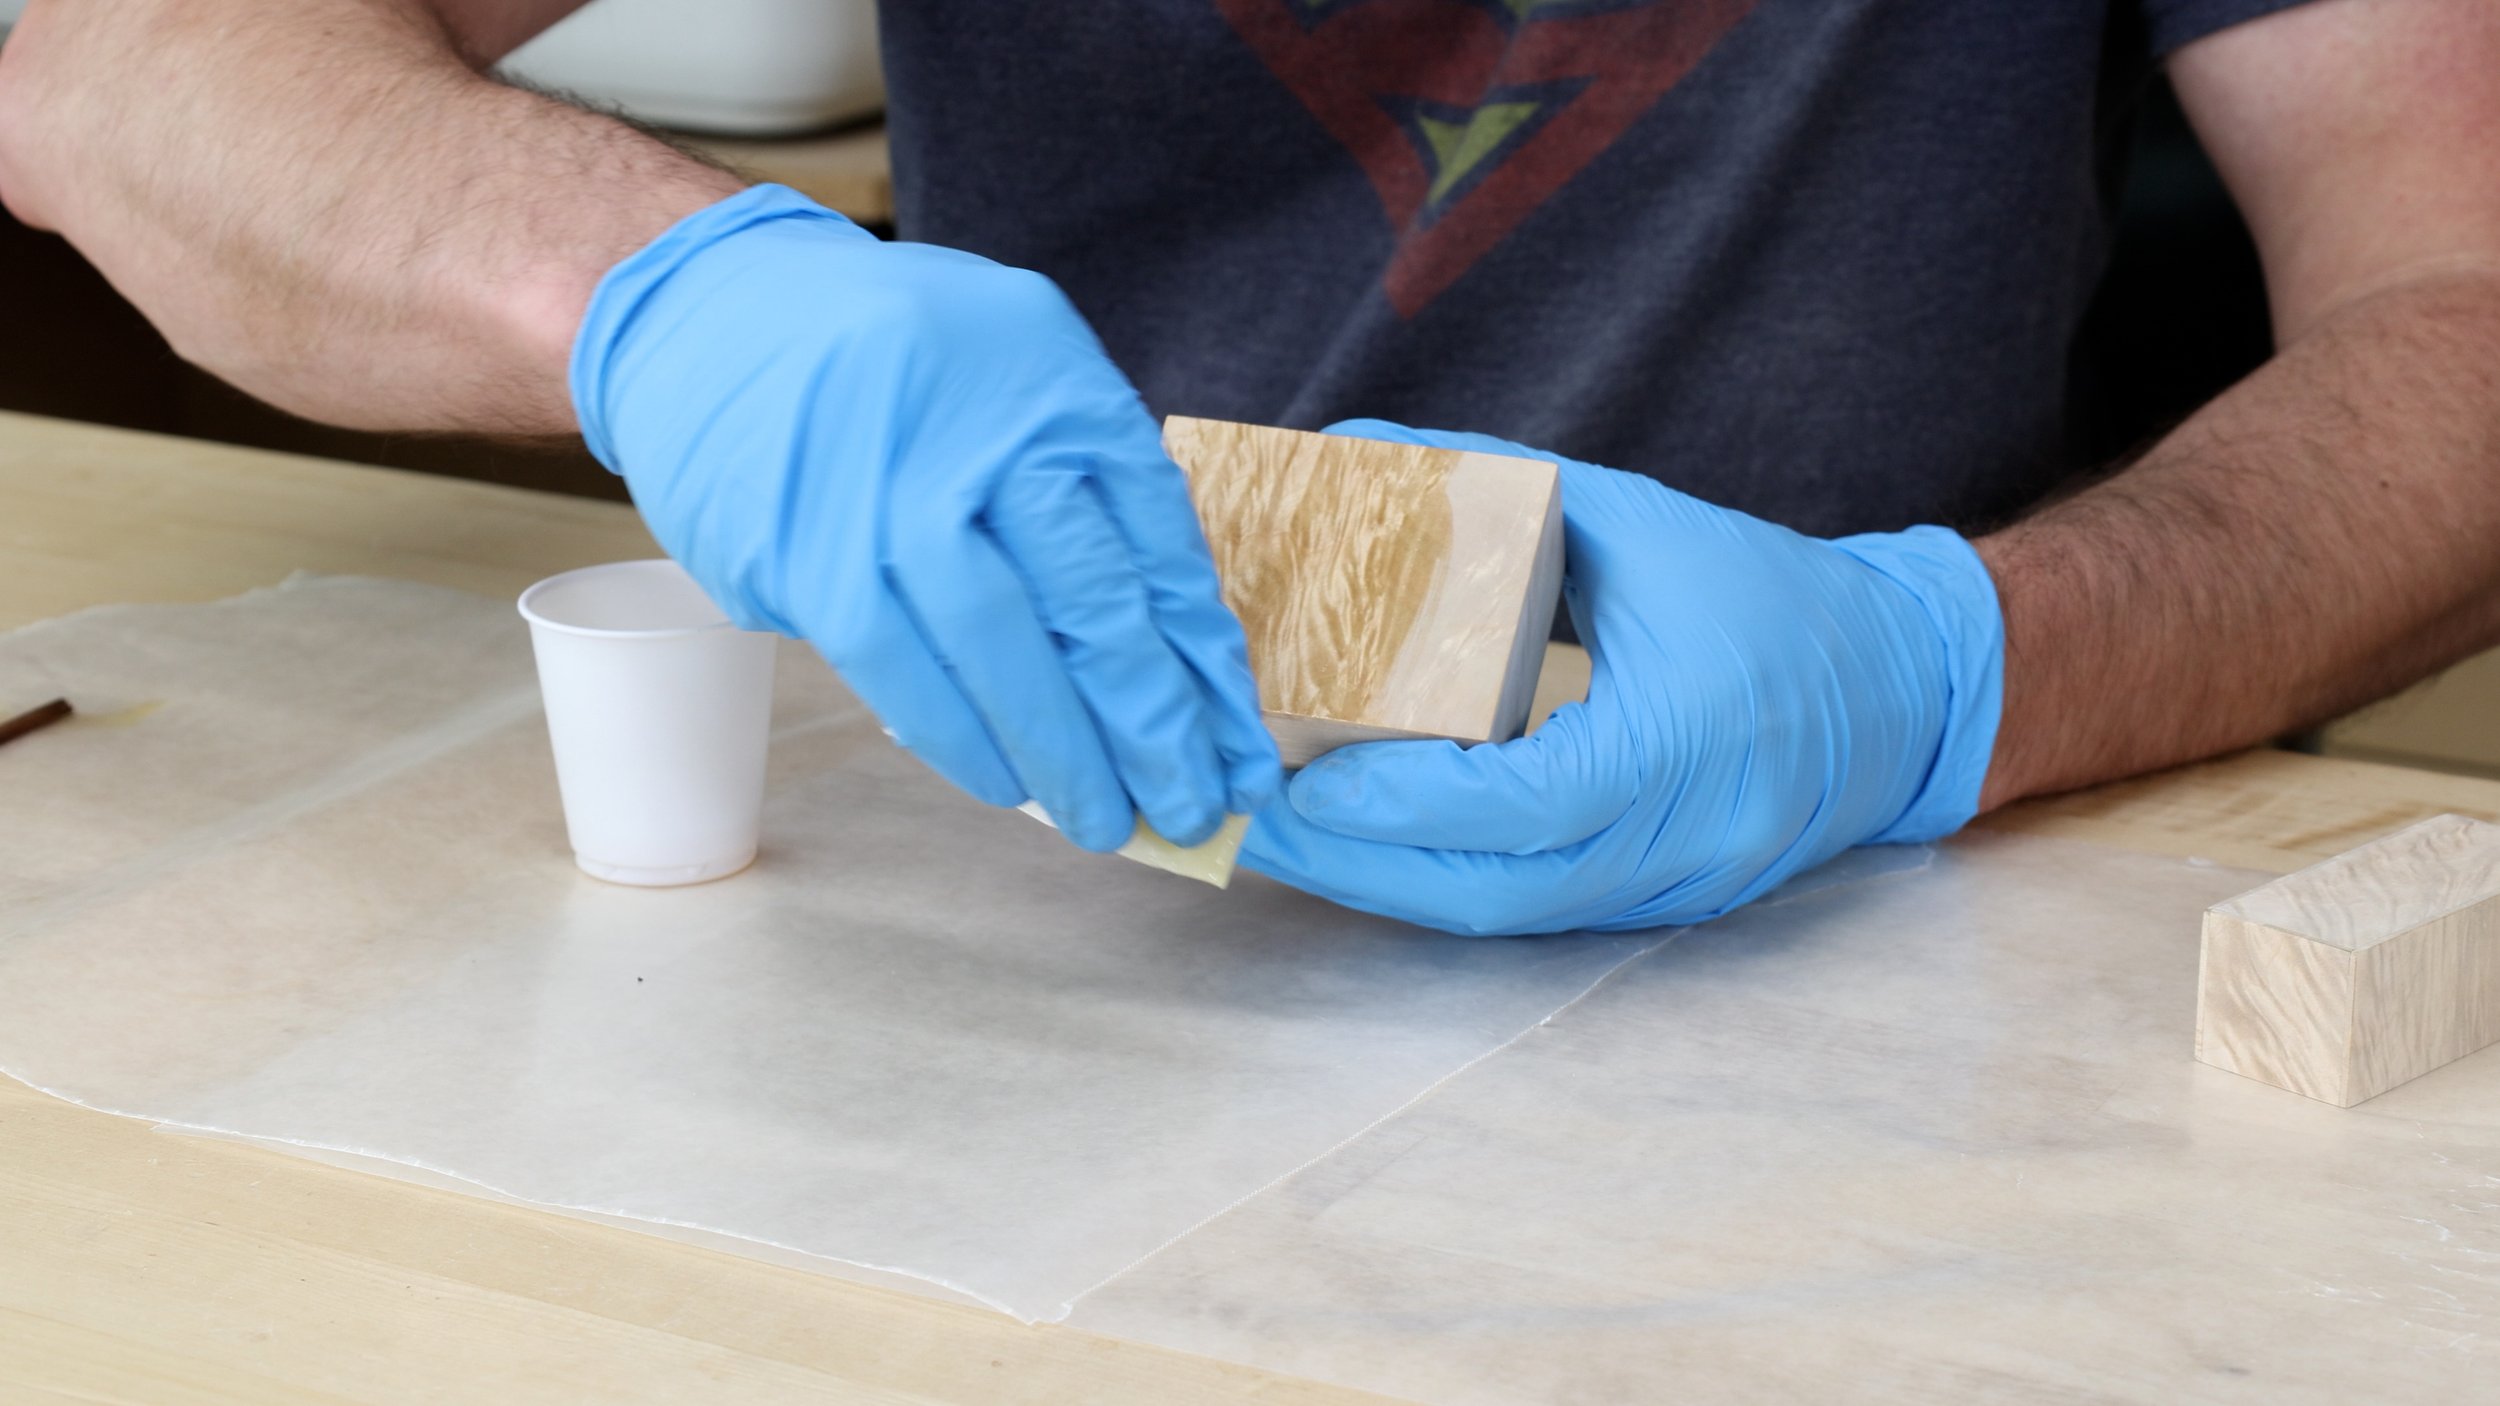
Mix the dye and water in a cup and apply it to the project with a rag or brush. Since it’s water-based, the dye will dry quickly. After a few minutes, check that the surface is completely dry. Then sand it all away, using 220 grit sandpaper. Yep, all of the dye! It might seem a bit counterproductive, but I promise it will be worth it. Sand the workpiece until all the dye is removed from the surface. What we refer to as figured wood is simply the grain growing in different directions. When you apply the dye, it will soak deeper into certain parts of the grain more than in other areas. Sanding all the stain off of the surface will still leave the color that soaked into the wood’s figure.
Apply Finish
Once you’ve sanded everything with 220 grit sandpaper, apply your finish of choice. Every finish I’ve tried with this dying method has worked well. Shellac looks great. Lacquer is always a nice finish too. I prefer a wiping varnish. You can buy fantastic wipe-on varnish finishes such as Arm-R-Seal. Otherwise, you create your own version by mixing polyurethan with mineral spirits using a 3:1 ratio.
*If you really want to up your game, try a ploy, mineral spirits, tung oil mixture in a 1:1:1 ratio. Just know, that oil will darken light woods and it may not give you the look you want. It’s a terrific finish, even if you decide it’s not perfect for light woods.
Apply as many coats of varnish as you want. I typically apply 3-4. I highly recommend giving this finishing technique a try. I think once you use this method, you’ll never want to go back to the pre-dye finishing days.

Get extra perks and help to support this channel by joining the Superhero Community: https://www.patreon.com/newtonmakes
•• About NewtonMakes••
I’m Billy and I make fun things. Sometimes, it’s something I need like tool storage ideas. Other times it’s silly or nerdy stuff that I want to build. If you want to get ideas for making stuff, or just want to watch something entertaining then make sure you subscribe. https://www.youtube.com/newtonmakes
•• My Links ••
Website: https://newtonmakes.com
Instagram: https://www.instagram.com/newtonmakes
Facebook: https://www.facebook.com/newtonmakes
**As an Amazon Associate I earn from qualifying purchases.