Make a 3D Cutting Board (Step by Step)
Step by Step Instructions on How to Make a 3D Cutting Board
One of the best things about making an end grain cutting board is the ability to create cool patterns. I set out to make a cutting board that appeared to be 3D optical illusion, but in reality it’s a combination of four different wood species. This cutting board may look complicated, but it’s not too difficult when broken into simple steps.
The video above gives instructions on how this 3D cutting board was created. If you want even more details, check out my 3D Cutting Board Project Guide. It explains every stage in the build process to help you create your own version of this end grain cutting board.
Milling the Lumber
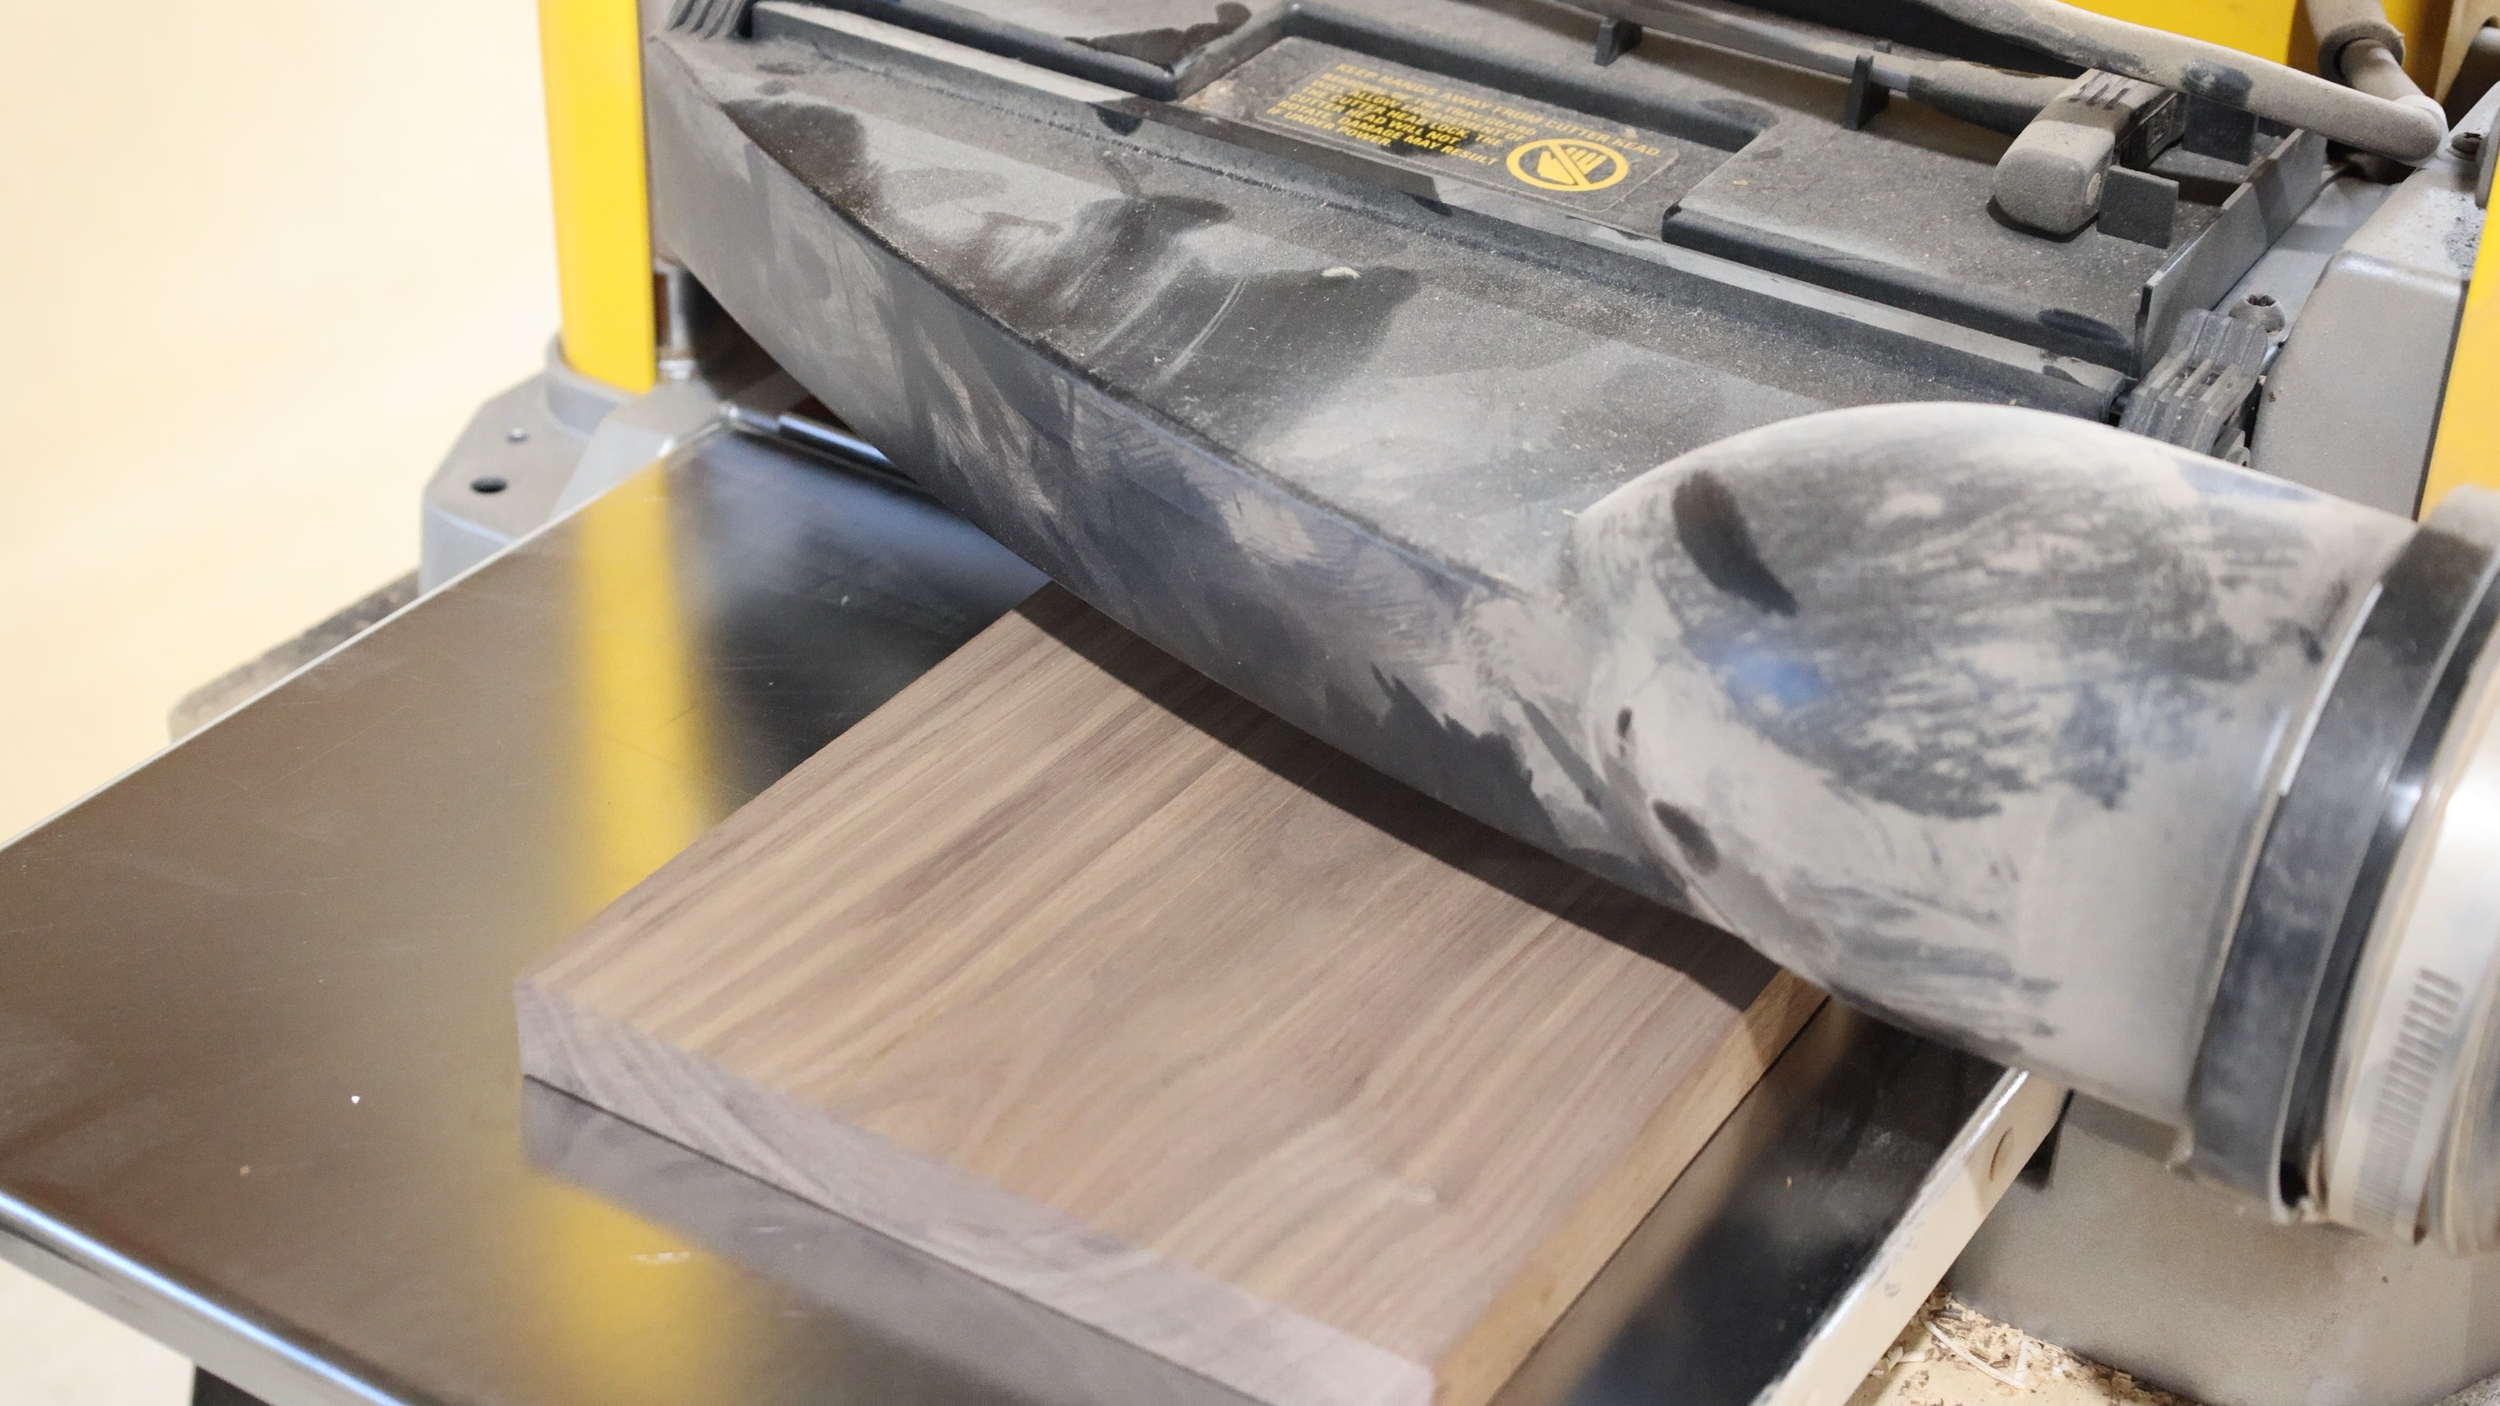
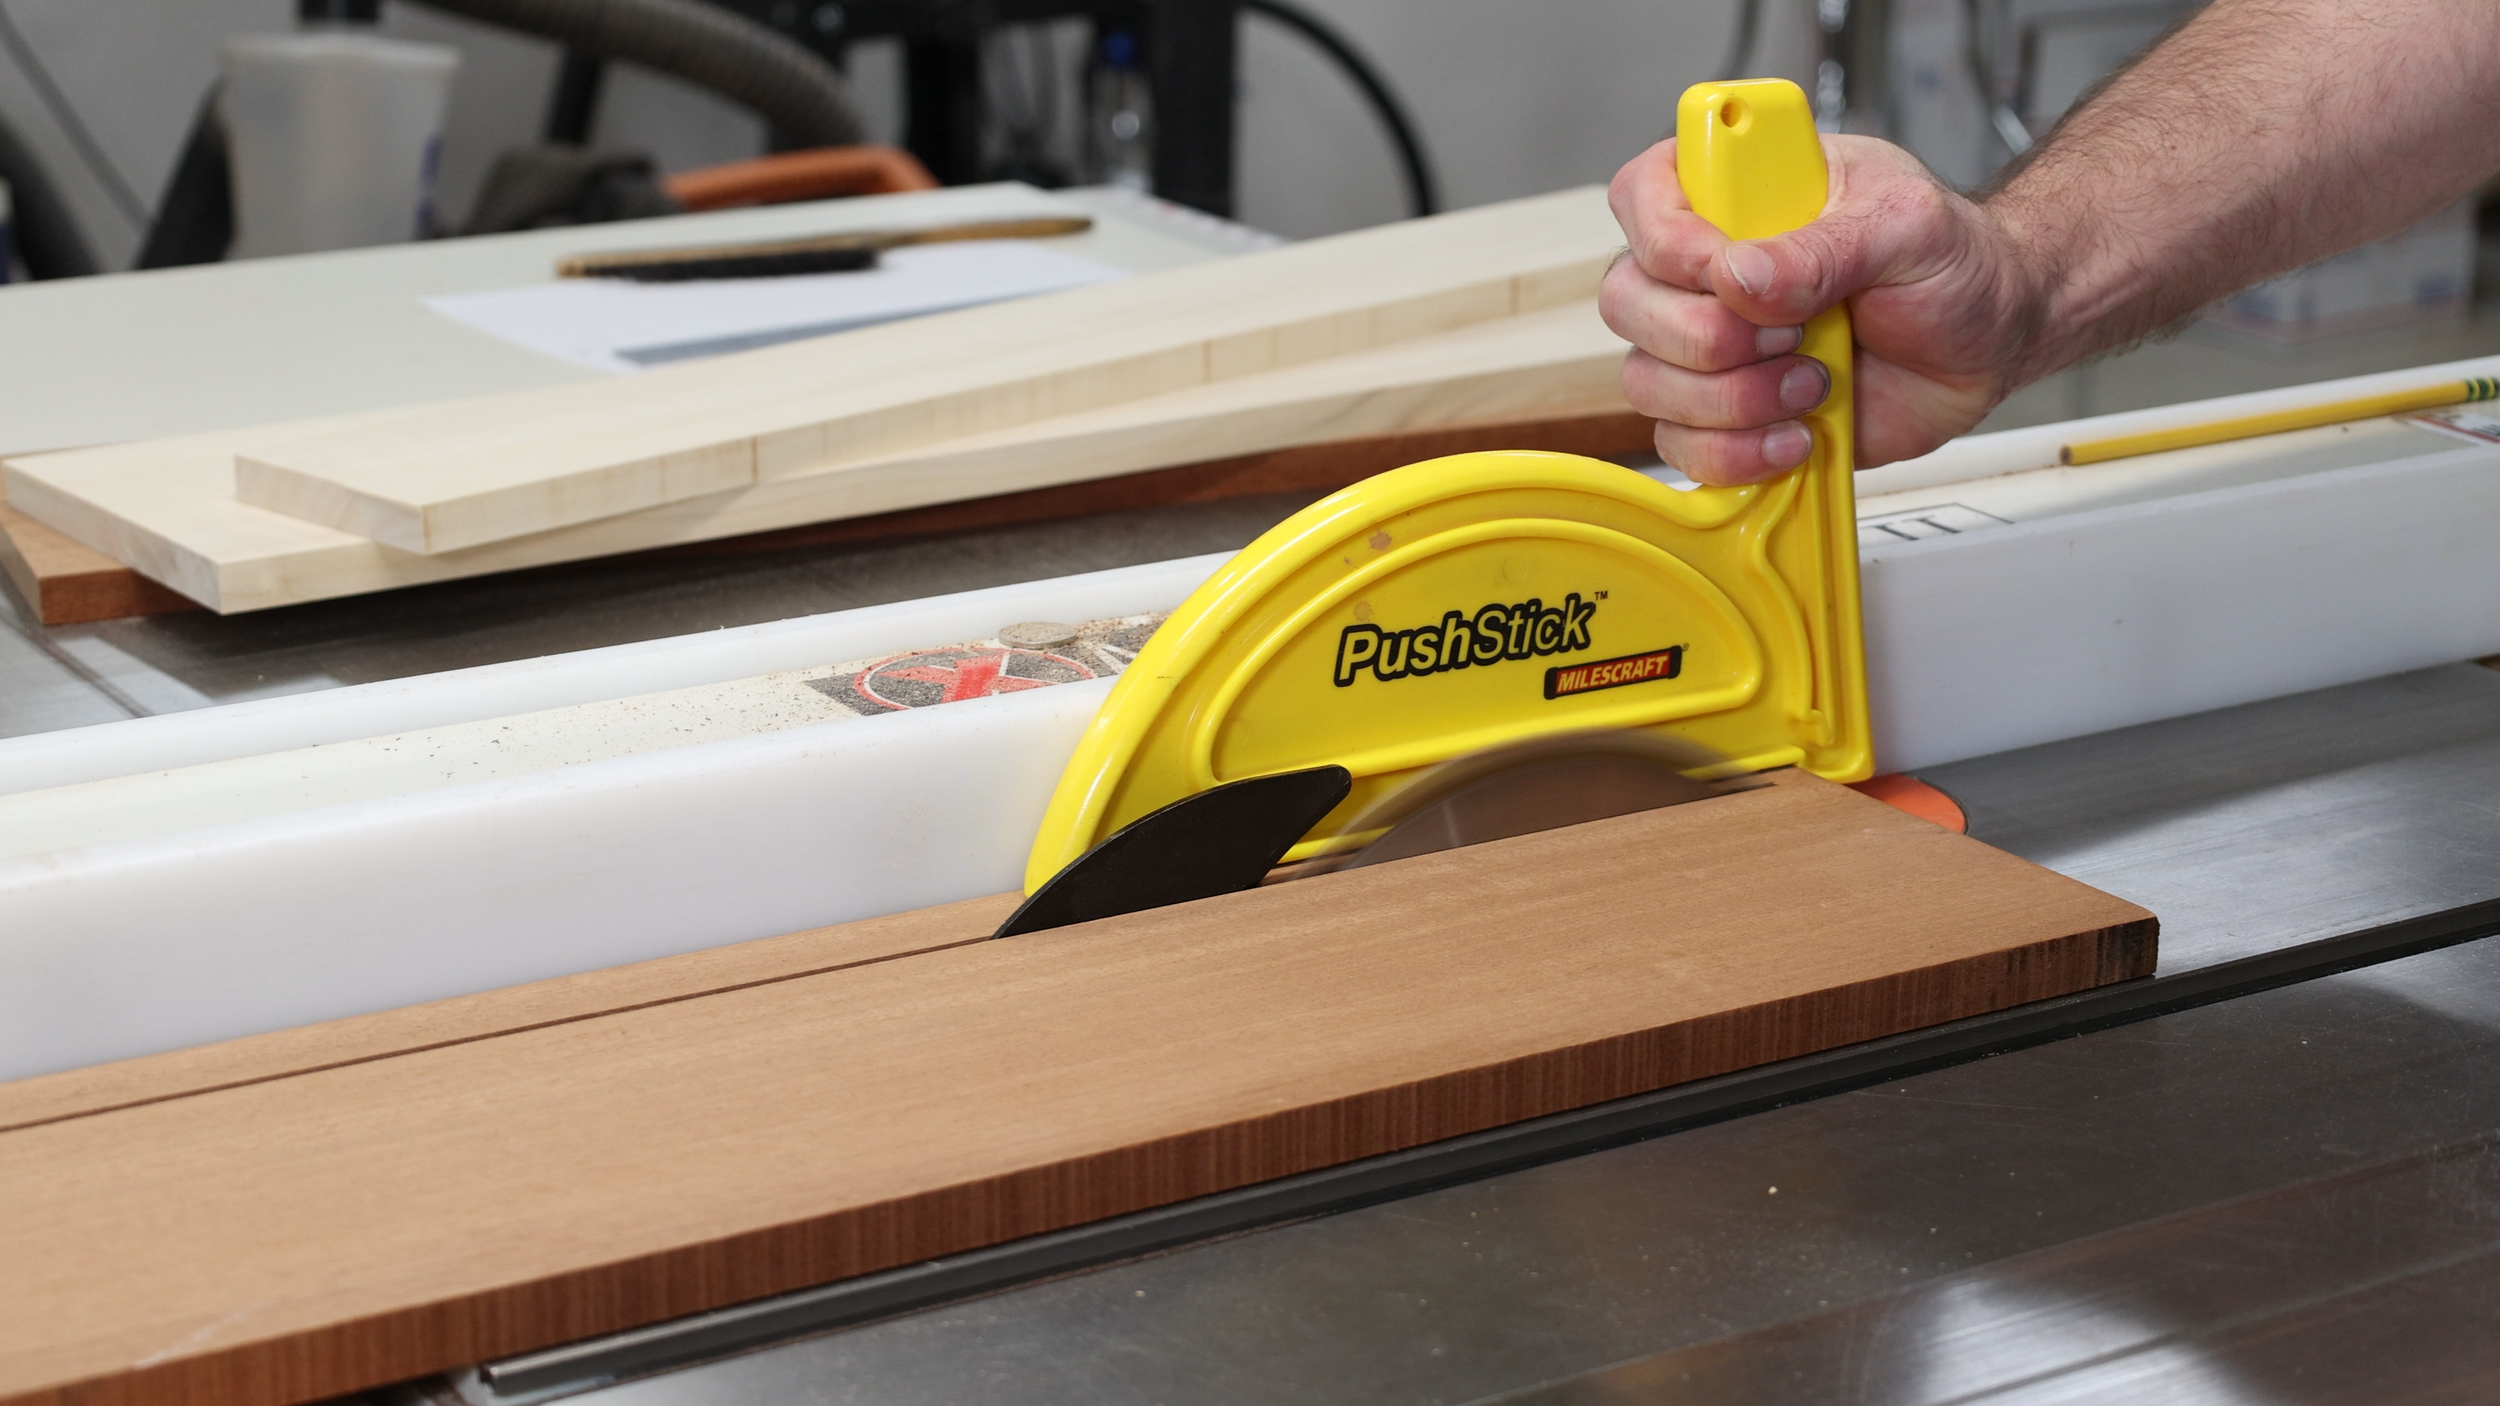
I milled sapele, maple, and walnut lumber and then cut the boards into thin pieces. I left these a little oversized so they could be cut to the final shape later. This design takes several glue-ups. The project has to be milled or sanded after each one to ensure it’s flat.
A common question woodworkers ask is, “how much lumber do I need to make a cutting board?” I put together a formula to calculate the lumber based the desired thickness, width, and length. I talk about this more in my article on tips for making a professional quality cutting board.
Create the Complex Blocks
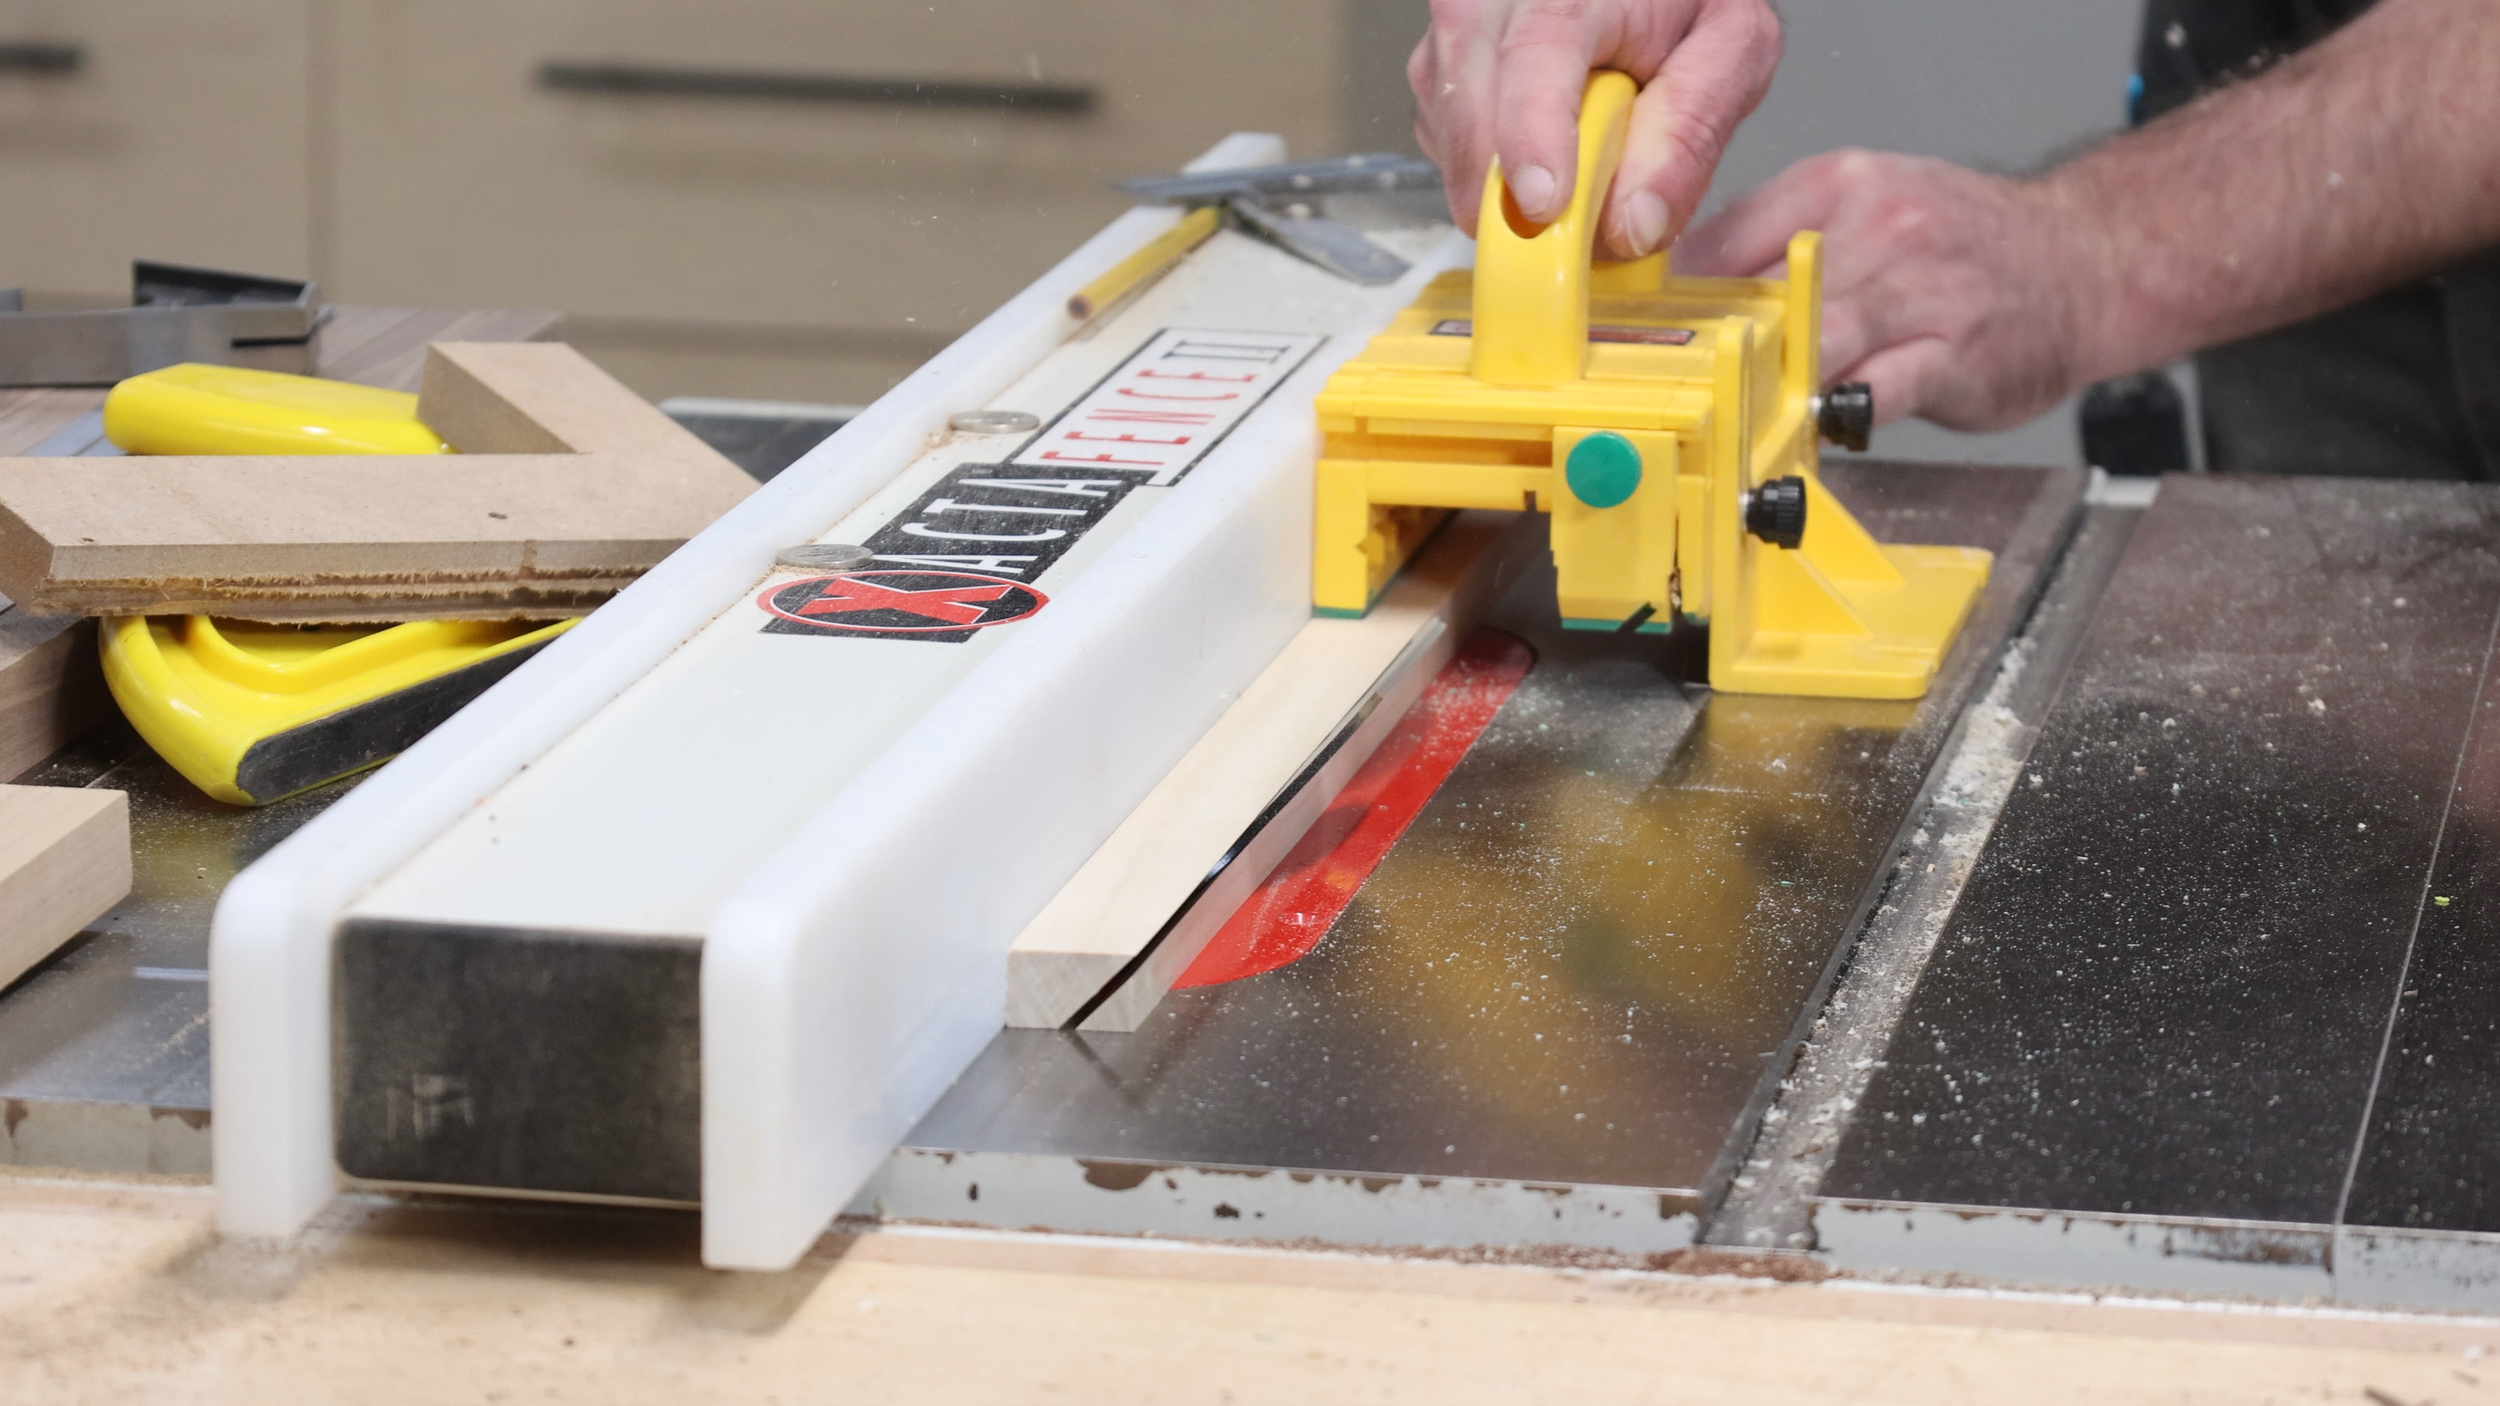
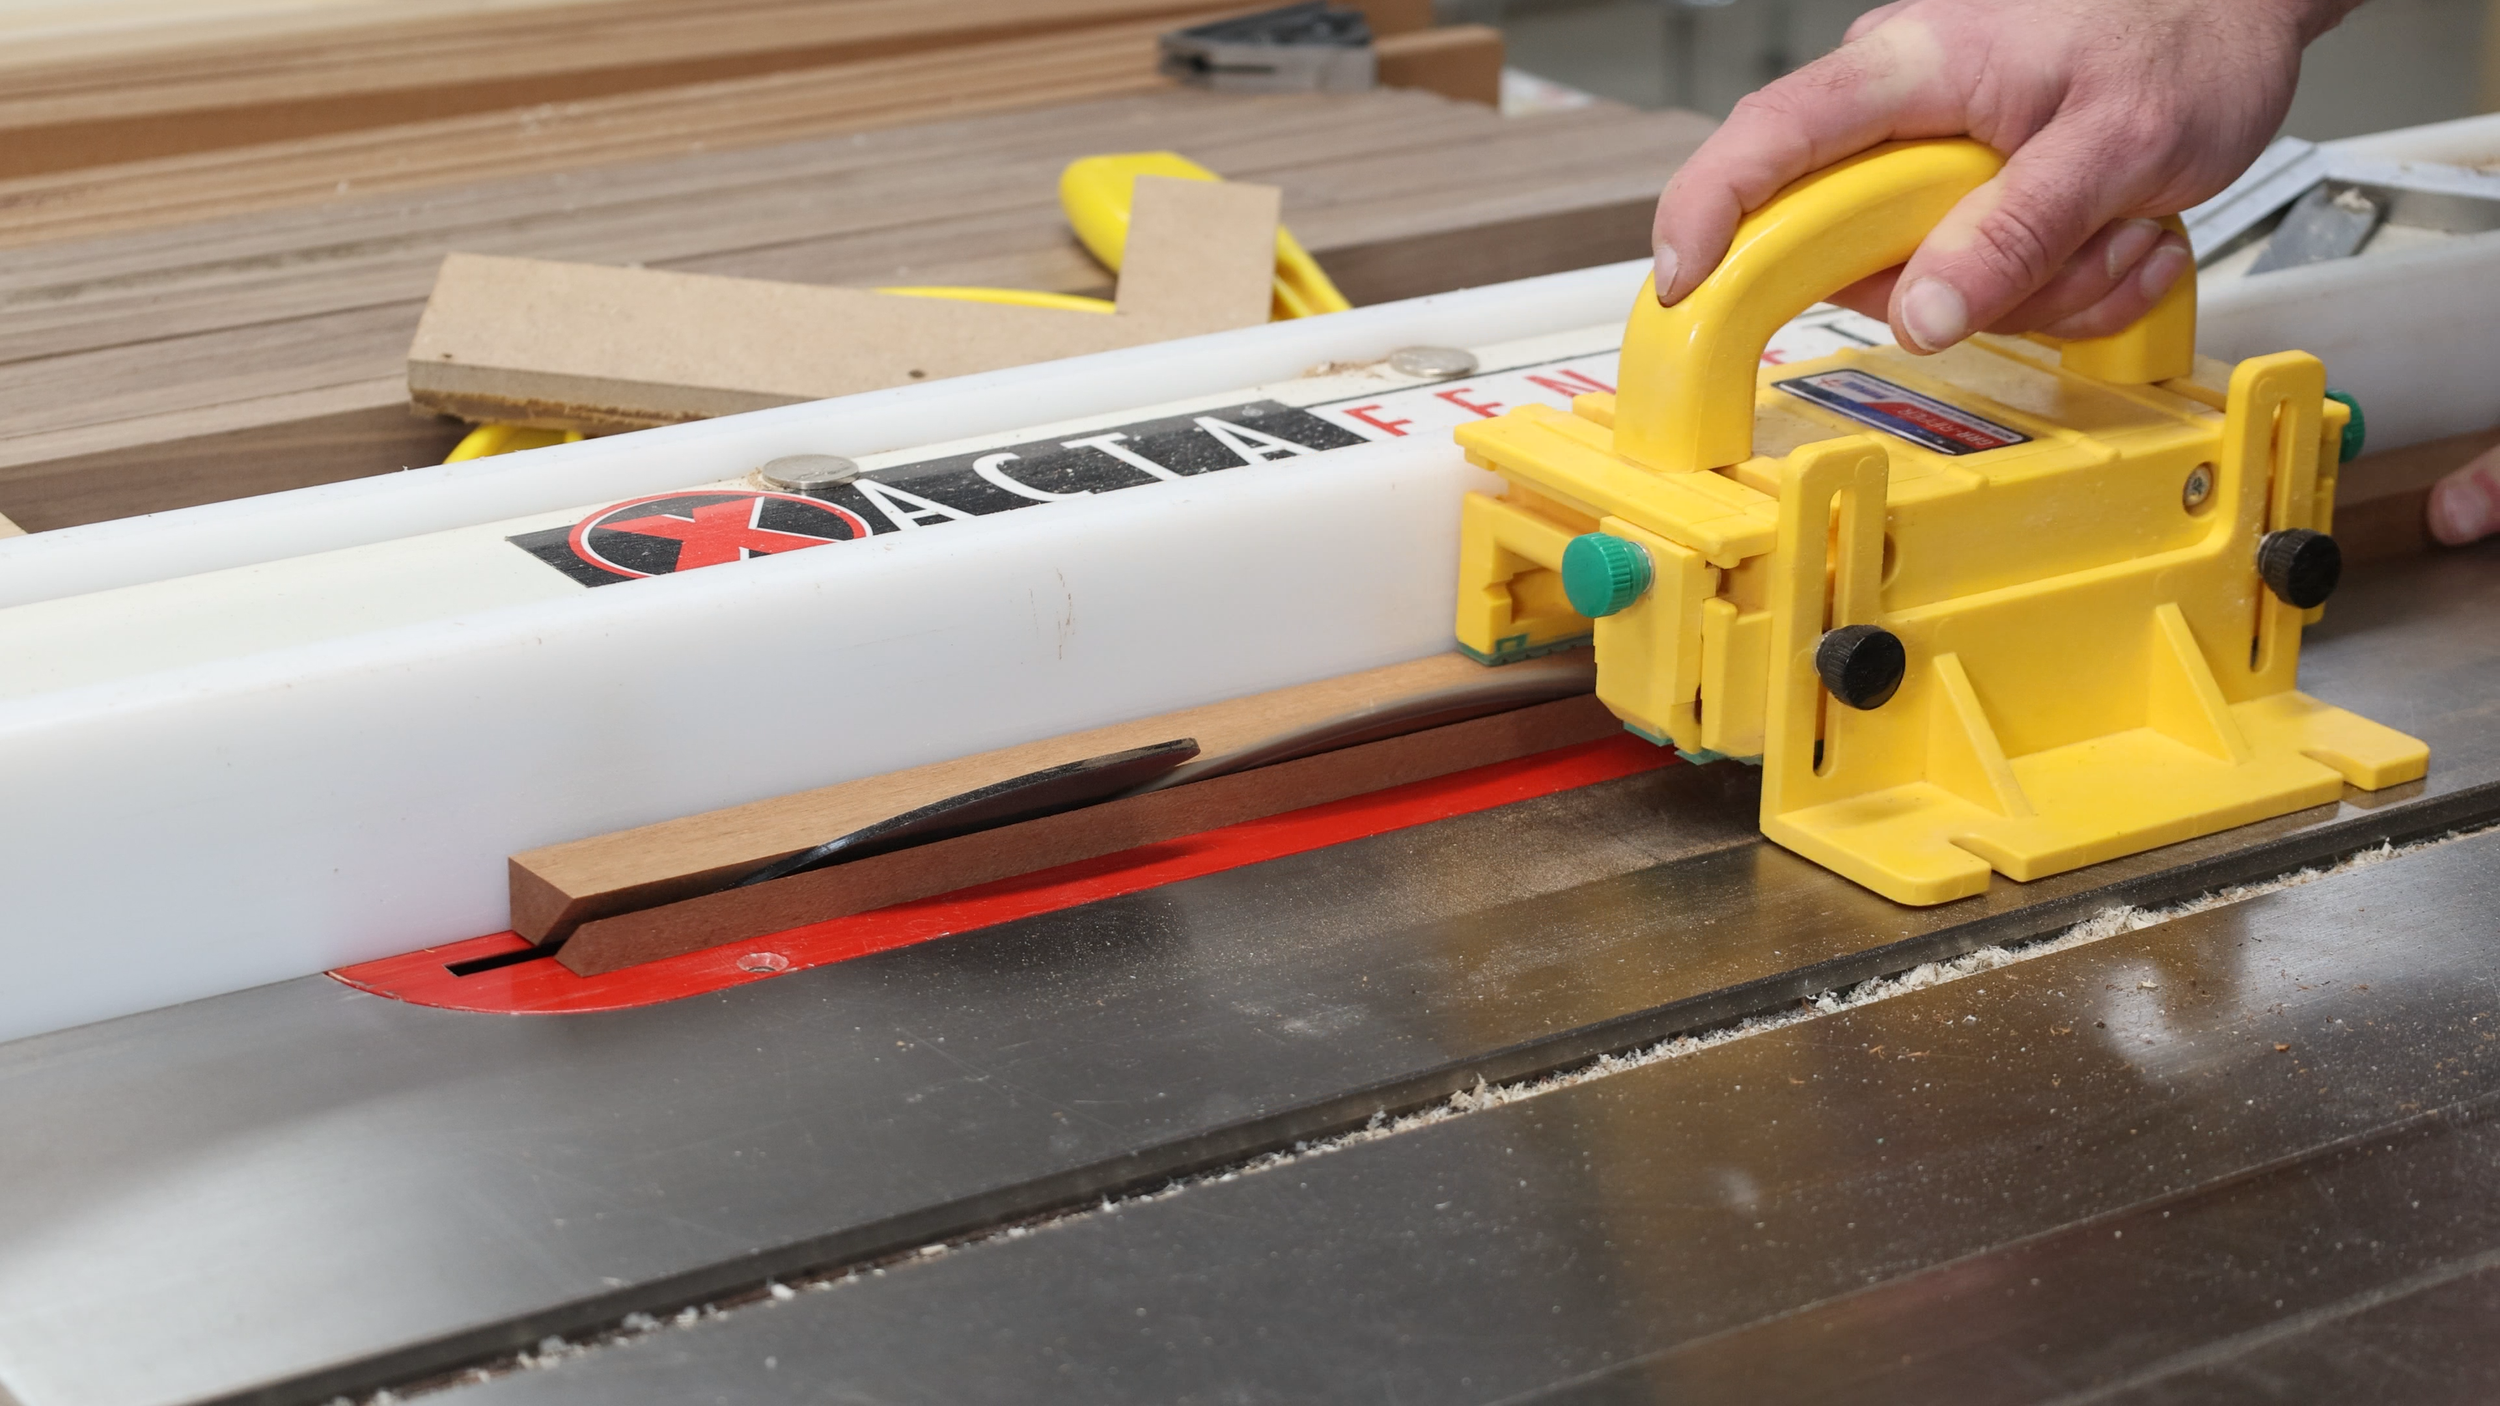
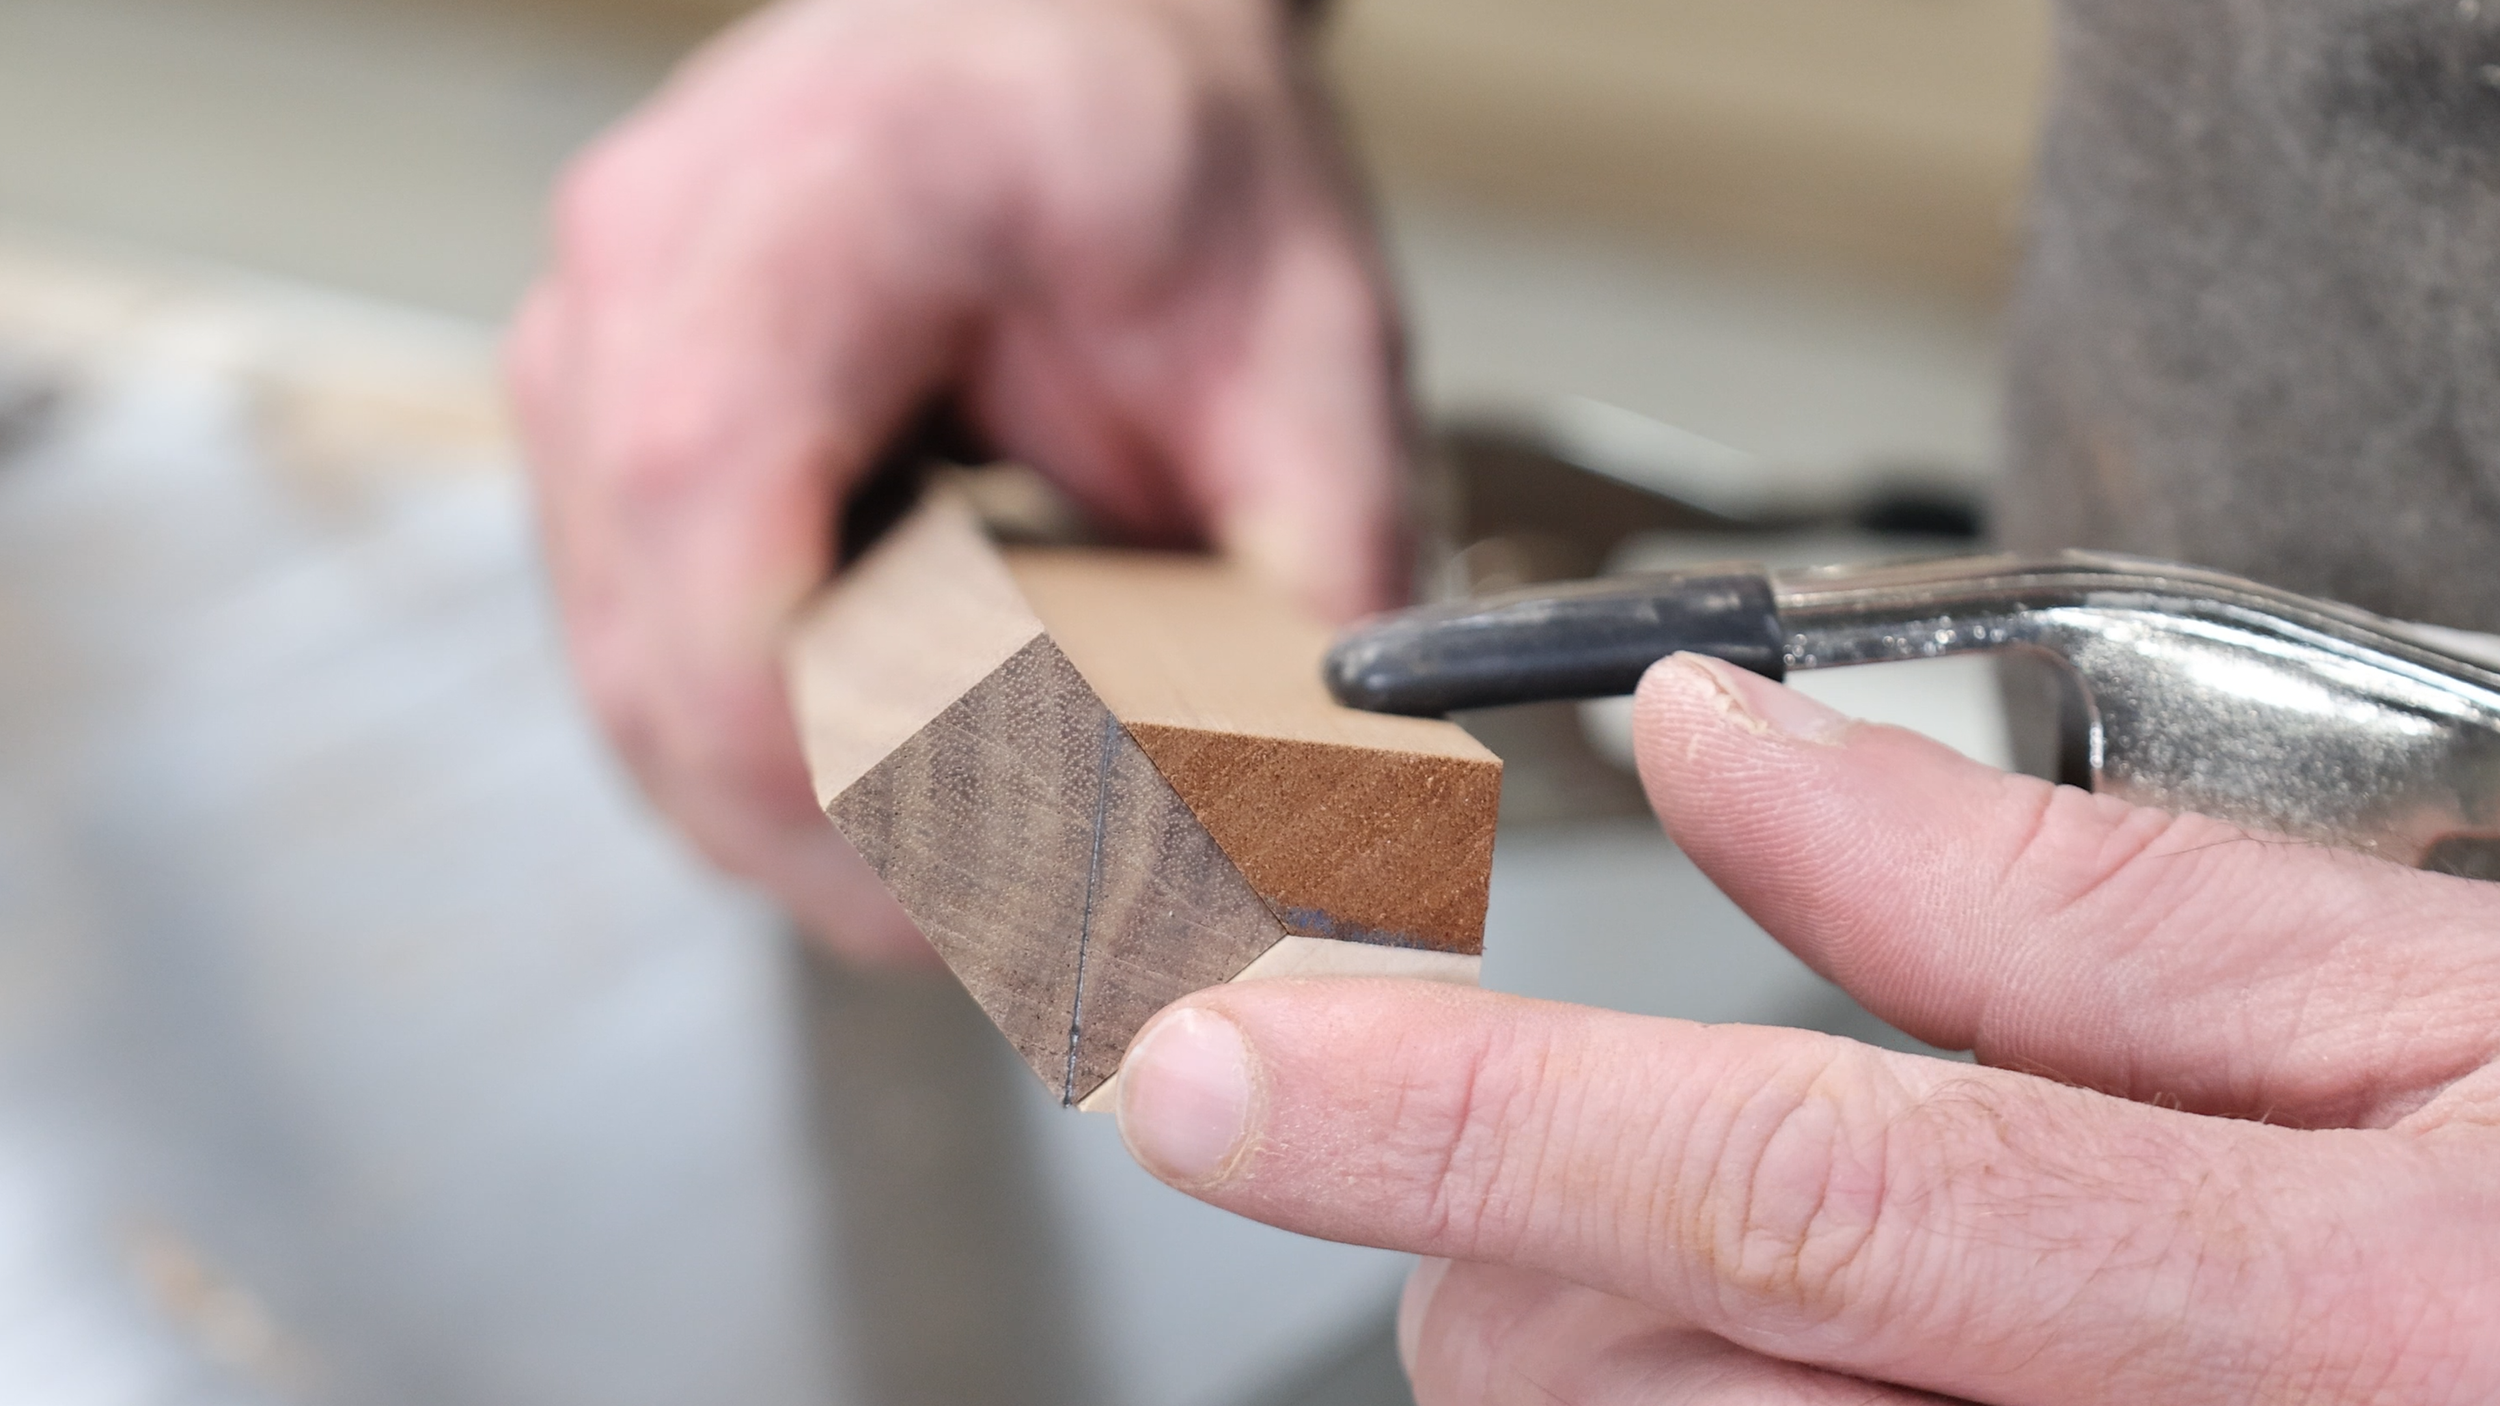
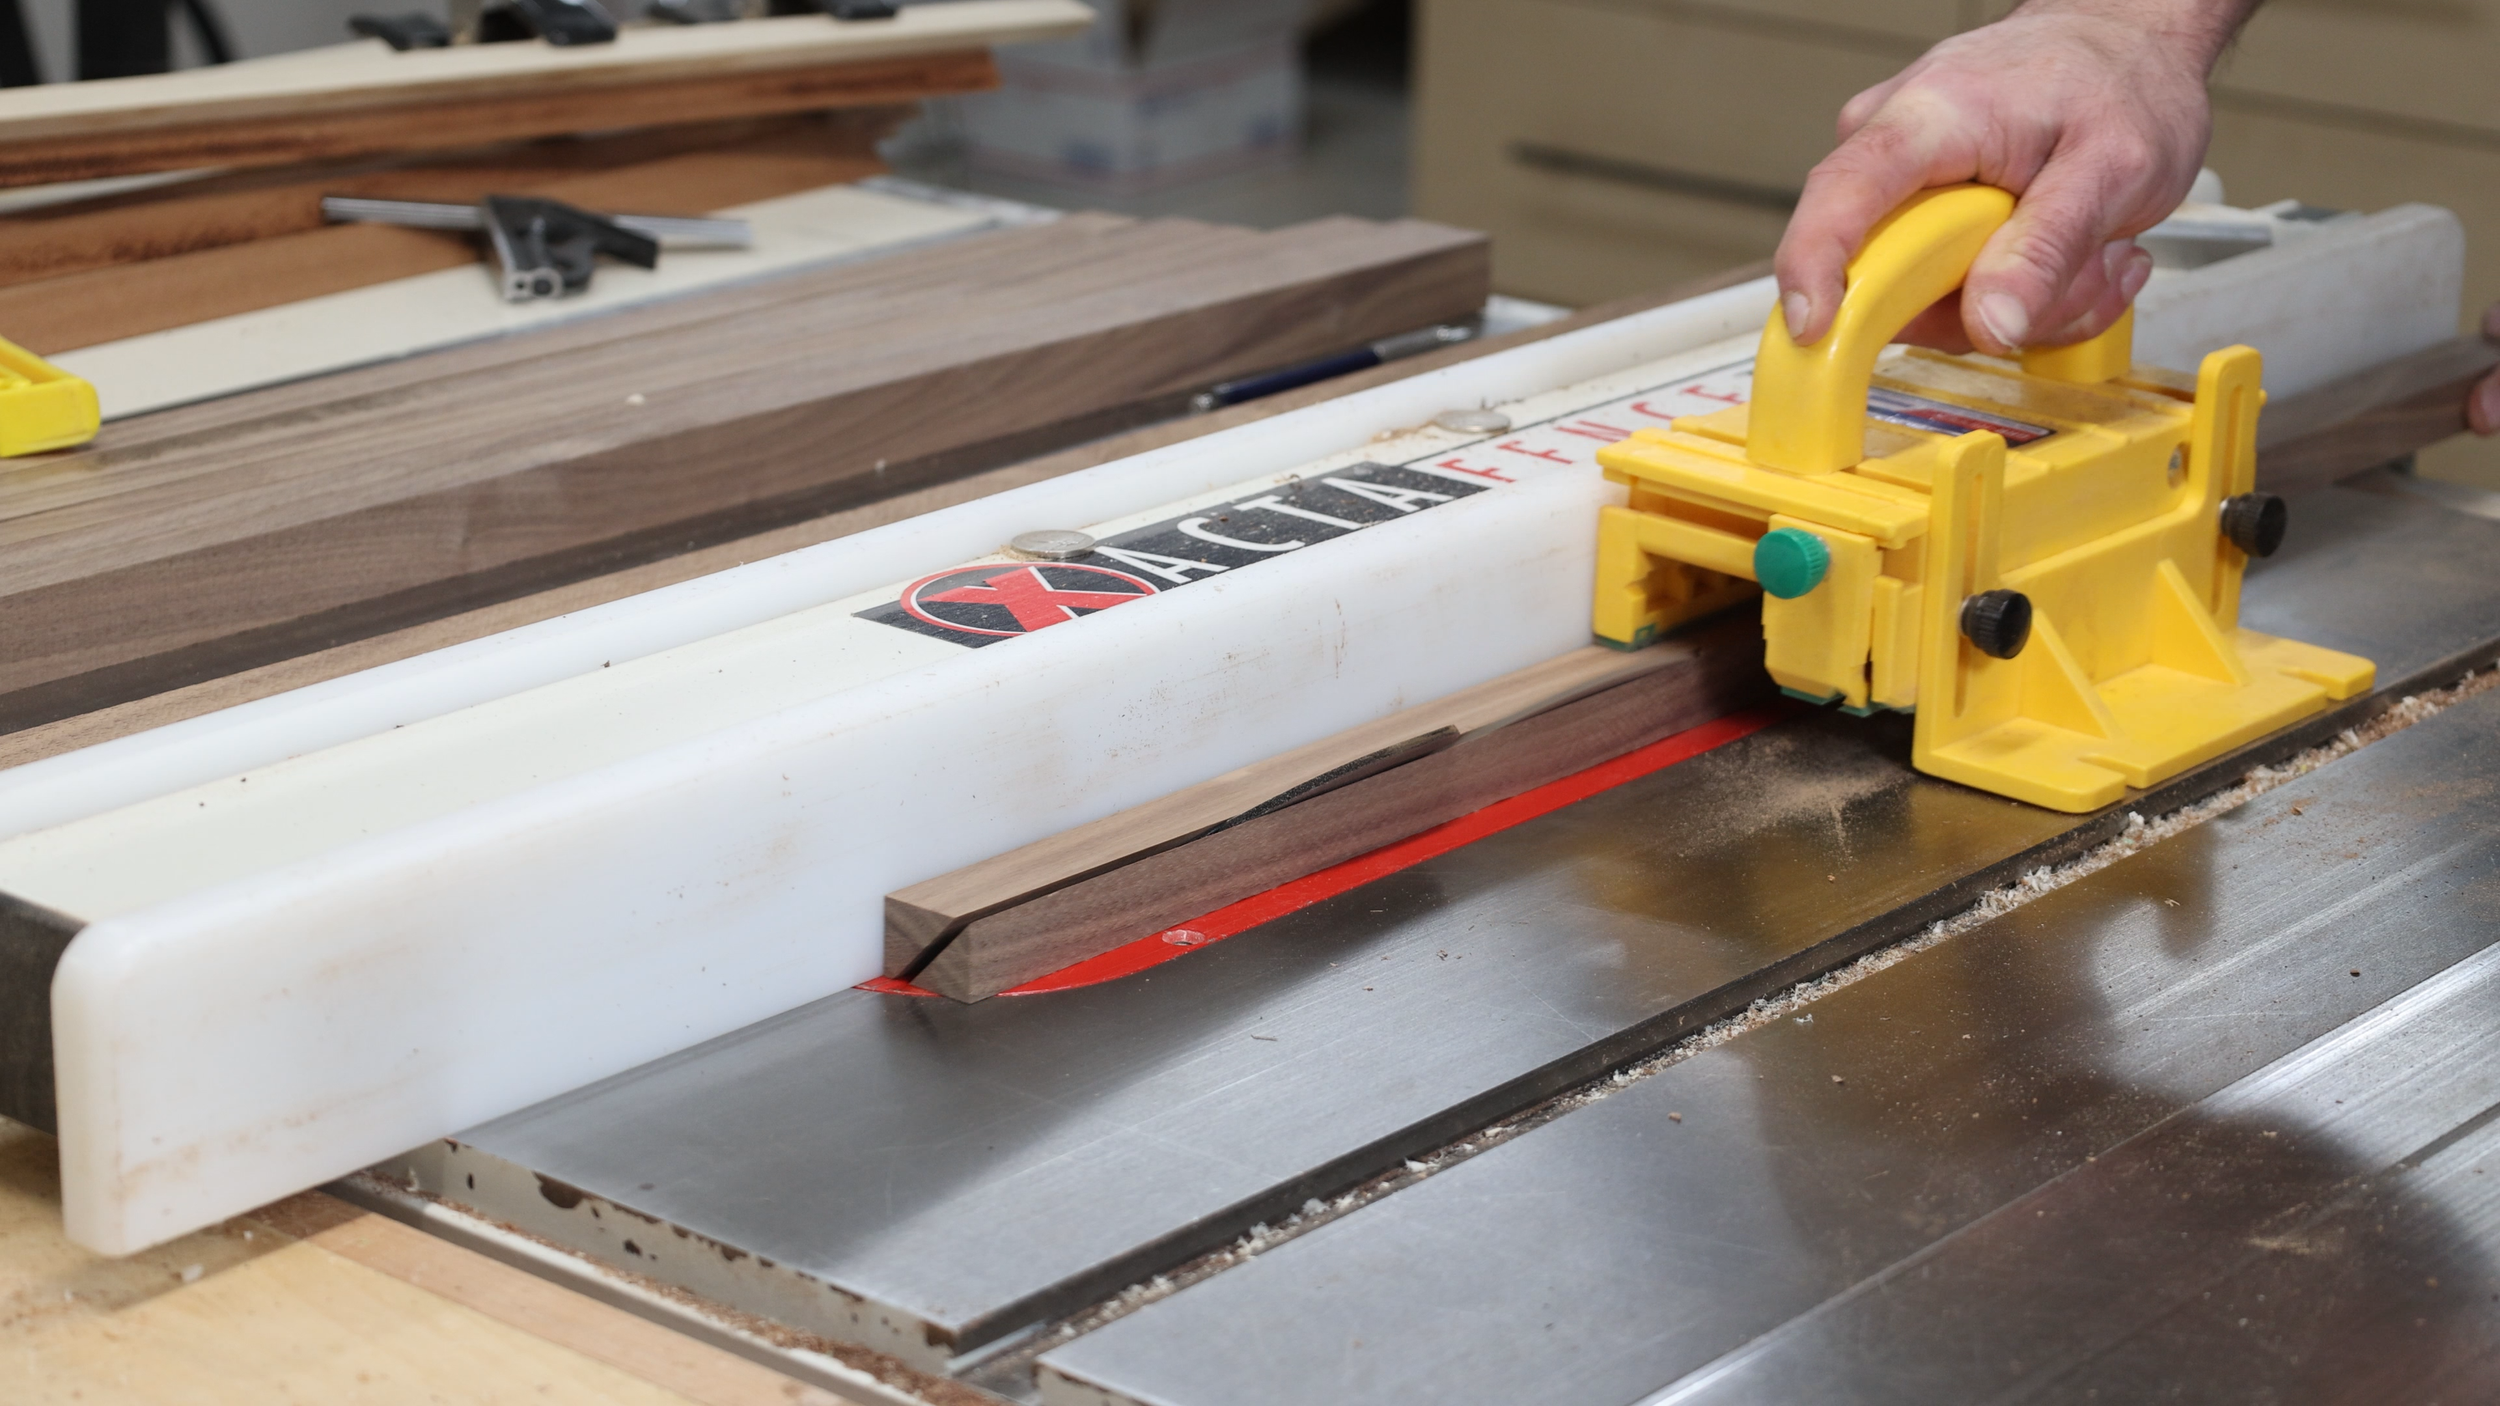
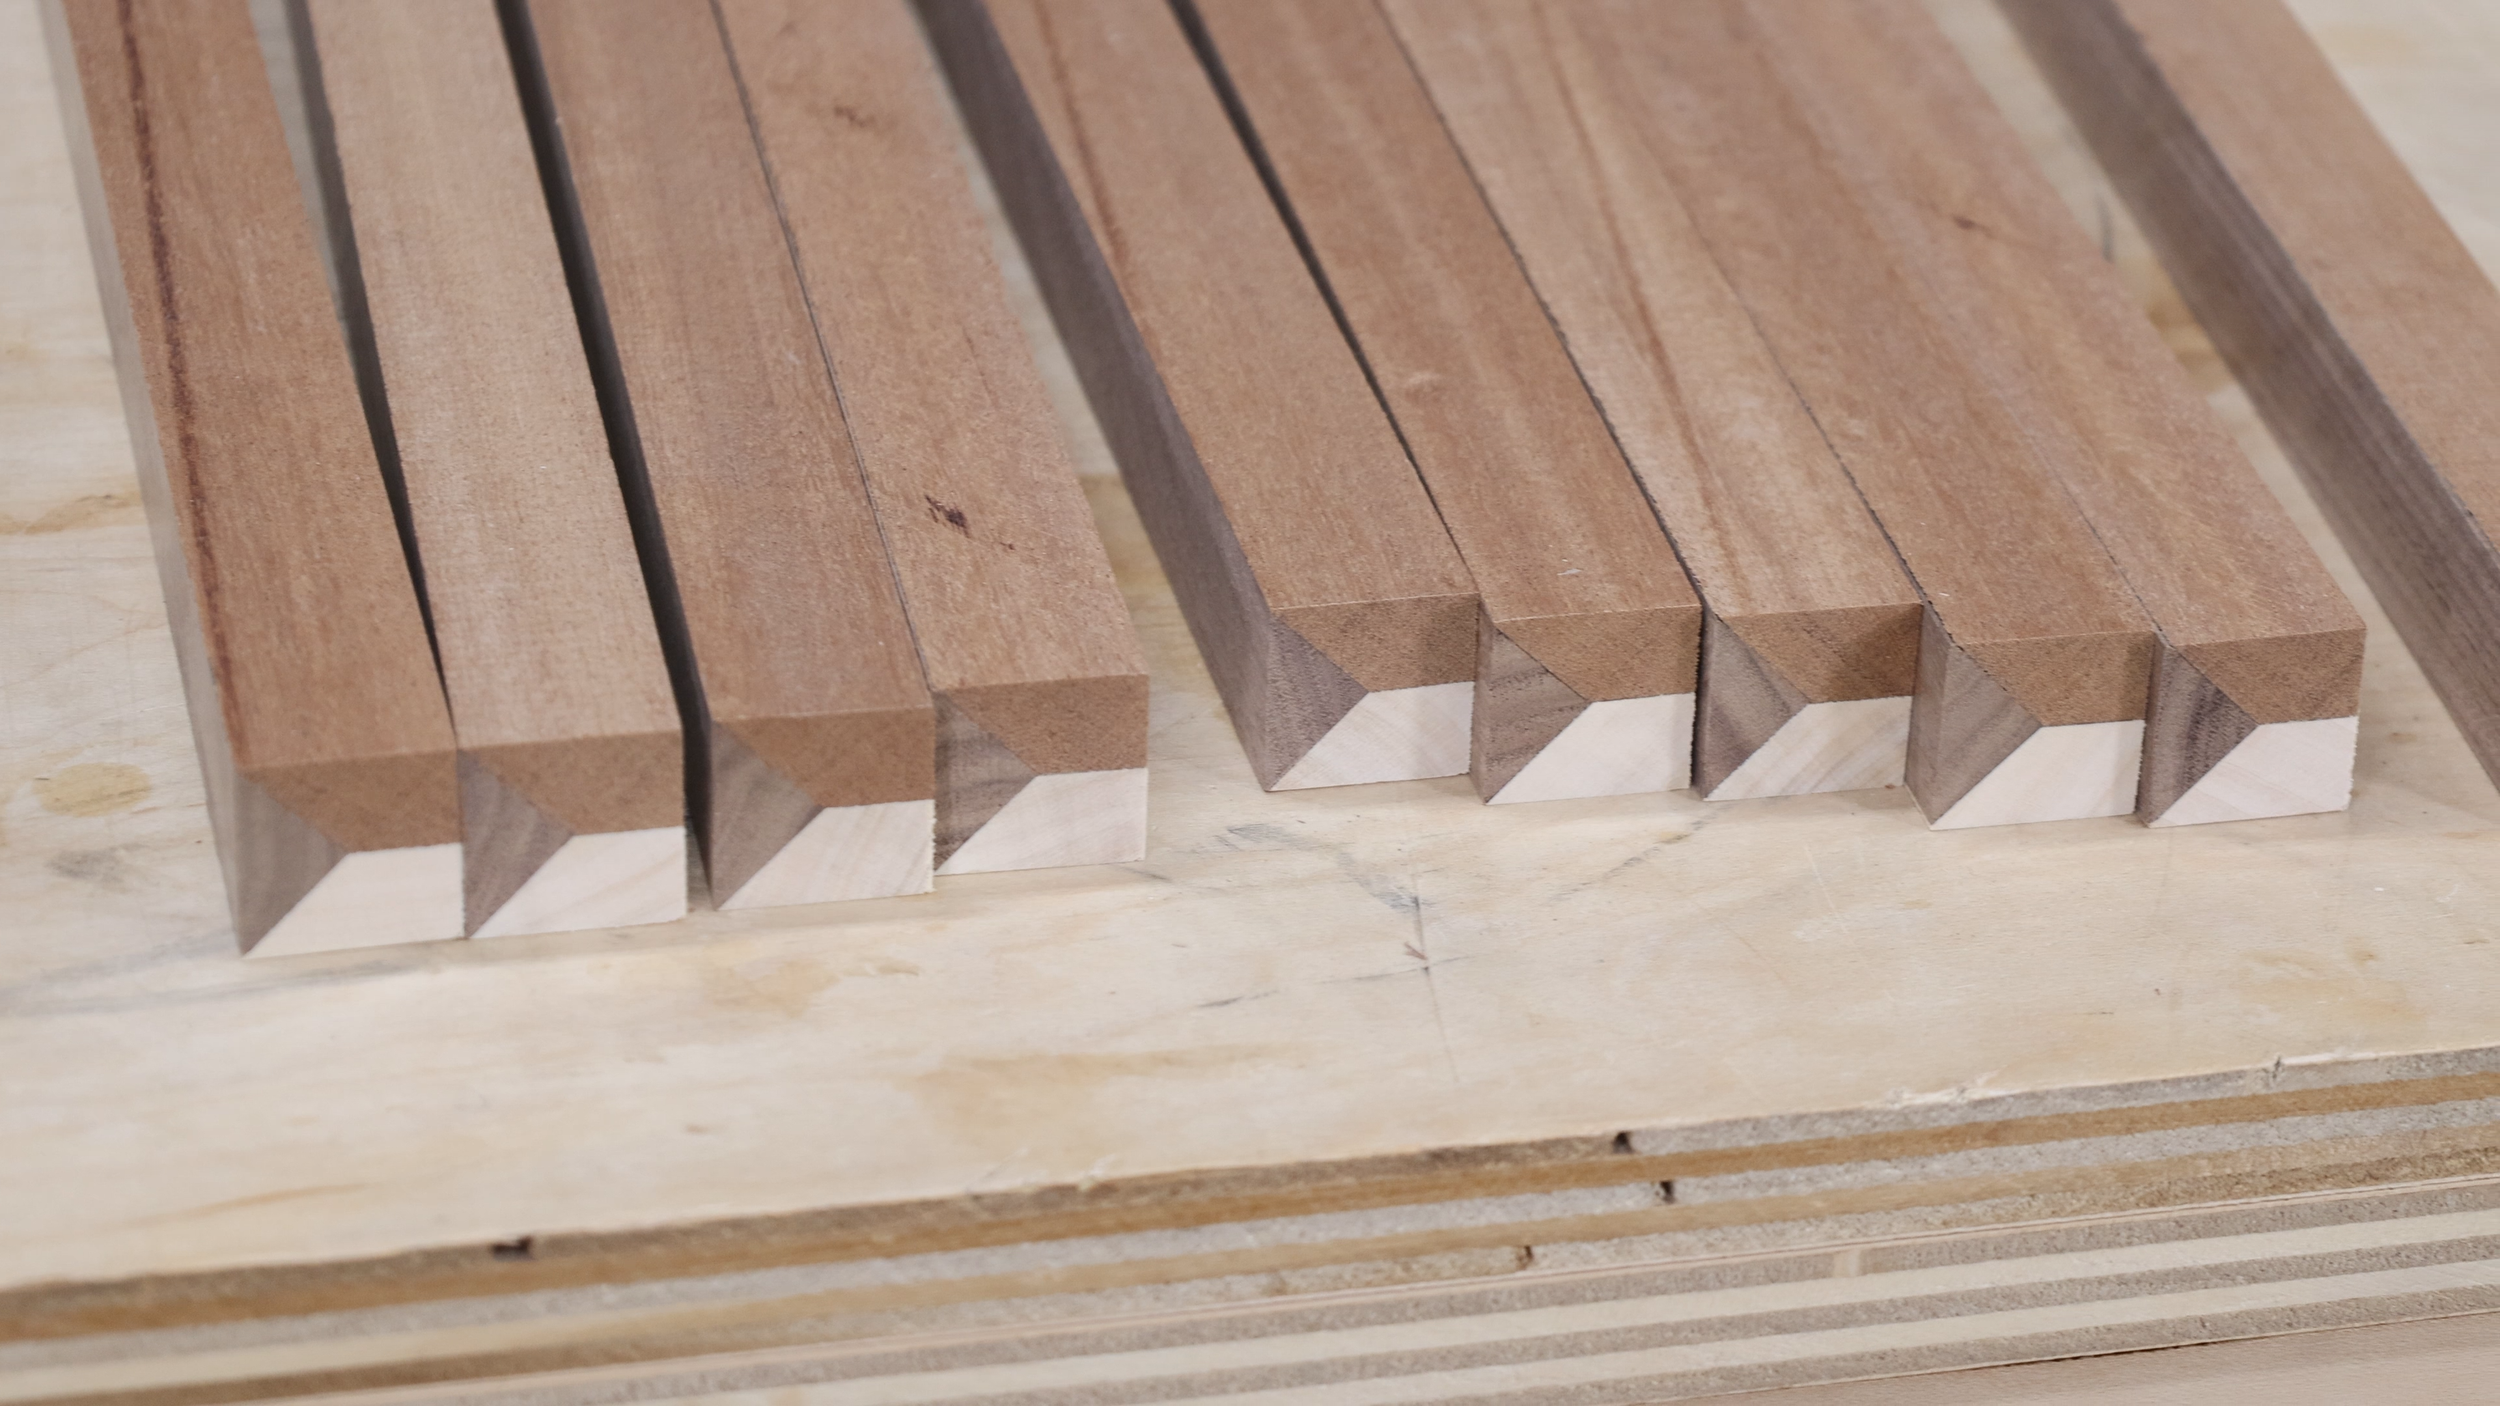
The trick to this cutting board’s 3D look is giving the illusion of highlights and shadows when they don’t really exist. This happens by creating squares that consist of three different woods. I cut angles along the edges of the sapele, maple, and walnut pieces, allowing them to fit together into a geometric-looking square. The boards were glued together and wrapped in blue tape.
Gluing Together the First Panel
The design of this cutting board is pretty straight forward. It alternates between those complex strips and several plain, cherry strip. I milled a cherry board and cut it into thin pieces. Then, I glued them together into one large panel, ensuring all of the pieces are the same direction. You don’t want to have one of the pieces accidently facing the wrong way.
Making the 3D Pattern
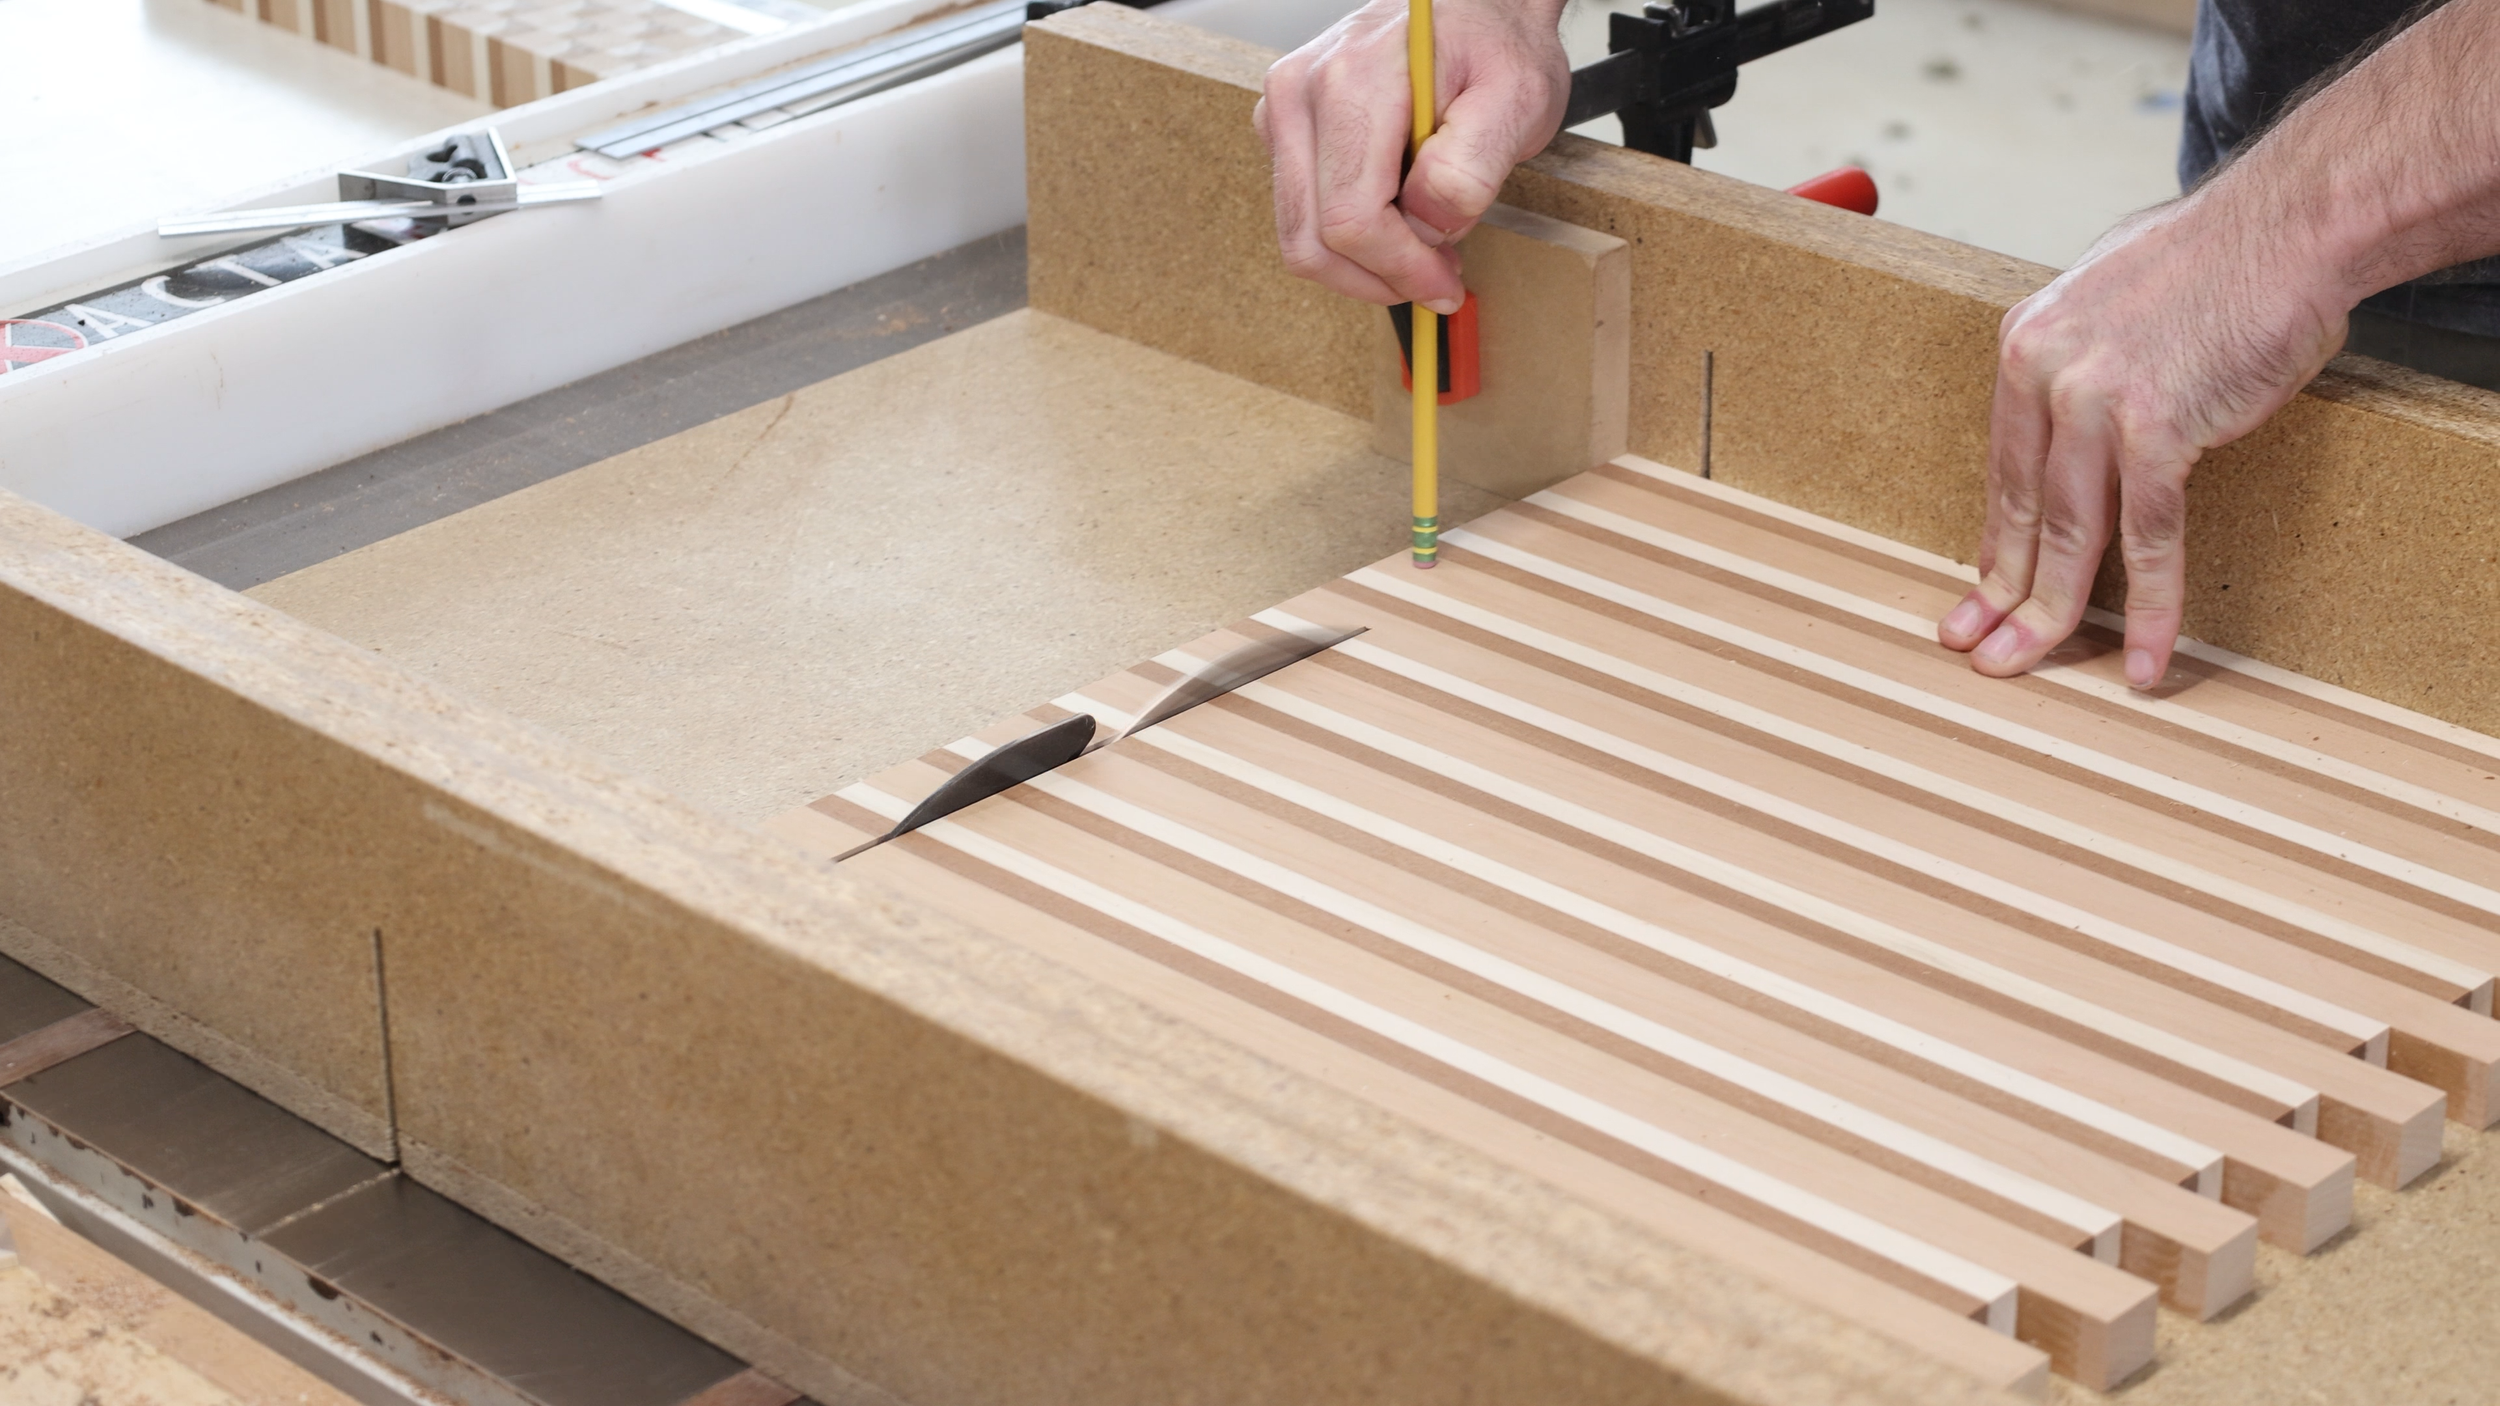
After the glue dried, I flattened the panel using the drum sander. My cutting board was too wide for the thickness planer, but if it was smaller the planer would be a good option. To make that cool 3D pattern, cut my panel into strips using a table saw sled.
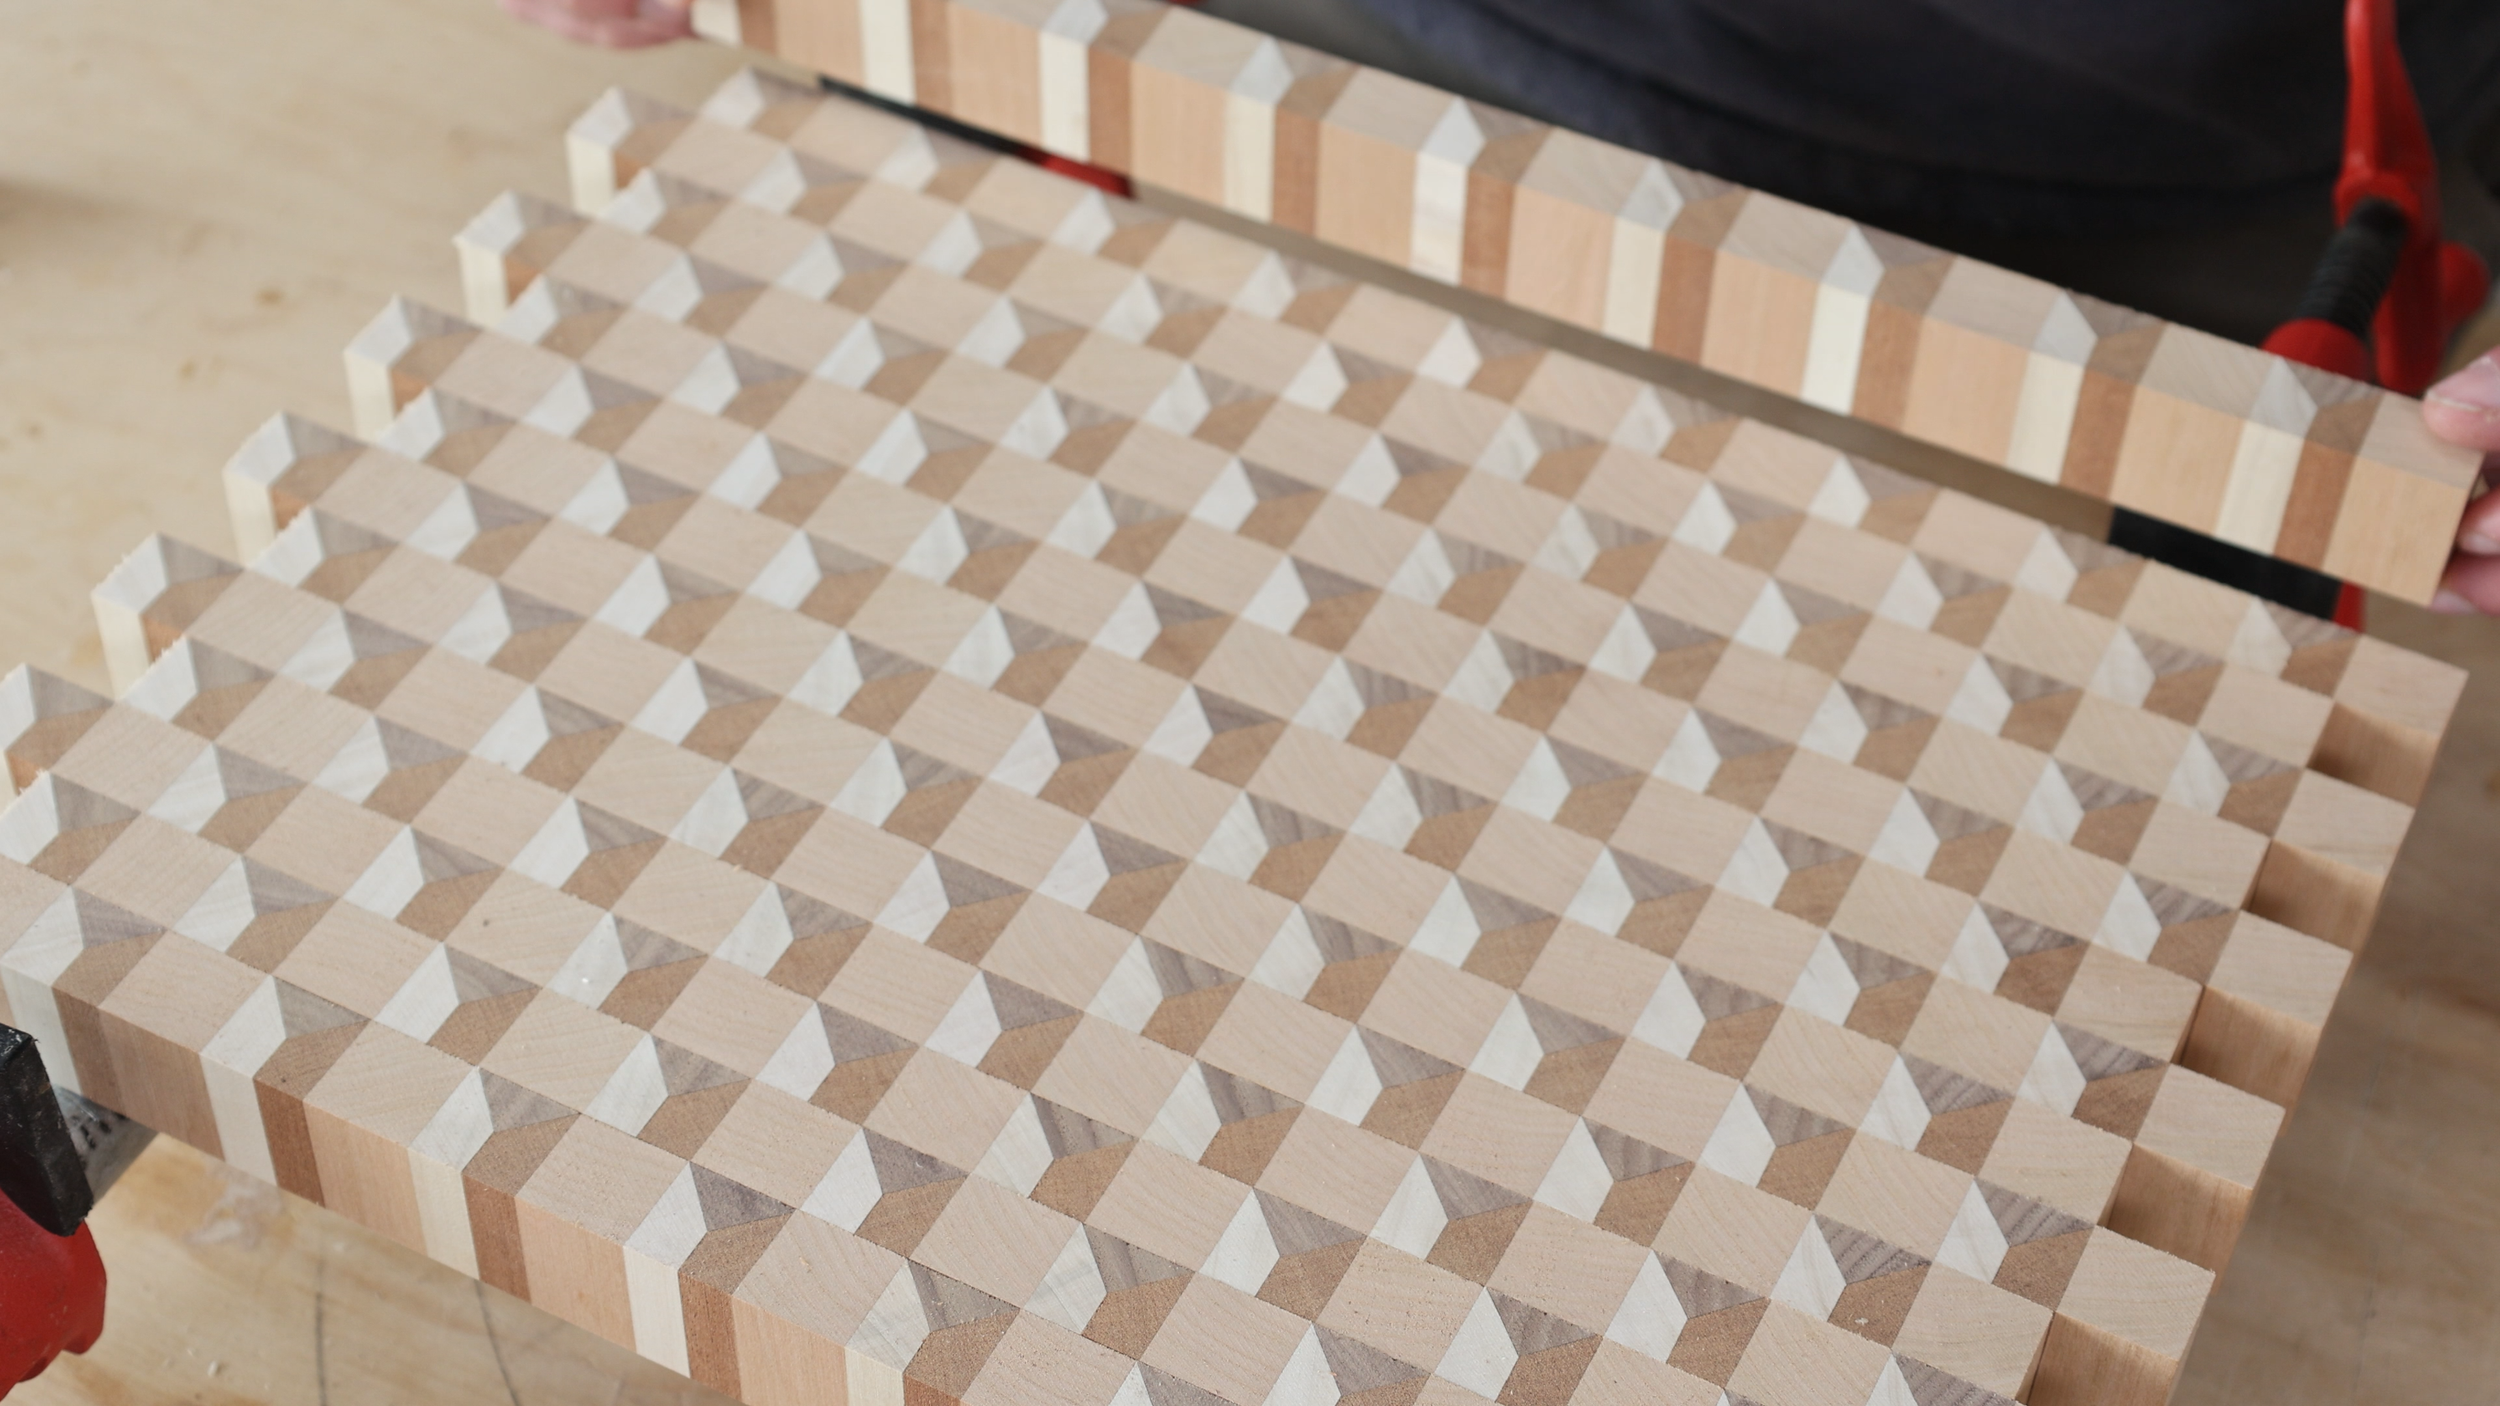
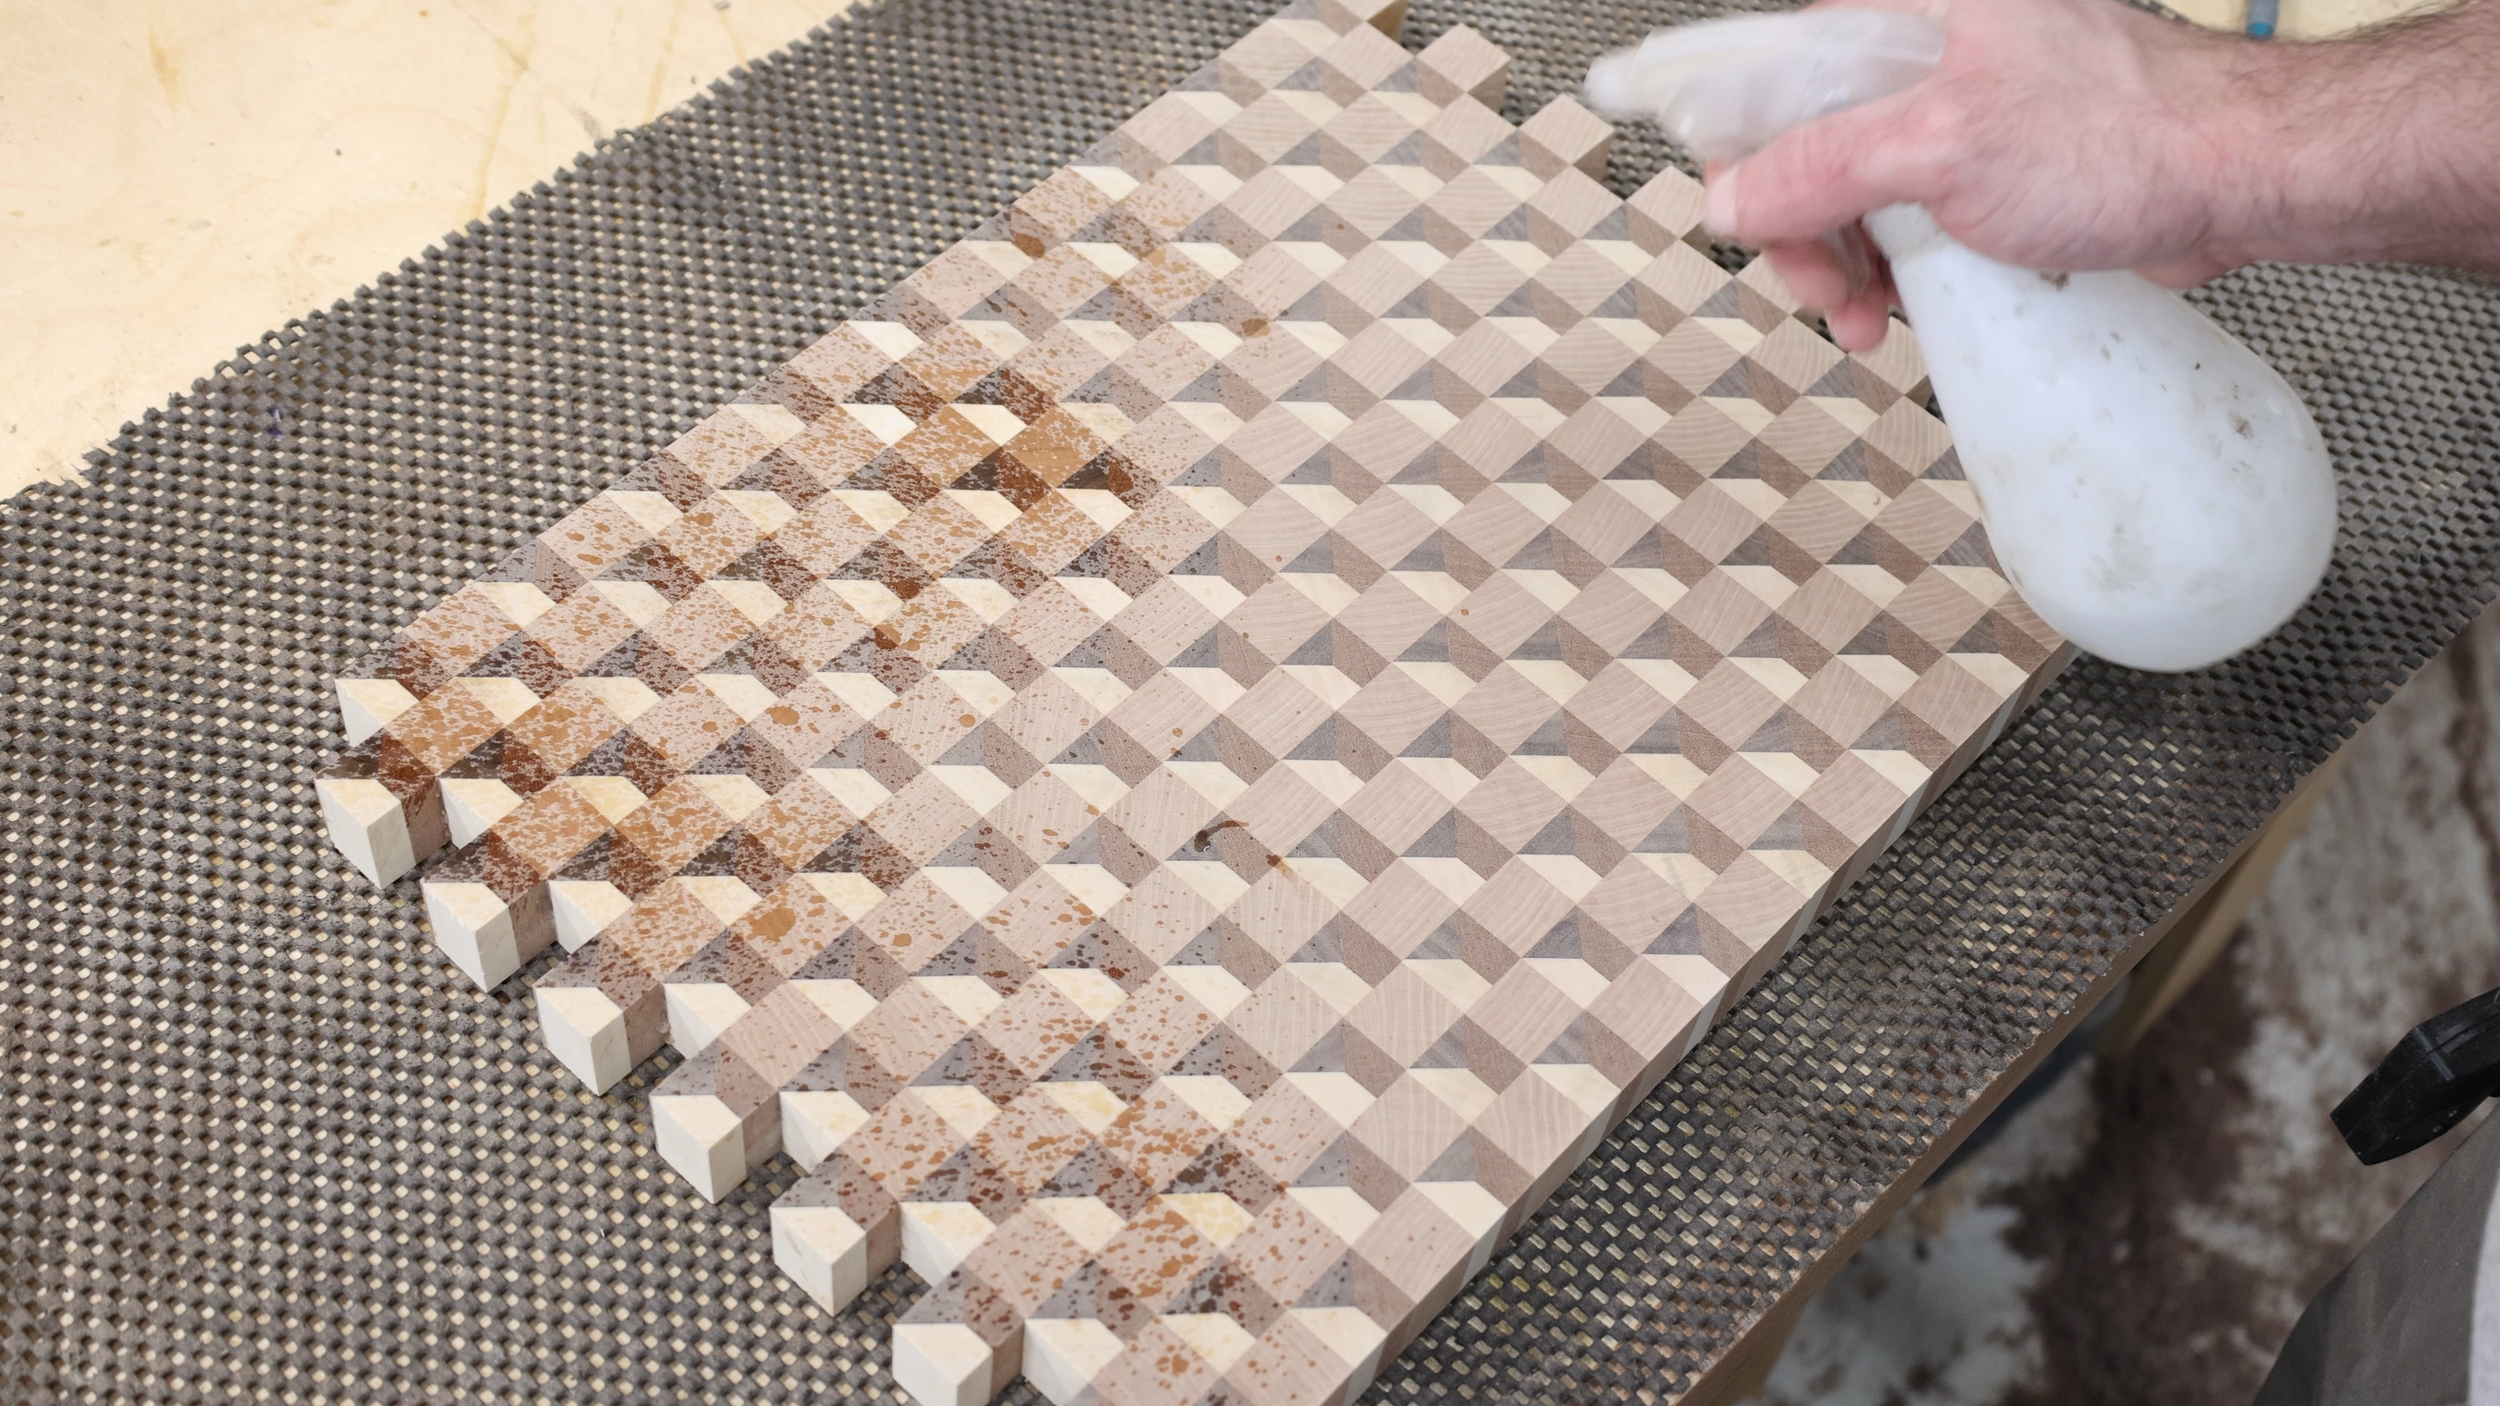
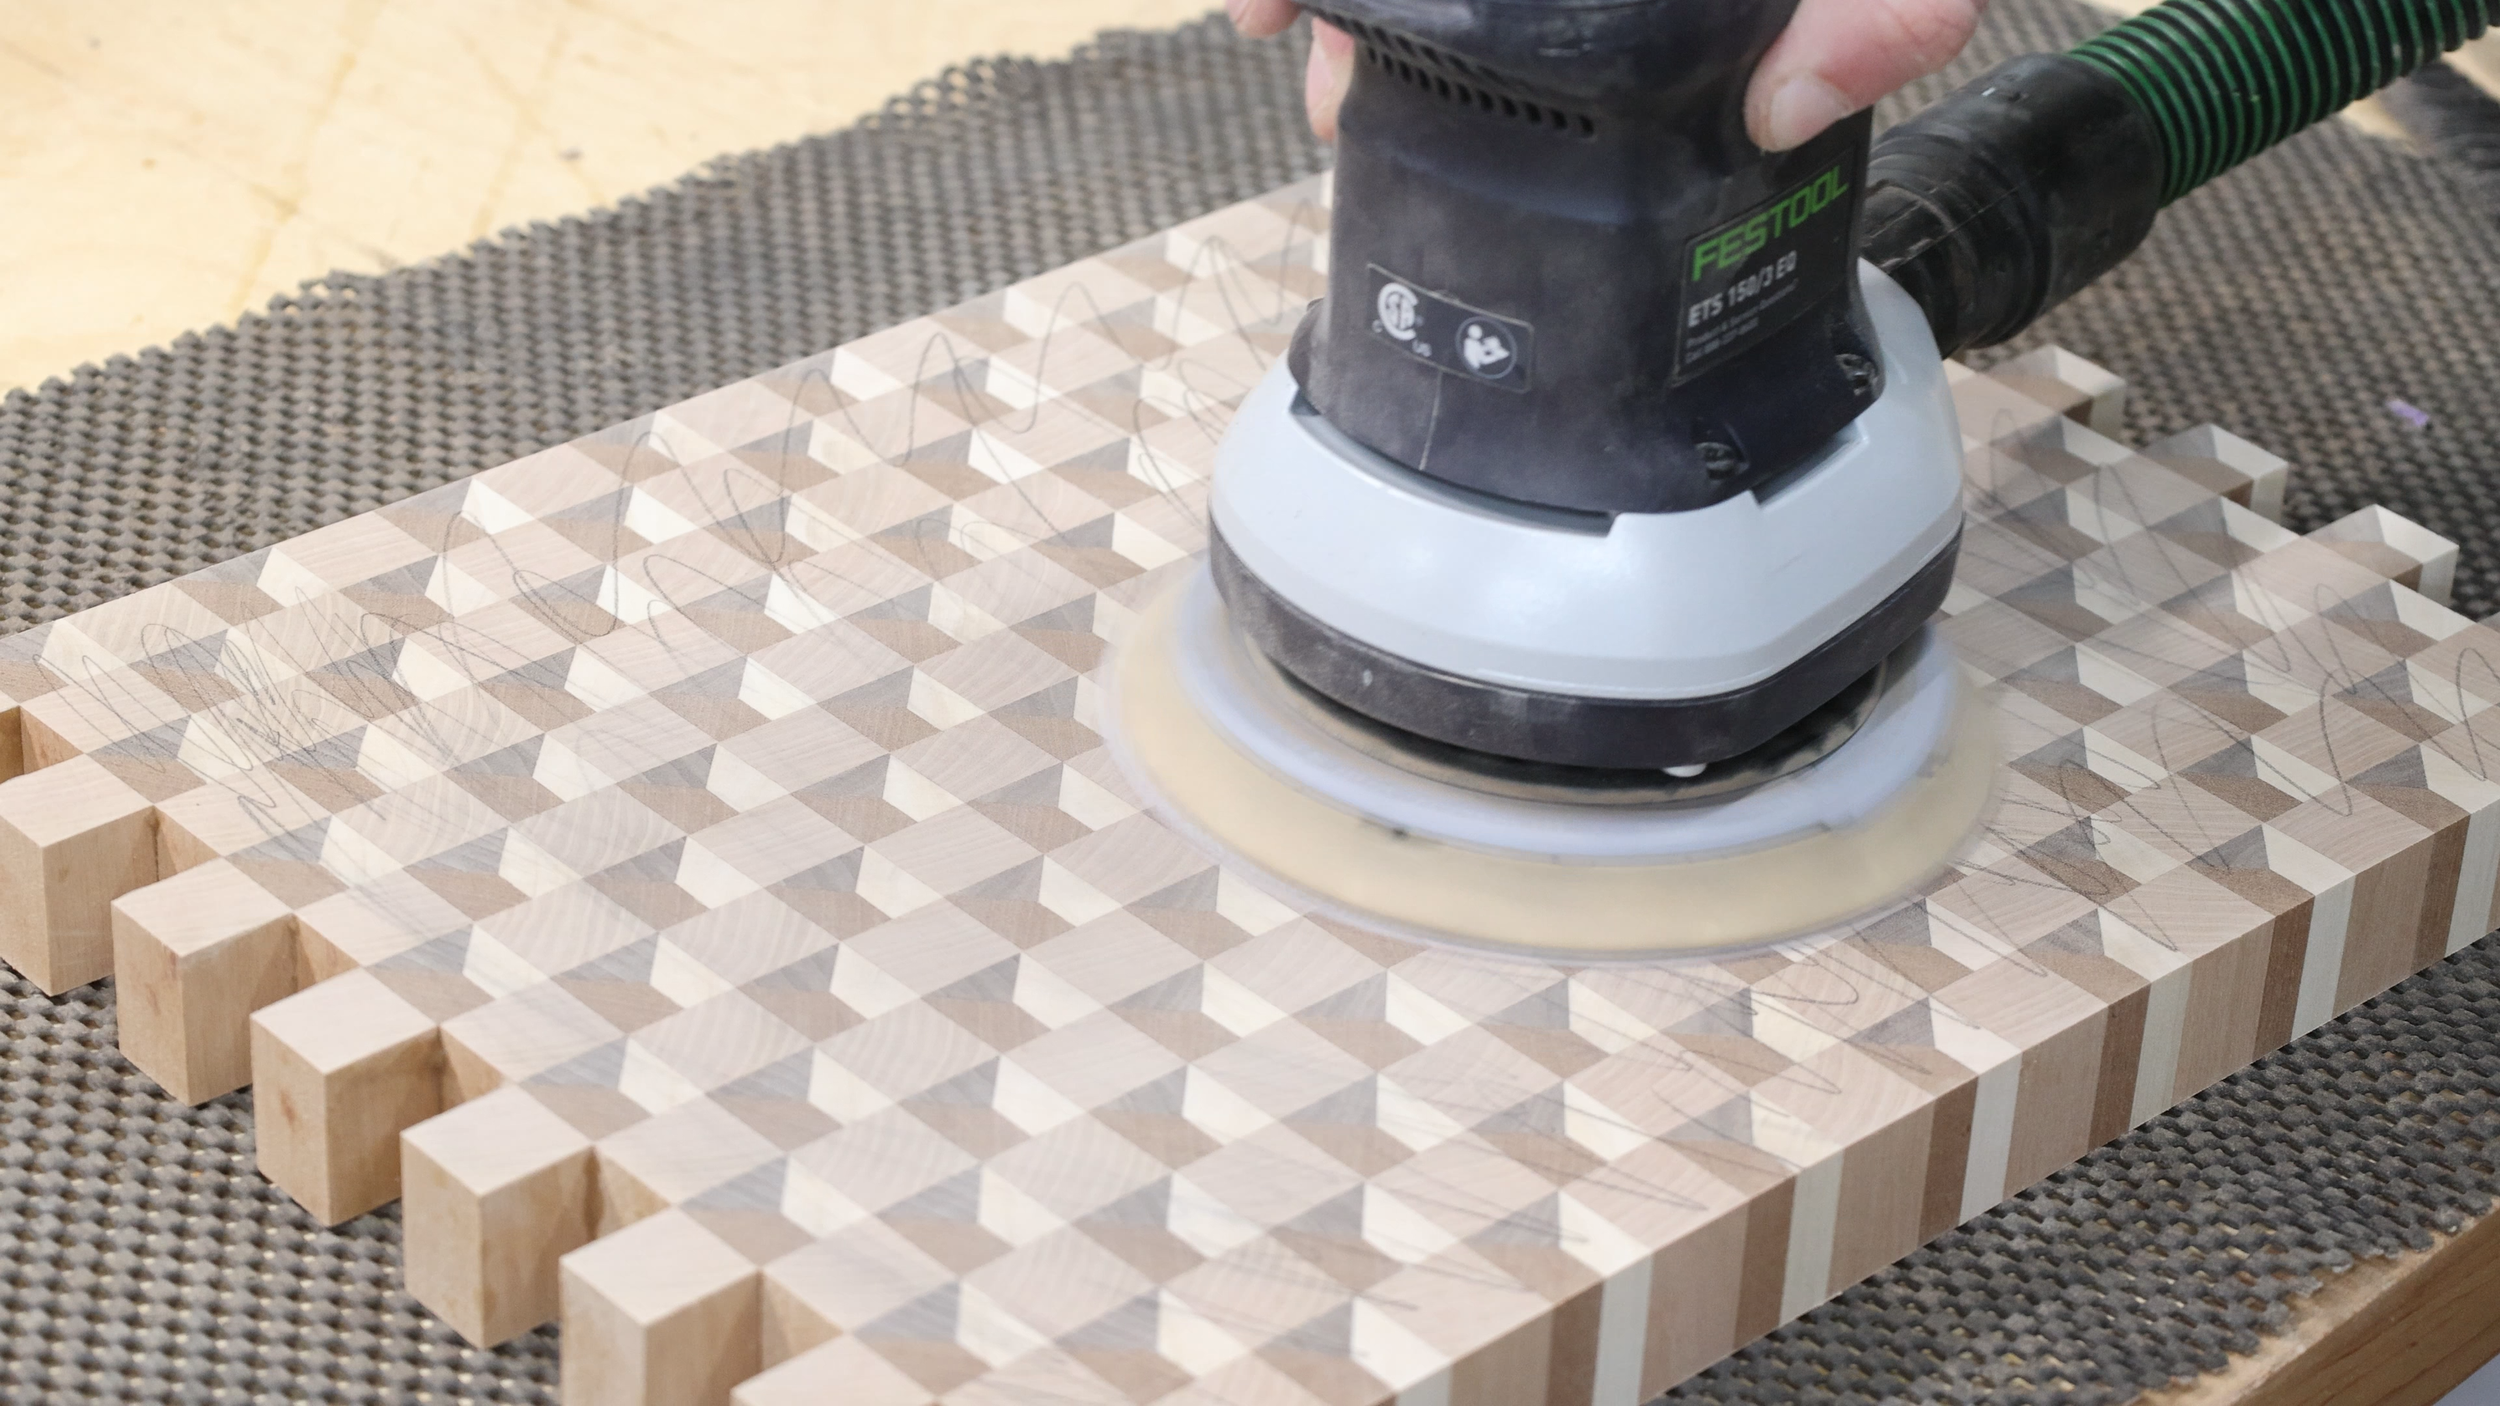
After cutting the slices, I turned them on their edges and staggered the blocks so one complex block next to one cherry block. I glued the whole thing together. Once it was dry, I sanded my board from 120 to 220 grit. Then I sprayed the board with water to pop the grain. Once the water dried, I sanded the board again with 220 grit.
Finishing Steps
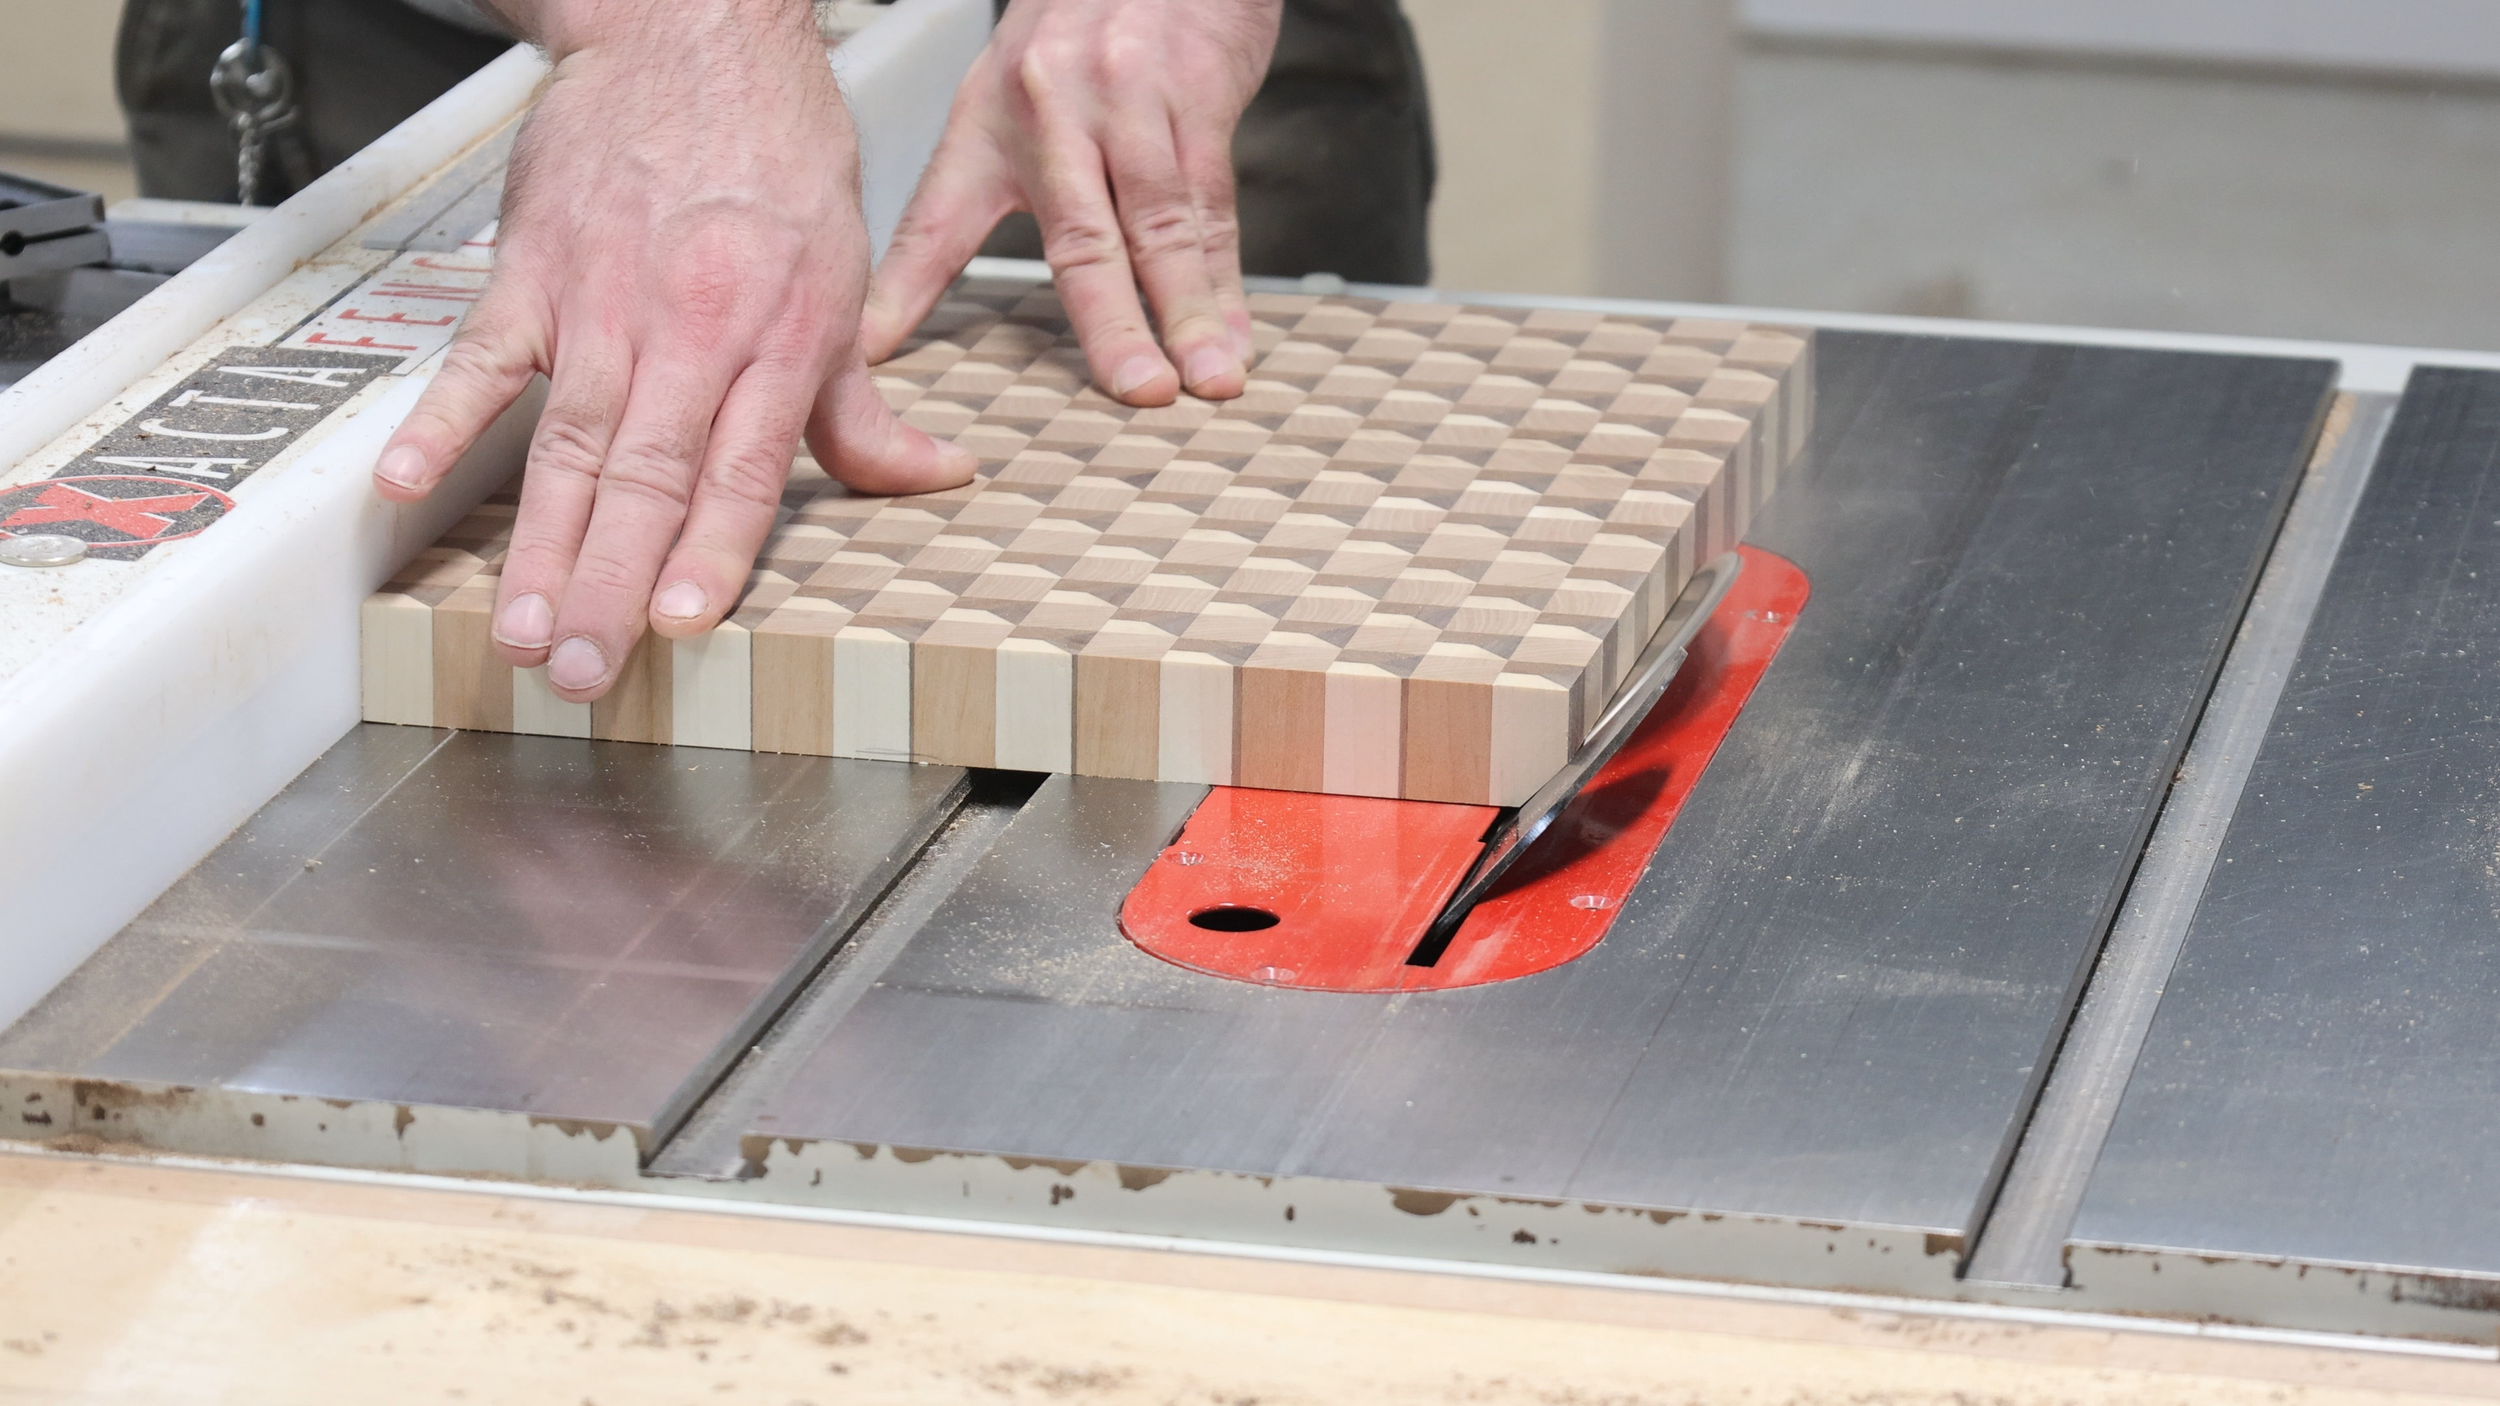
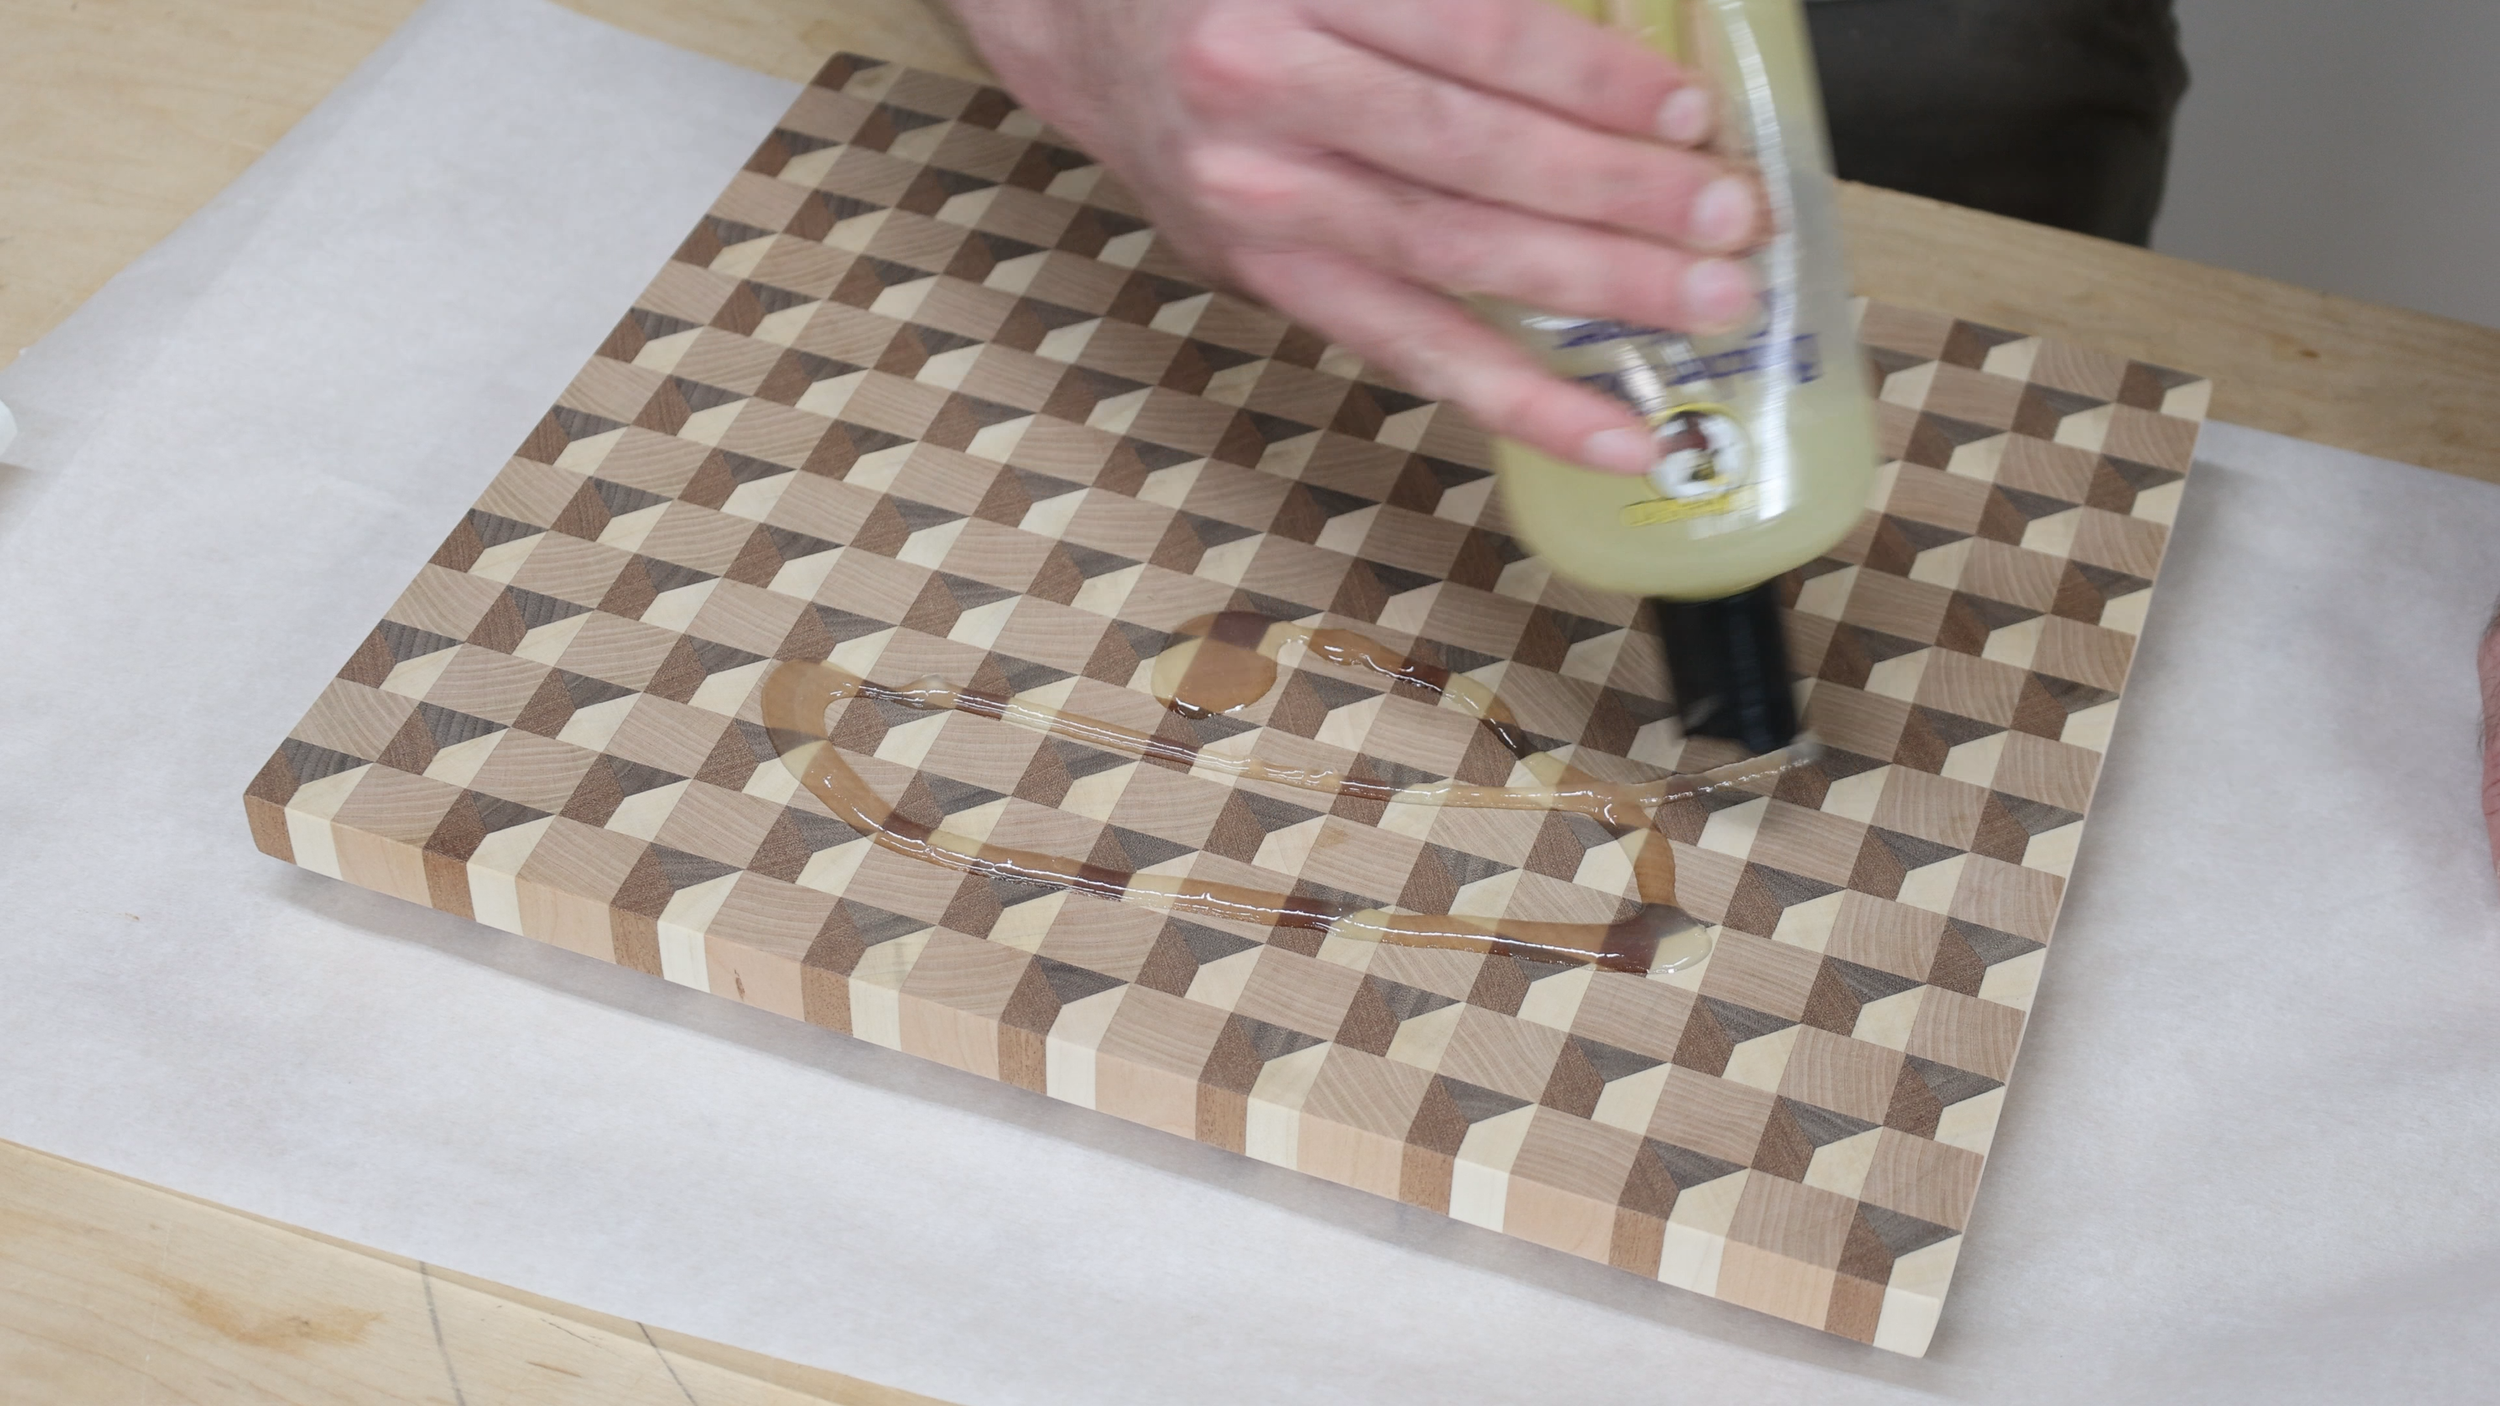
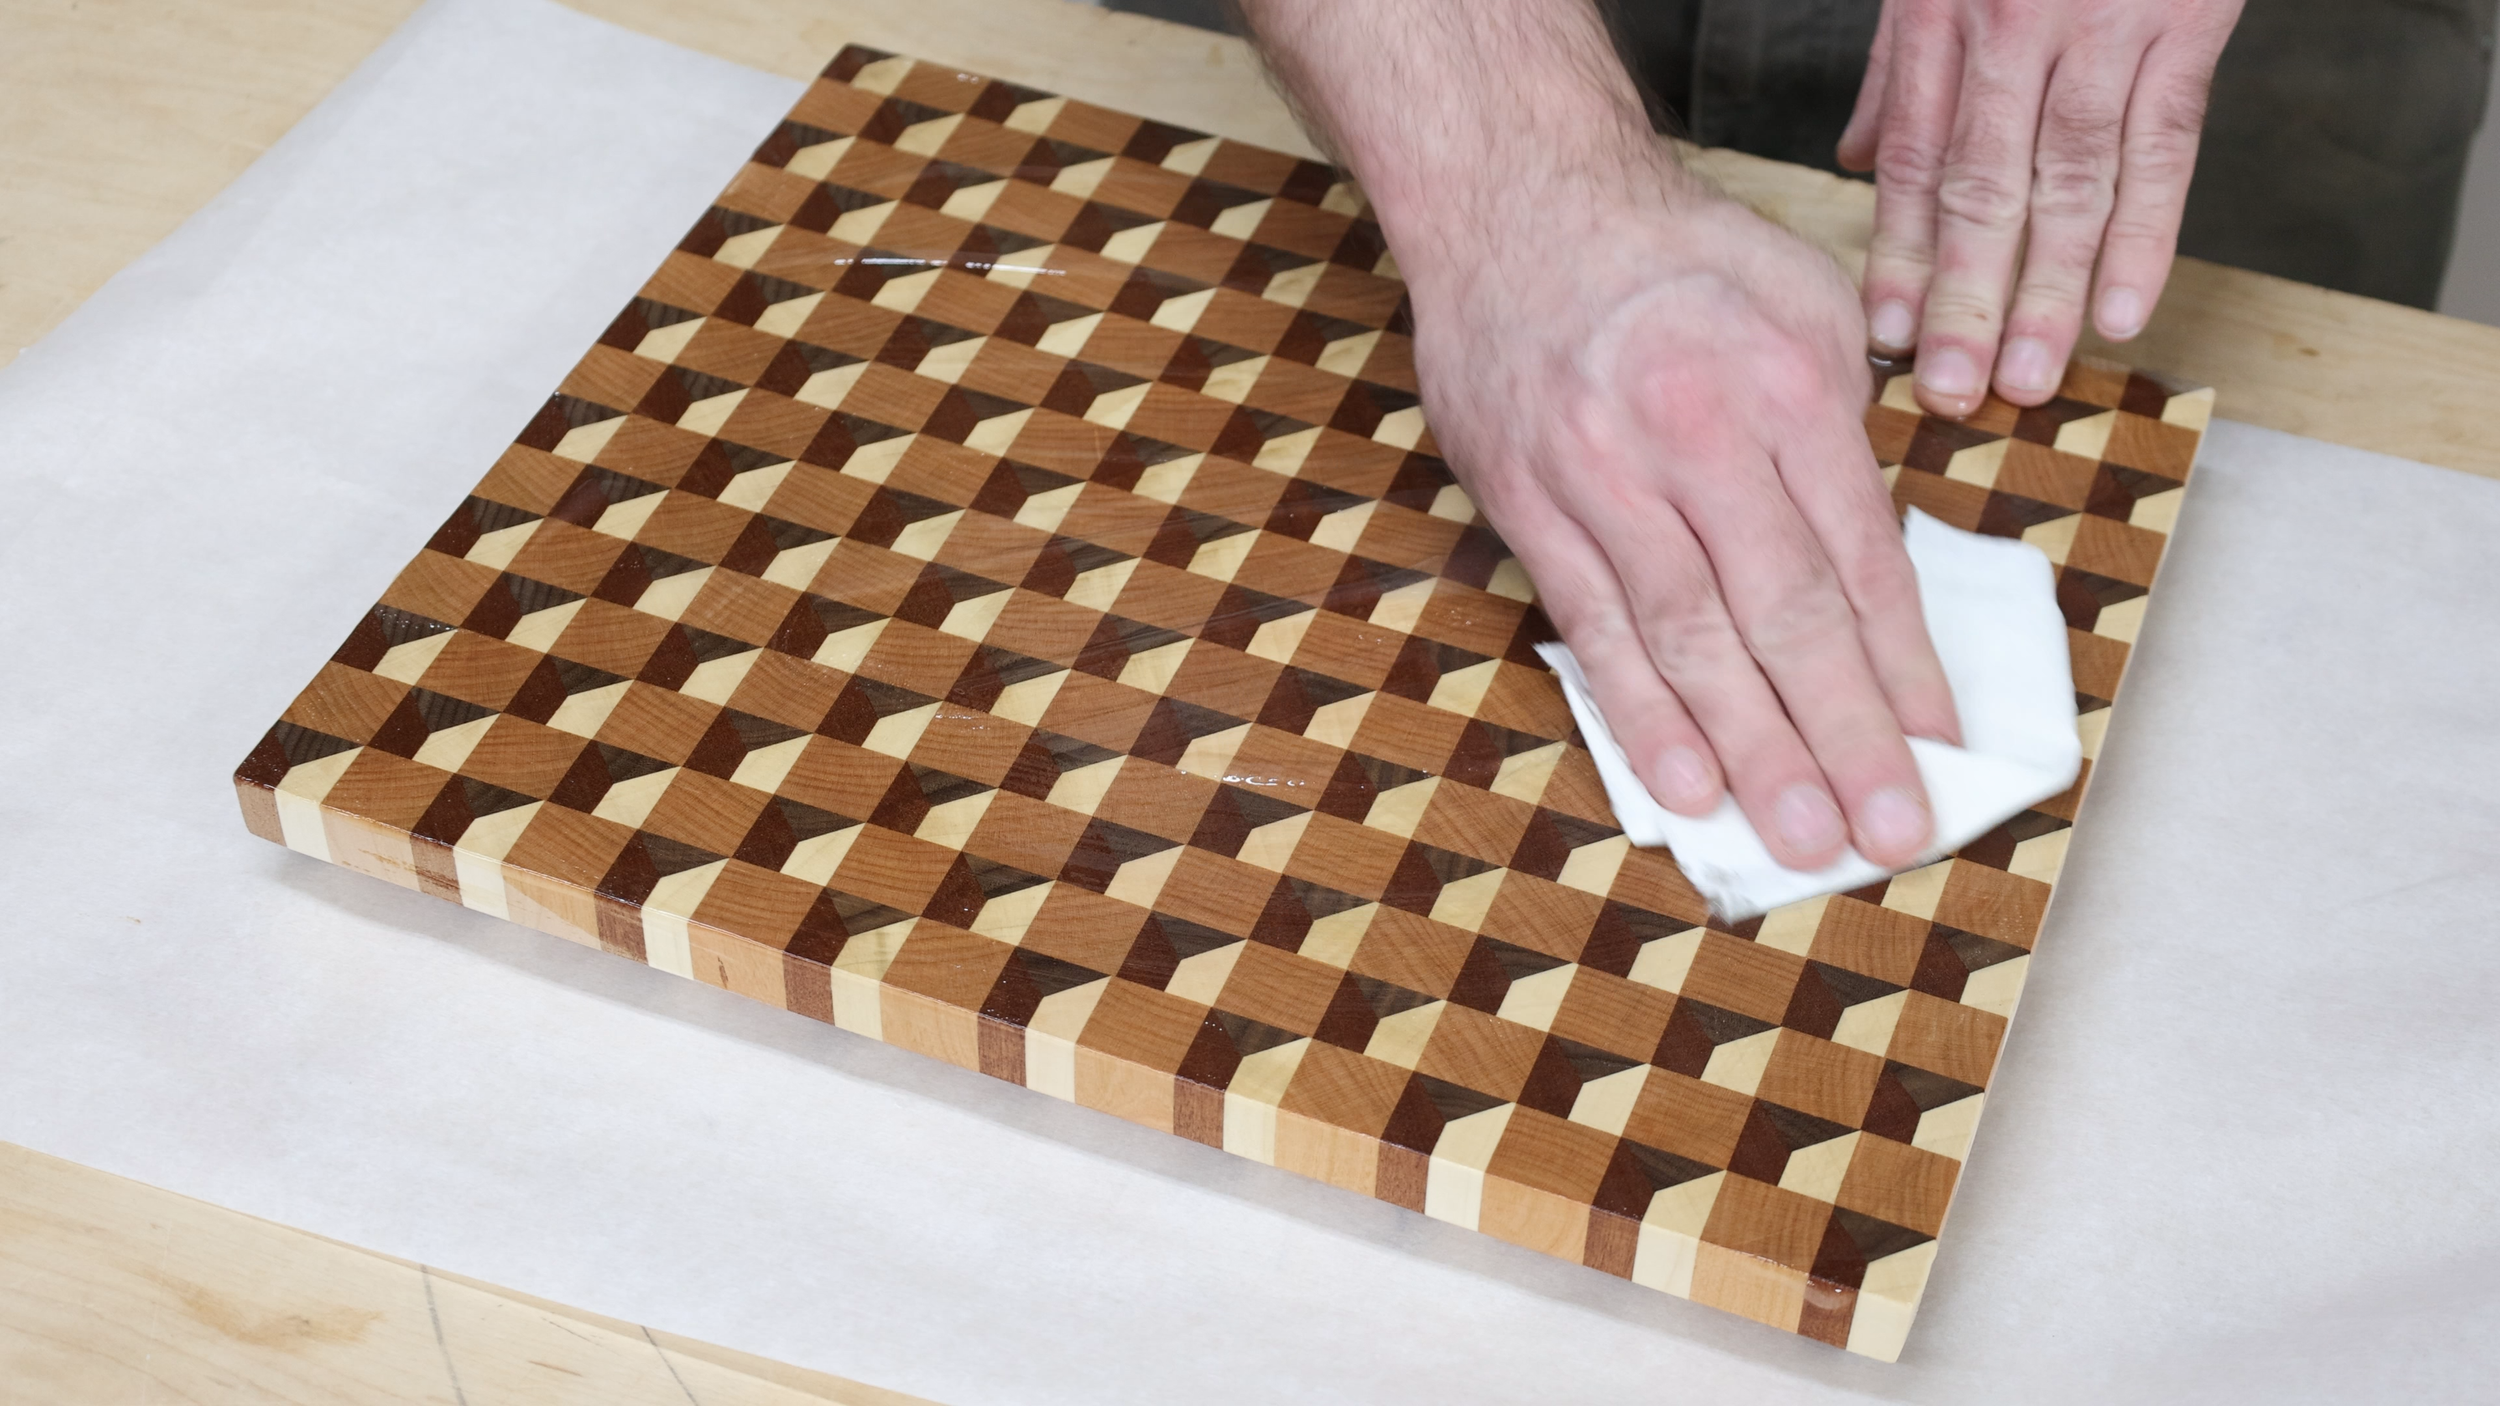
I like to have bevels on my cutting boards. I cut 45 degree bevels along the bottom edges of all four sides. After a bit more sanding of the edges of the board, I applied finish. I keep cutting board finishes simple. I used some butcher block oil, which is a mixture of wax and mineral oil. The end result is a killer looking board that has an amazing 3D pattern.
*As an Amazon Associate I earn from qualifying purchases.
•• Tools & Materials ••
Table Saw: https://amzn.to/2RwQTJa
Table Saw Blade: https://amzn.to/3kezMHf
Wood planer: https://amzn.to/38LarPW
Combination square: https://amzn.to/3aPMN6n
Drum sander: https://amzn.to/2MyjpKG
Random Orbit Sander https://amzn.to/2RxjkXo
120 grit sandpaper: https://amzn.to/2QW835c
180 grit sandpaper: https://amzn.to/39y5kVM
Titebond Wood Glue: https://amzn.to/2tU6B8d
Microjig Grr-ripper: https://amzn.to/38J7Buz
Butcher Block Oil: https://amzn.to/3mEy4jE
Pipe Clamps: https://amzn.to/2RY4ubm
Dust Deputy: https://amzn.to/3aXeqe6


