
Adaptable Desk Caddy
Want to take a useful project idea and make it way cooler? Then make that project customizable like I did with this desk organizer!
The Plan
I want a desk caddy that will hold pencils, business cards, my phone, and whatever oddities I want. In order to do that, I'm making it so that the business card holder is removable and a phone charging station could be added. I want a box for pencils; I won’t make this removeable but certainly can be. I’ll also carve out a catchall tray to hold my random things.
The project is made from scraps around the shop. I found a piece of walnut that’s about 1” thick and multiple boards that were closer to 1/4” thick. These are perfect for making the organizer. I can use the thicker piece for the base and the thinner pieces to make the components.
Constructing the Pencil and Card Boxes
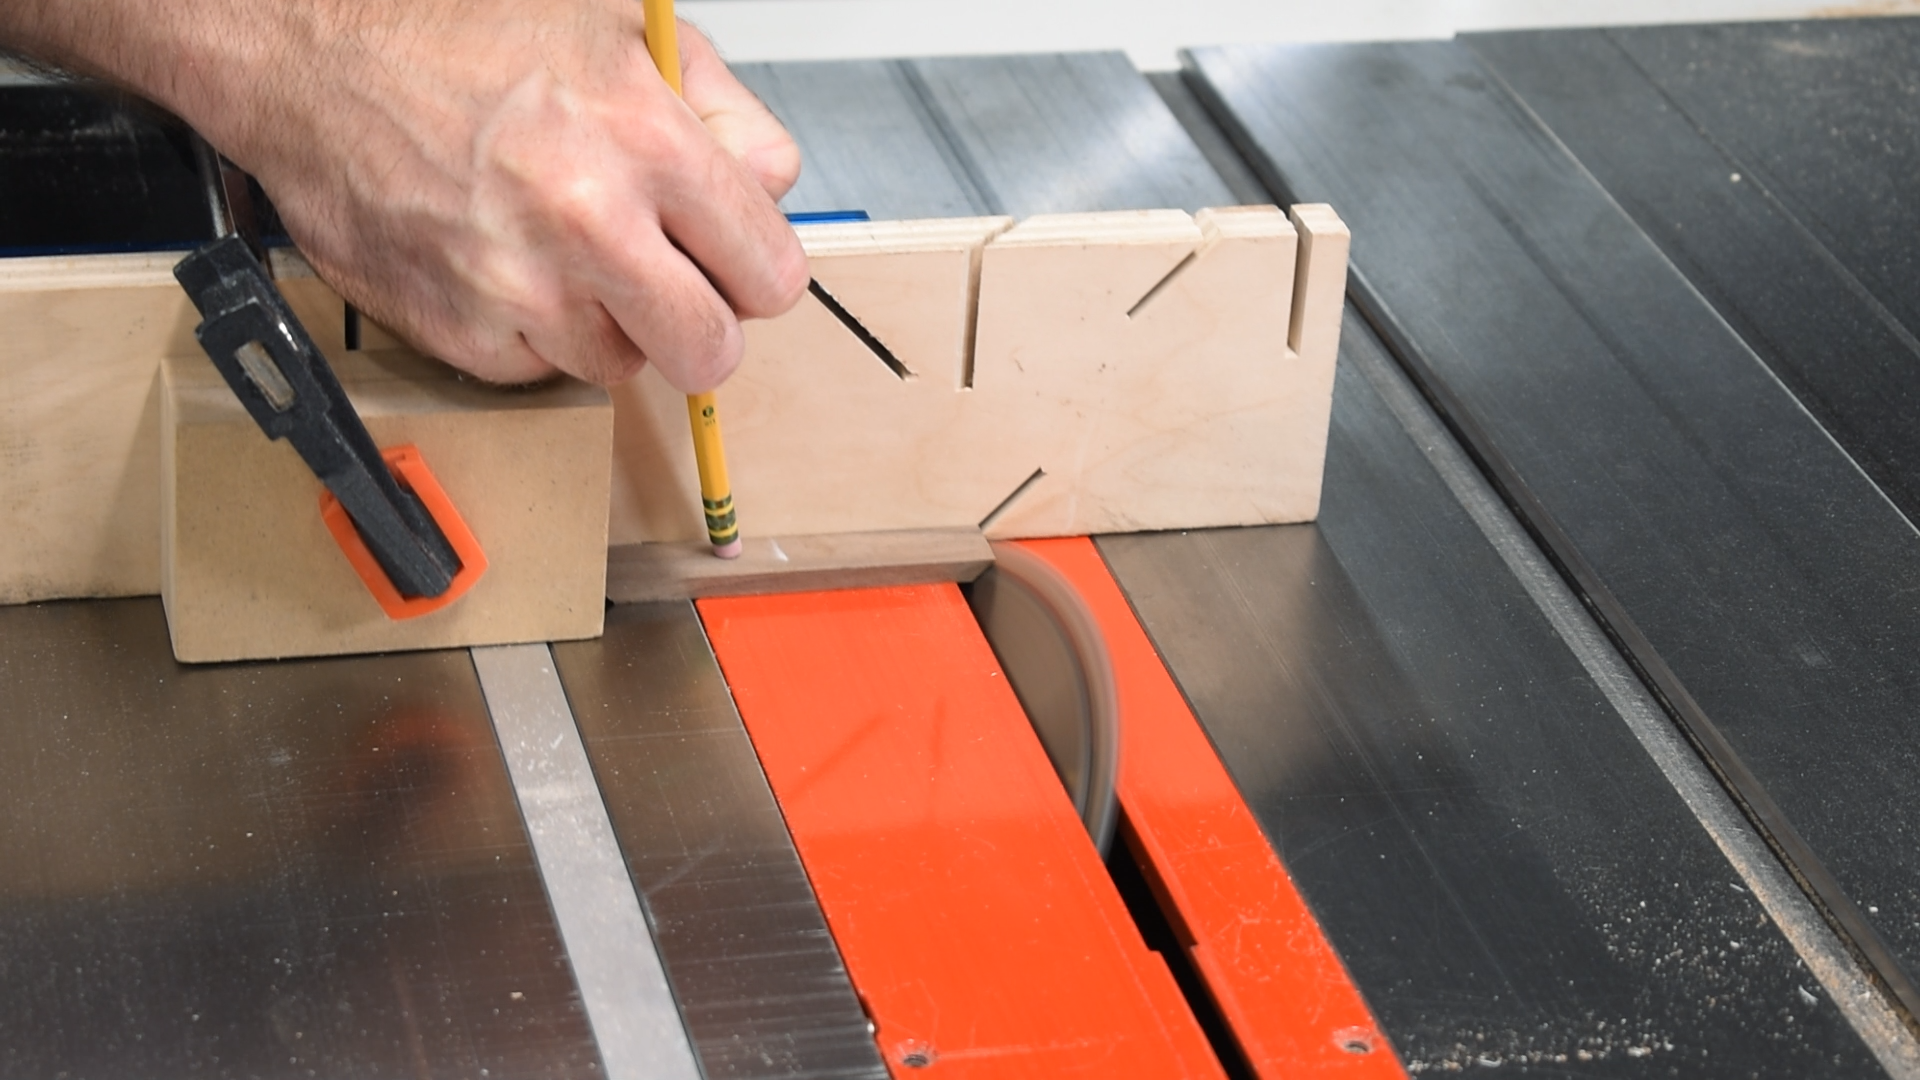
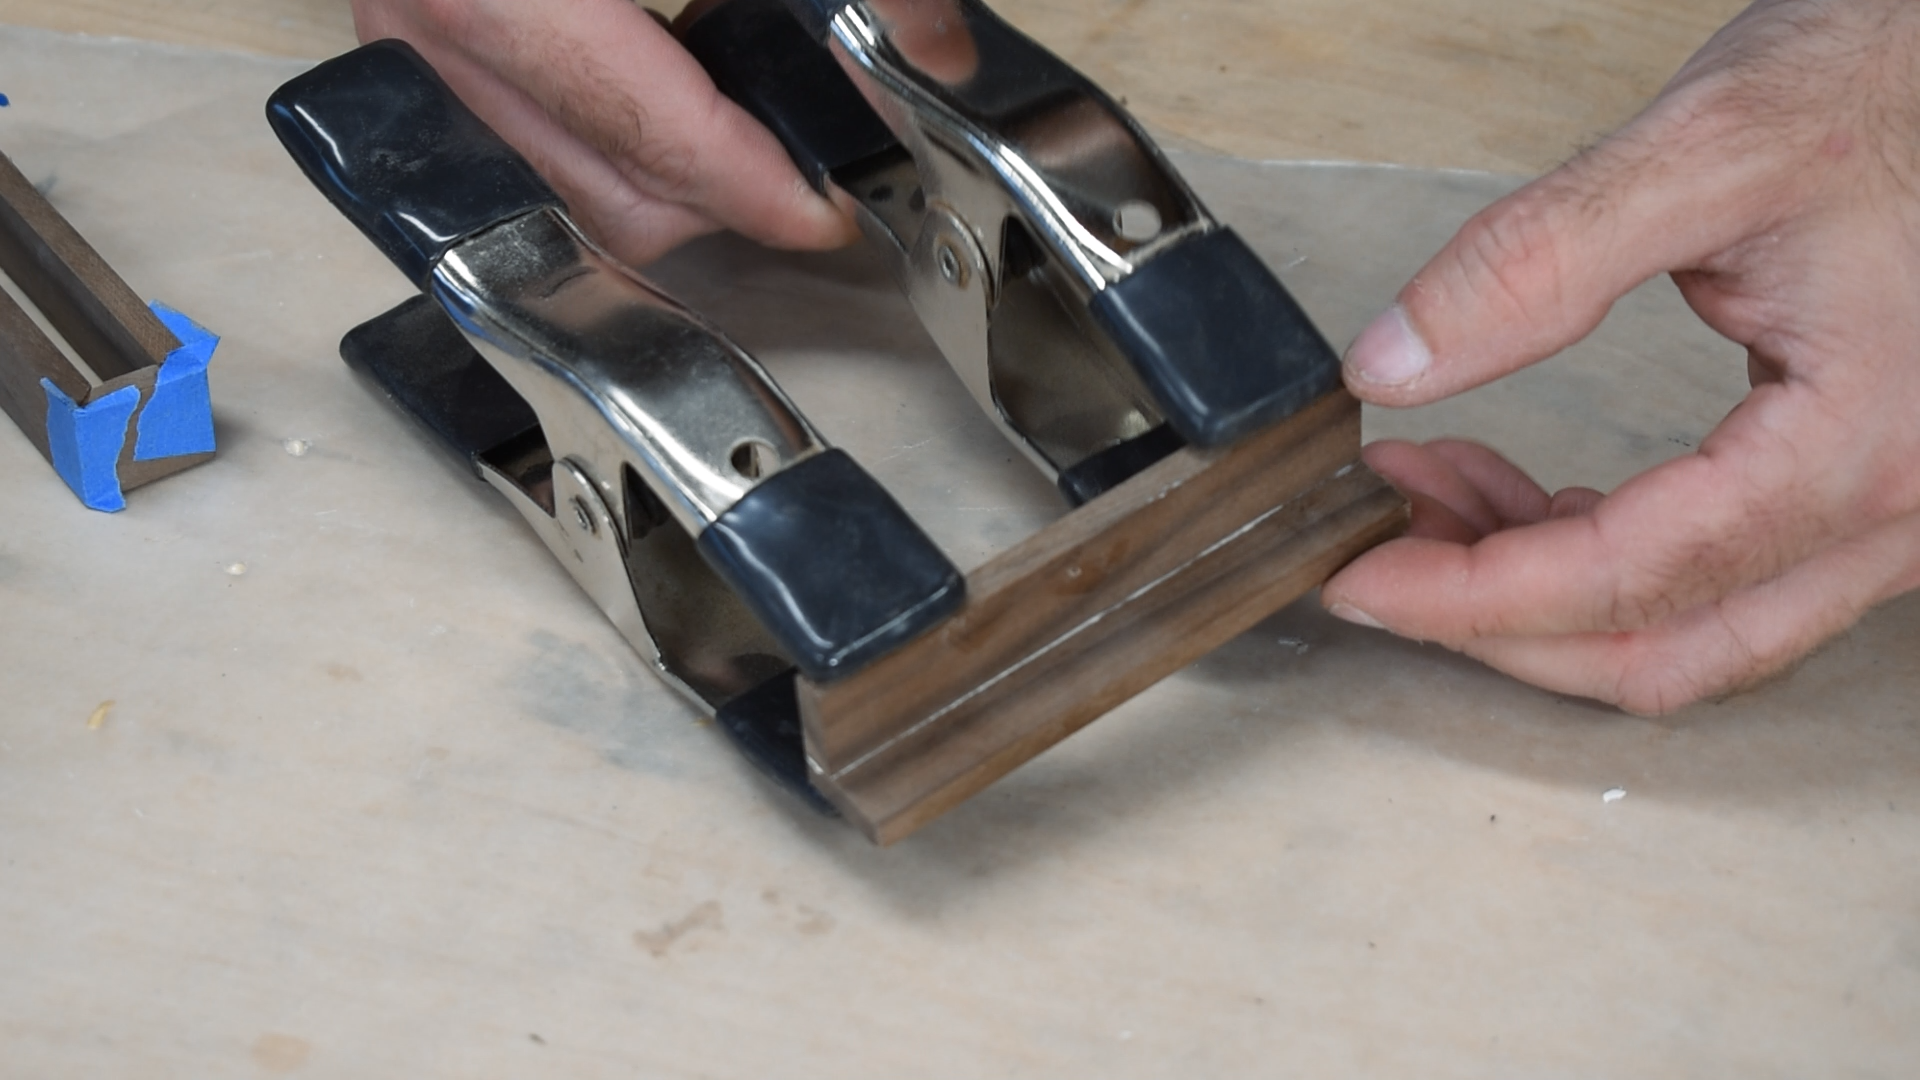
I don’t know how big I want the base of the caddy without making the pencil box and business card holder. I took the 1/4” thick boards and cut them to length. The long sides of the pencil box are about 3.5” long and the short sides are around 2” long, giving me a rectangle. The pencil box is 4” tall. My business cards are 3.5” long so I made the card holder 4” long and 1” wide. I cut my pieces to their final size and then cut miter joints using my miter fence. I applied glue to the miters and clamped them together using blue tape. After the boxes were dry, I cut rectangles to fit inside as a base.


Phone Charger
The phone charging station requires a bit more work. I cut two 1/4” thick pieces (I cut these when I made the card holder) and glued them together to form an L shape. I cut a notch out of the middle so that there was room for a charging cord to fit through. Before gluing my L to a backer board, I cut a slight bevel on the edge that connects to the back. This lets my phone lean back and not stand straight up. Once the phone holder was dry, I added a footer so that it stands about 1.5” high.


Making the Base
I set my pencil box and card holder on the board for my base and figured out how long and wide I want it. This is 100% subjective. I chose for the base to be about 9.5” long and around 5.5” wide. I cut it to final size and I also cut a matching piece of plywood, which is a template for carving out the dish. If you’ve read my other blog articles you know that I’m a huge fan of templates. I drew a picture of the rectangular dish I wanted and stuck it to the plywood using spray adhesive. I cut out the rectangle with a scroll saw and then stuck the plywood to my base using double sided tape. All I needed to do now was use a router and a pattern bit to carve out the dish. I have an awesome video on how to do this. Click HERE to see it.


Attaching the Components
With the base done I can add my components. I simply glued the pencil holder into place. For the card holder and the phone charger, I opted for rare earth magnets. I made a little template out of plywood, allowing me to drill holes in the base and the underside of the business card holder and phone charger. I put a little bit of super glue in the hole and inserted the magnets. WARNING: Make sure that your magnets are flipped around so that they will stick to one another. If a magnet is flipped the wrong way the polarities do not align and the magnets are repelled from one another. #SCIENCE!
Conclusion
I applied Osmo Top Oil to the whole project using a white cleaning pad. I think this project turned out pretty cool! Is it practical and necessary? I don’t know. But it doesn’t have to be. It was really about getting into the shop, being creative, and having fun. Hopefully this article inspire you to make something of your own.


*As an Amazon Associate I earn from qualifying purchases.