
Scroll Saw Dovetails
We’ve seen dovetails cut different ways. You can hand cut them. A lot of people use a band saw. Now, people are even using a table saw with a special blade! But what about using a scroll saw? Where is the scroll saw dovetail love? ! I set out on trying it to see just how difficult it is.
Layout
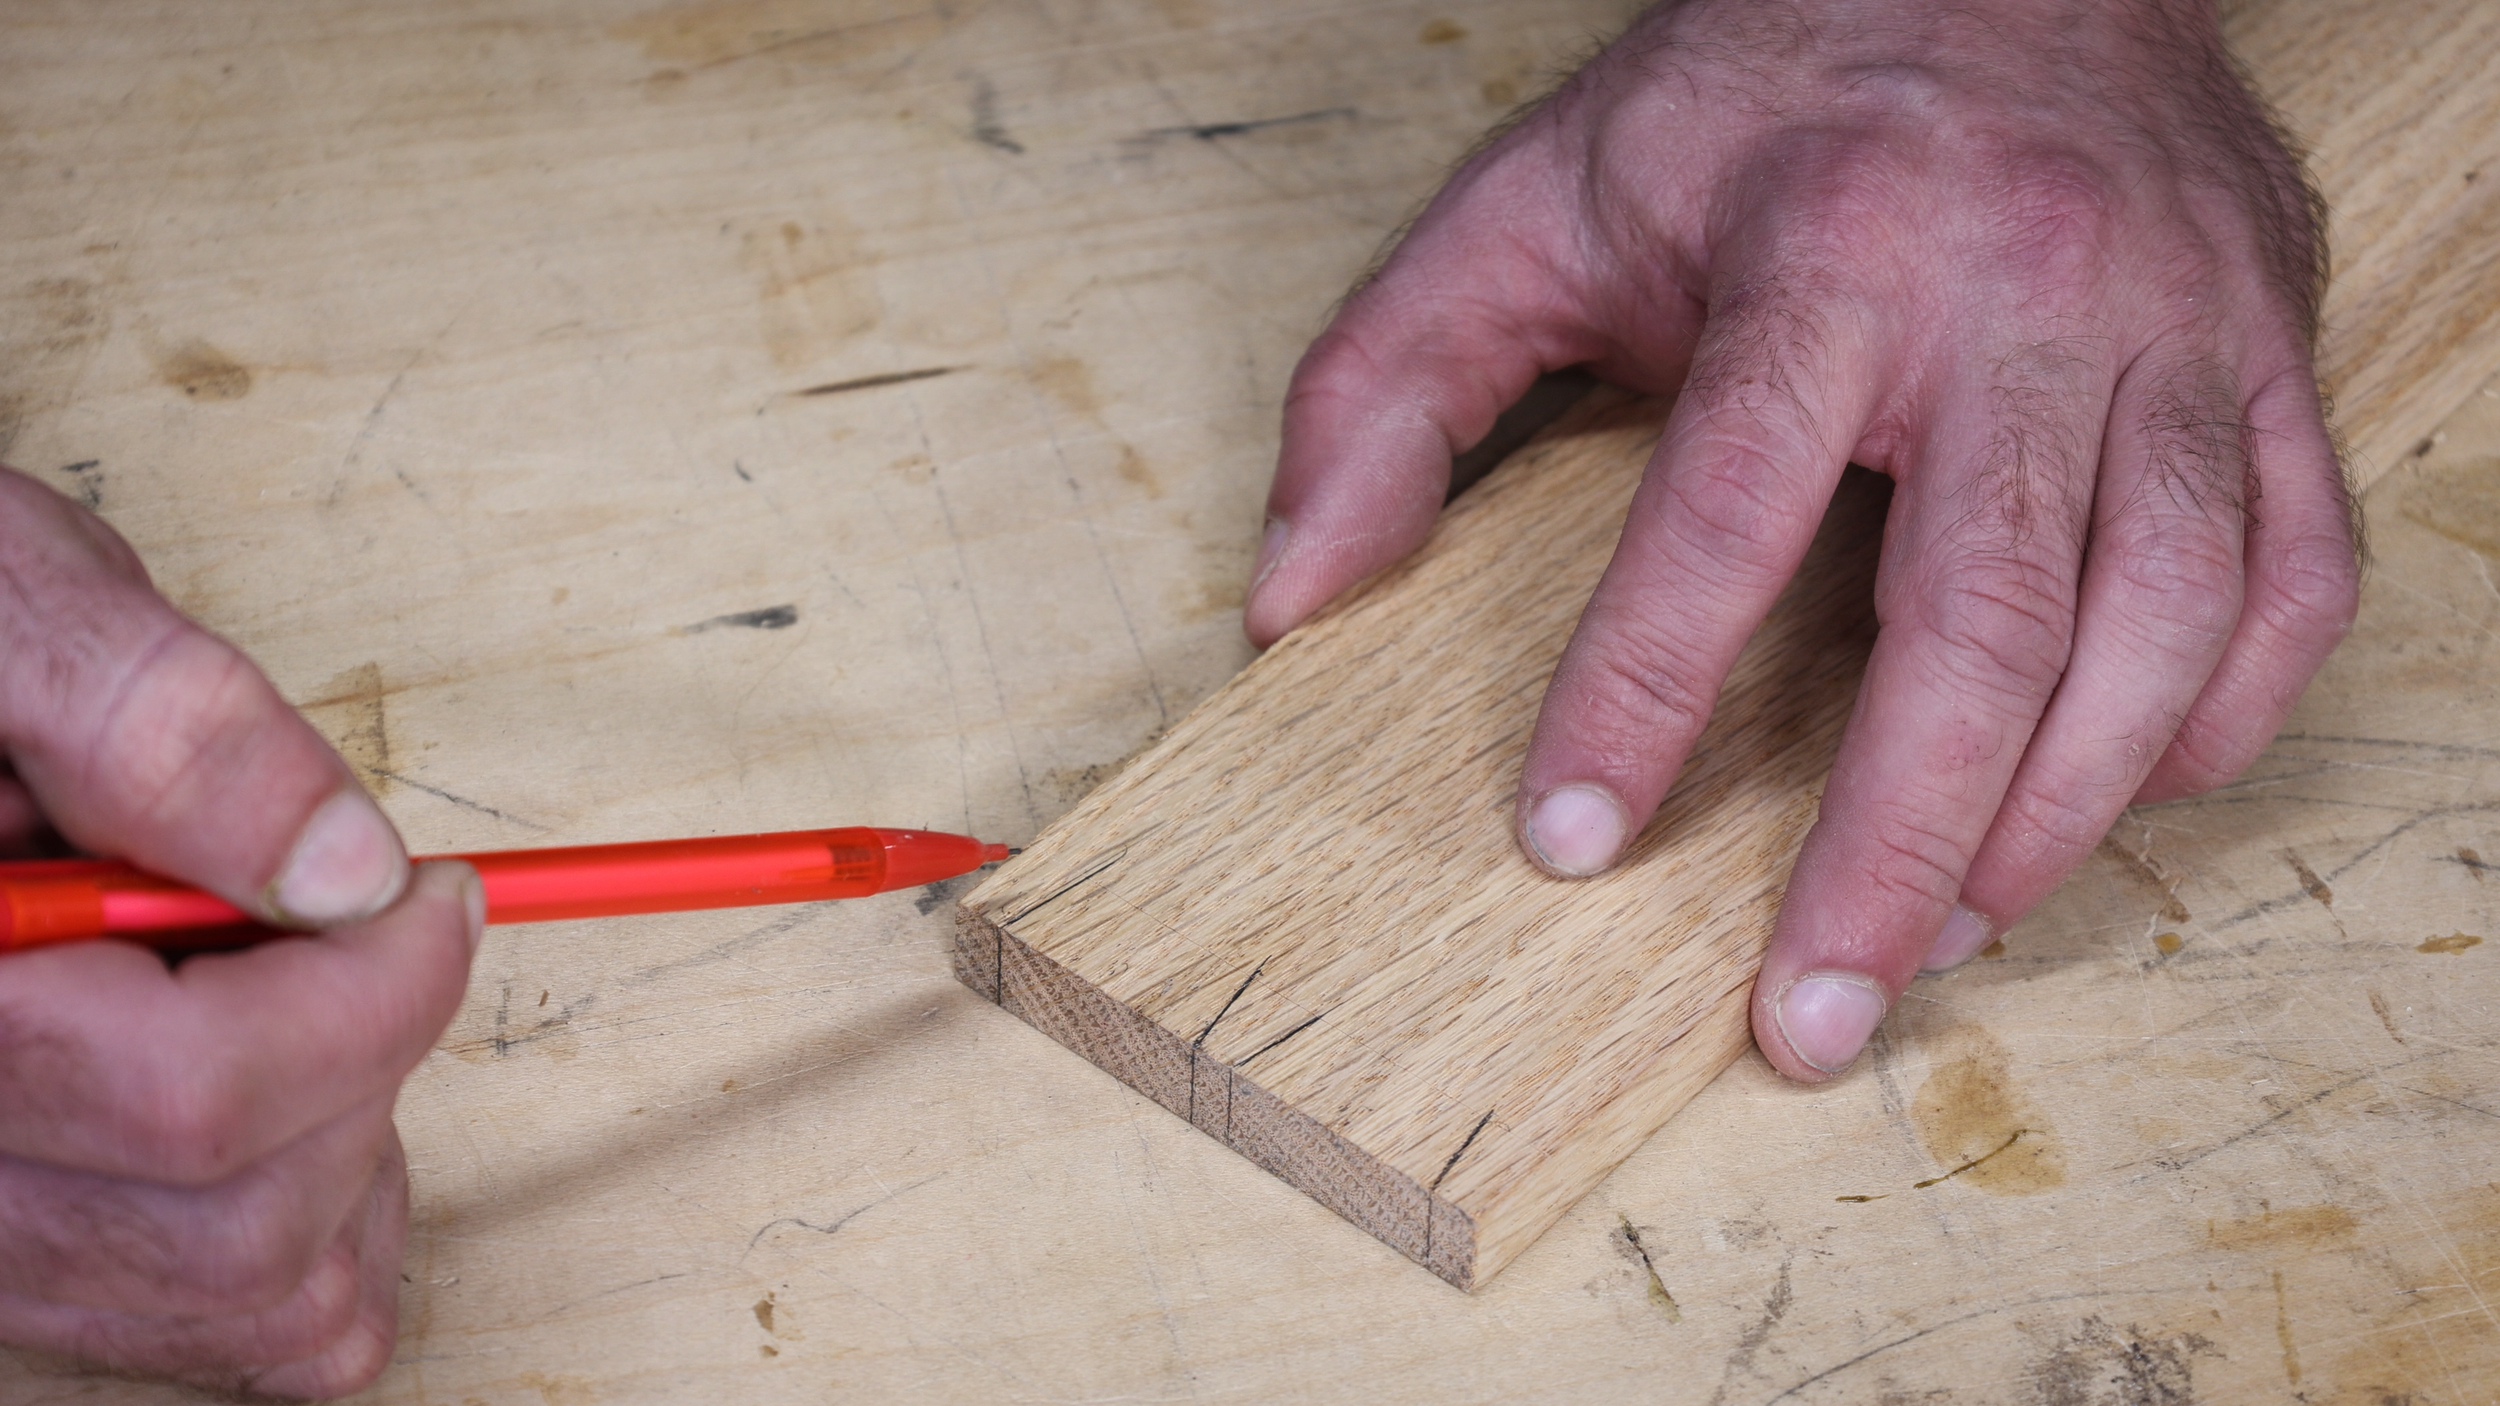
I used oak for my dovetails. I started by laying out the dovetails on my boards. I used a marking gauge to scribe a baseline. This line is the thickness of my workpieces. In this case I’m using 1/2” thick wood. I scribed both faces of both boards, and then I scribed the shoulder of the board that will have our tails.
I like wider tails and narrow pins so I laid them out so they were visually appealing to me. Typically, I like to cut the tails first; however, it’s a bit easier to cut pins first when using a scroll saw or band saw. This is because it’s easier to cut the tails later that match the pins than it is to cut pin to match the tails.


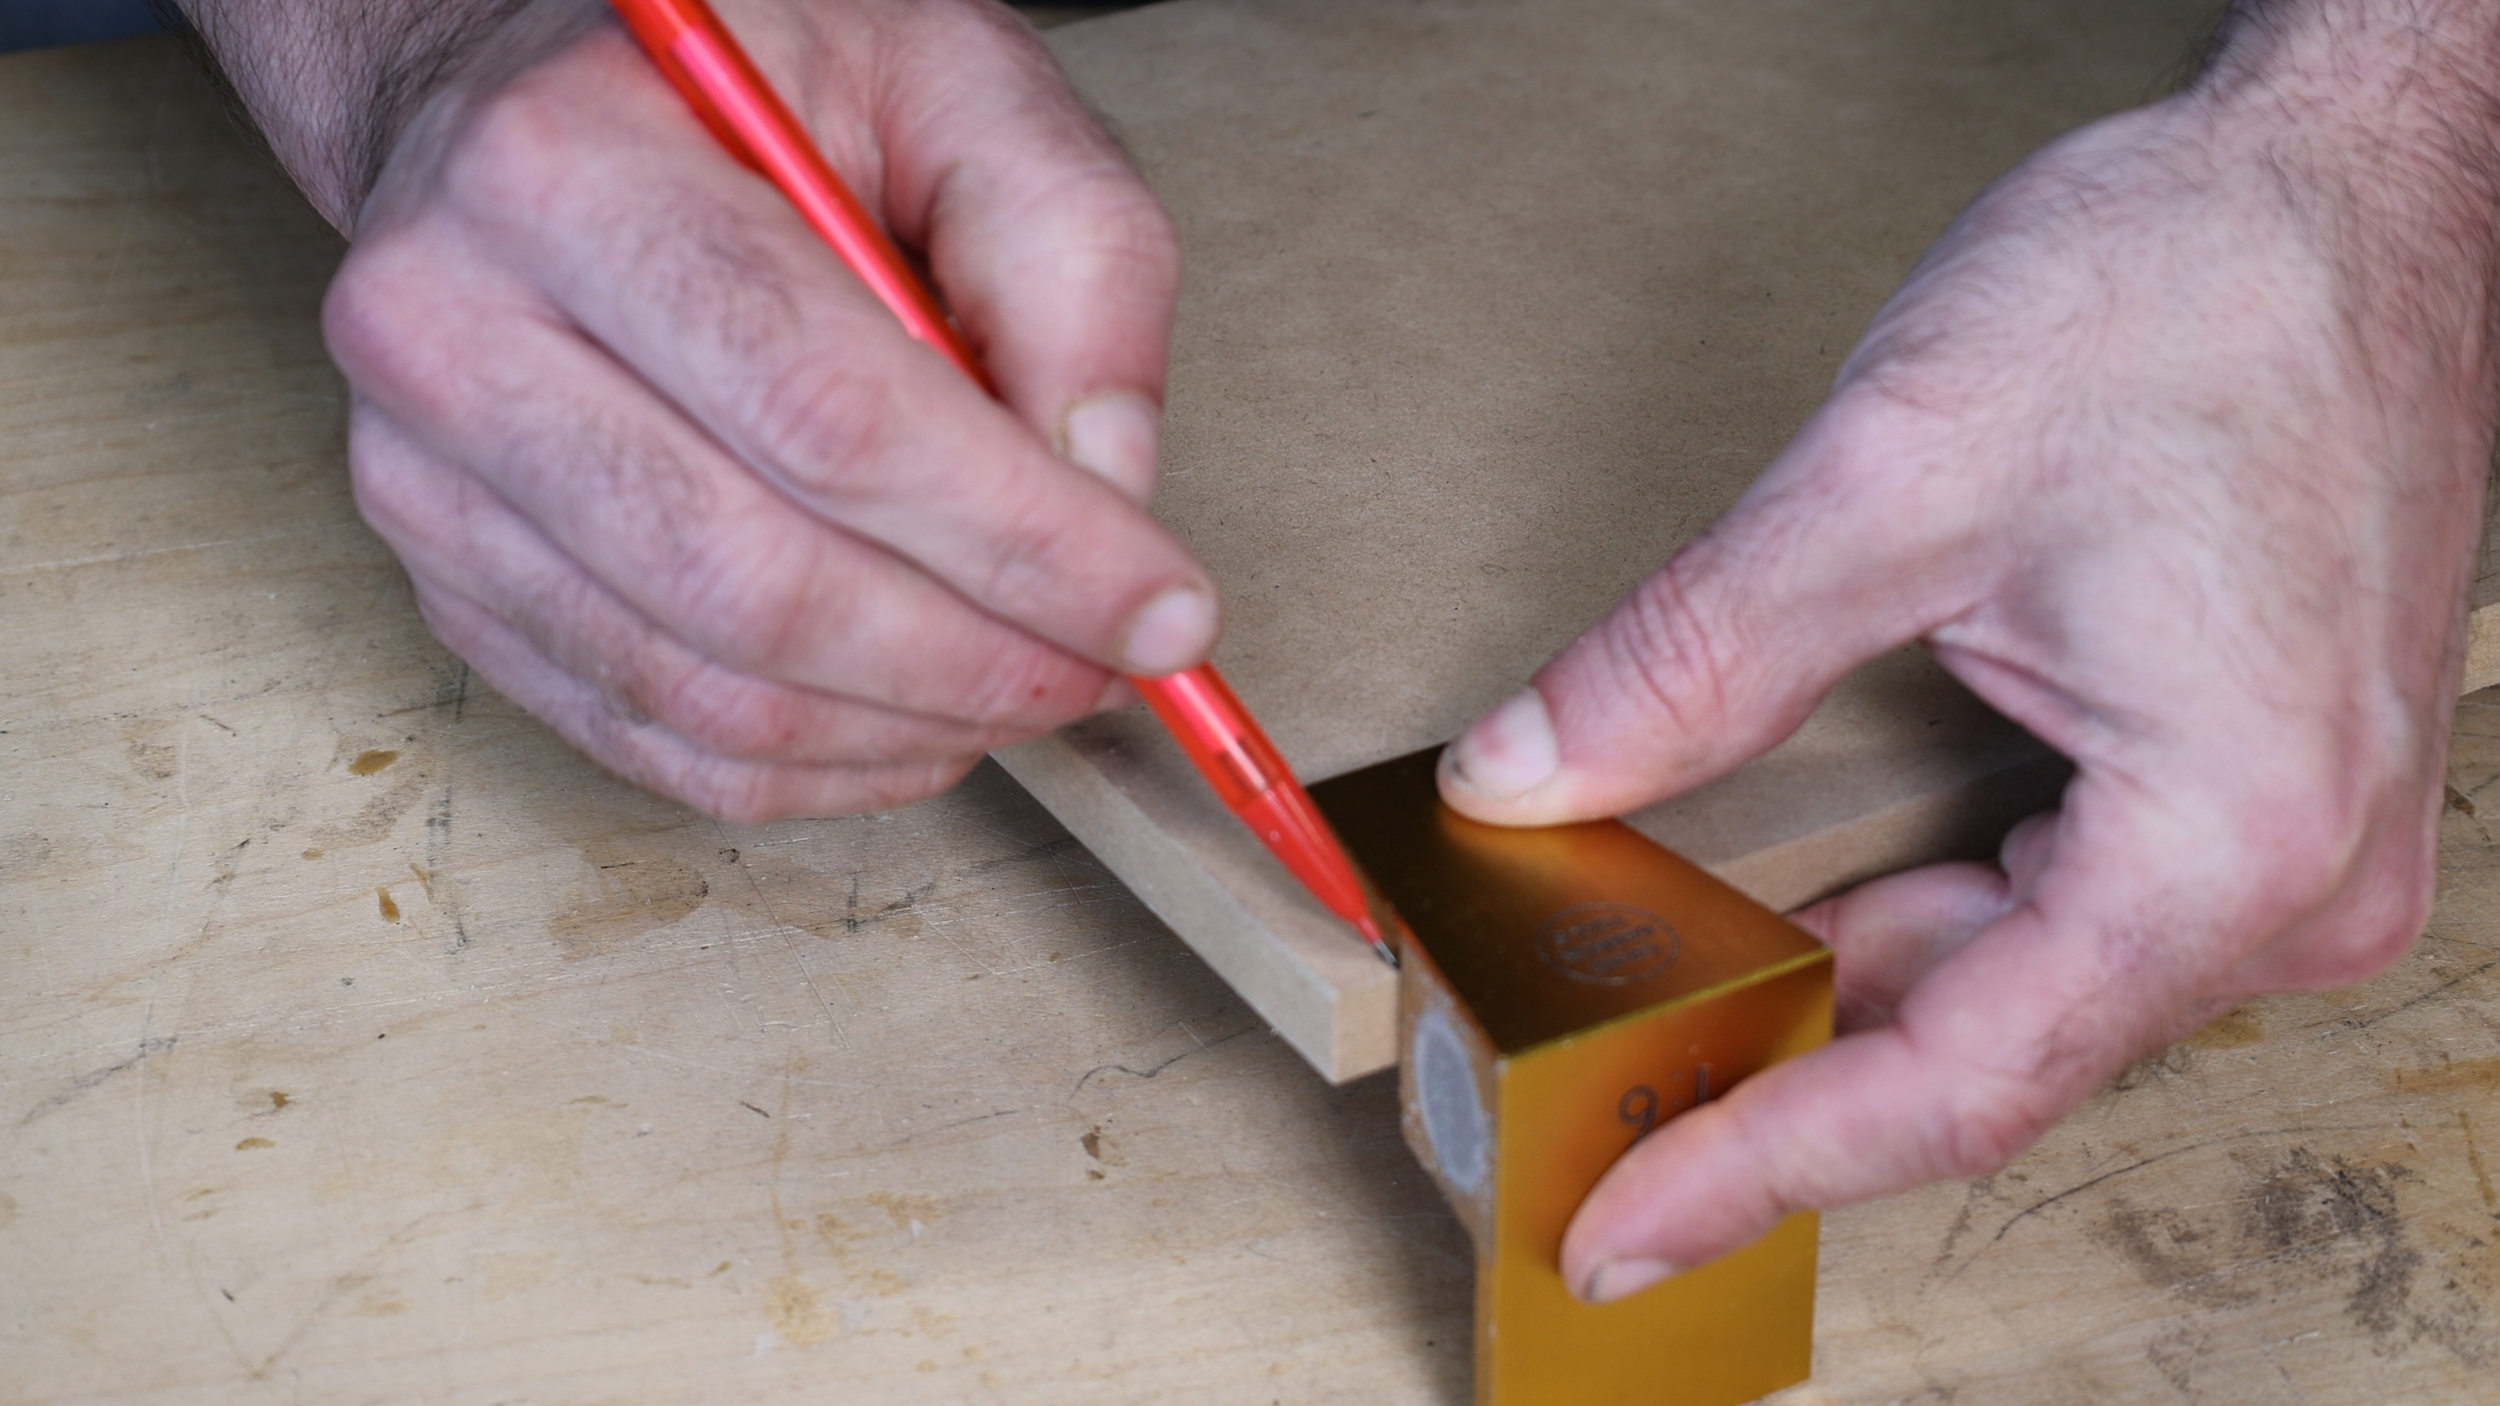
I want a 1:6 ratio dovetail. That’s approximately 9.5 degrees so I set my scroll saw table to 9.5 degrees in order to cut my pins. I’m using a #7 reverse tooth scroll saw blade. I find that the bigger the blade, the easier it is to cut straight and avoid drift. I cut the left sides of my pins first simply because of the direction I tilted saw. In order to cut the right side of the pins I needed to tilt my scroll saw to 9.5 degrees in the other direction. Then I cut the right side of the pins.
Dovetail Pin Jig
What if you don’t have a scroll saw that tilts both ways? In that case you’ll need to make a quick jig. By making a dovetail jig you can keep your saw blade at 90 degrees and cut both sides of the pins. Scroll saws don’t have a lot of clearance. Because of this, I used as thin of material as I could to make the jig.
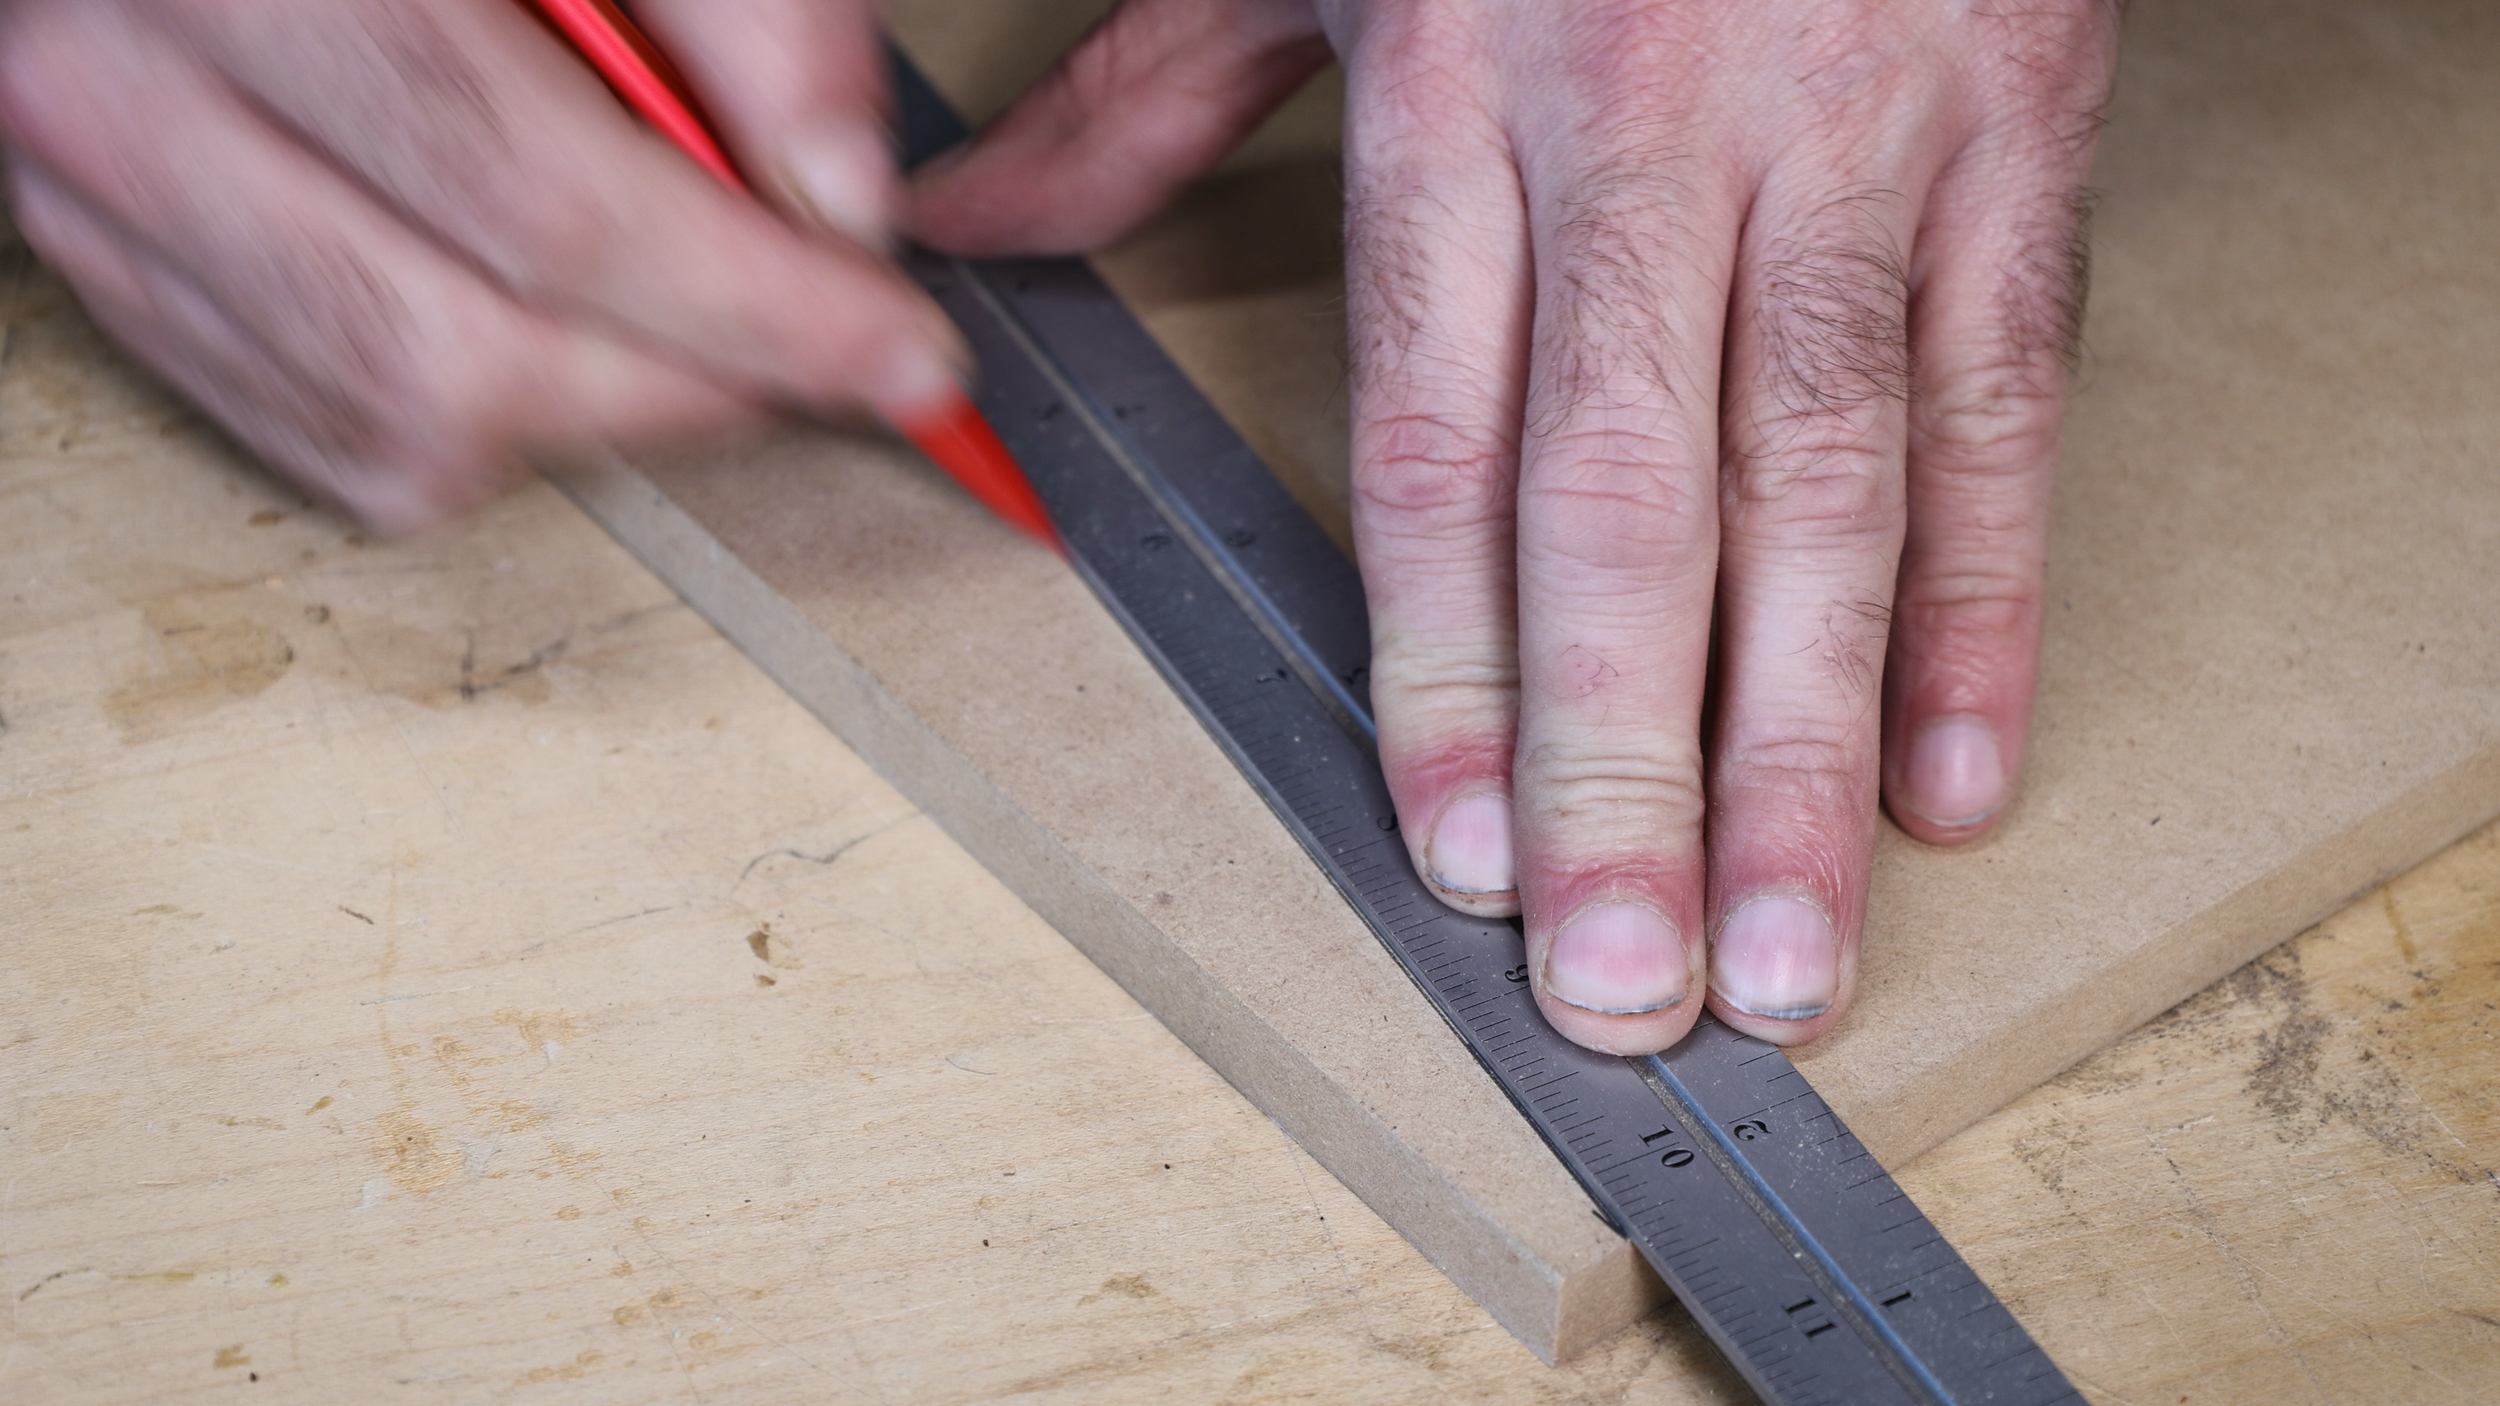
It’s construction is amazingly simple! It consists of two wedges using 1/2” thick MDF, and then a piece of 1/4” thick MDF on top and bottom to make a little sled. It starts by drawing the layout line for the wedge. I took a piece of 1/2” MDF and cut it to about 10” wide. I placed a mark 1/4” from the edge and then aligned by dovetail guide to it. I marked the dovetail and then used a ruler to extend that line all the way down my workpiece.
Using the bandsaw, I cut on the line, which resulted in one of my wedges. To make another identical wedge, I placed the first one on my sheet of MDF, traced it, and then cut it out. The spacing between the wedges depends on the size of your scroll saw table. I spread mine about 3” apart. I then glued 1/4” MDF on the top and bottom of the wedges.


Using the jig is really simple. Place the pin board on the jig ensuring that the end of the board sticks out past the jig. You don’t want to cut into your workpiece but accidently cut into your jig. When making your cuts, you only have to move the jig around and not the workpiece.
Cut the Tails
To cut the tails, I aligned the pin board on the tail board and marked the position of the tails. Cutting dovetails is pretty straight forward. Follow the layout lines, but cut on the waste side of the workpiece. Cutting directly on the line can cause slight gaps in the dovetails. Cutting to the side of the line (on the pin side) will give you tighter joints. You will quickly see why you cut the pins first. Cutting the tails is easier and allows you make the tails match the pins much easier than matching the pins to the tails.
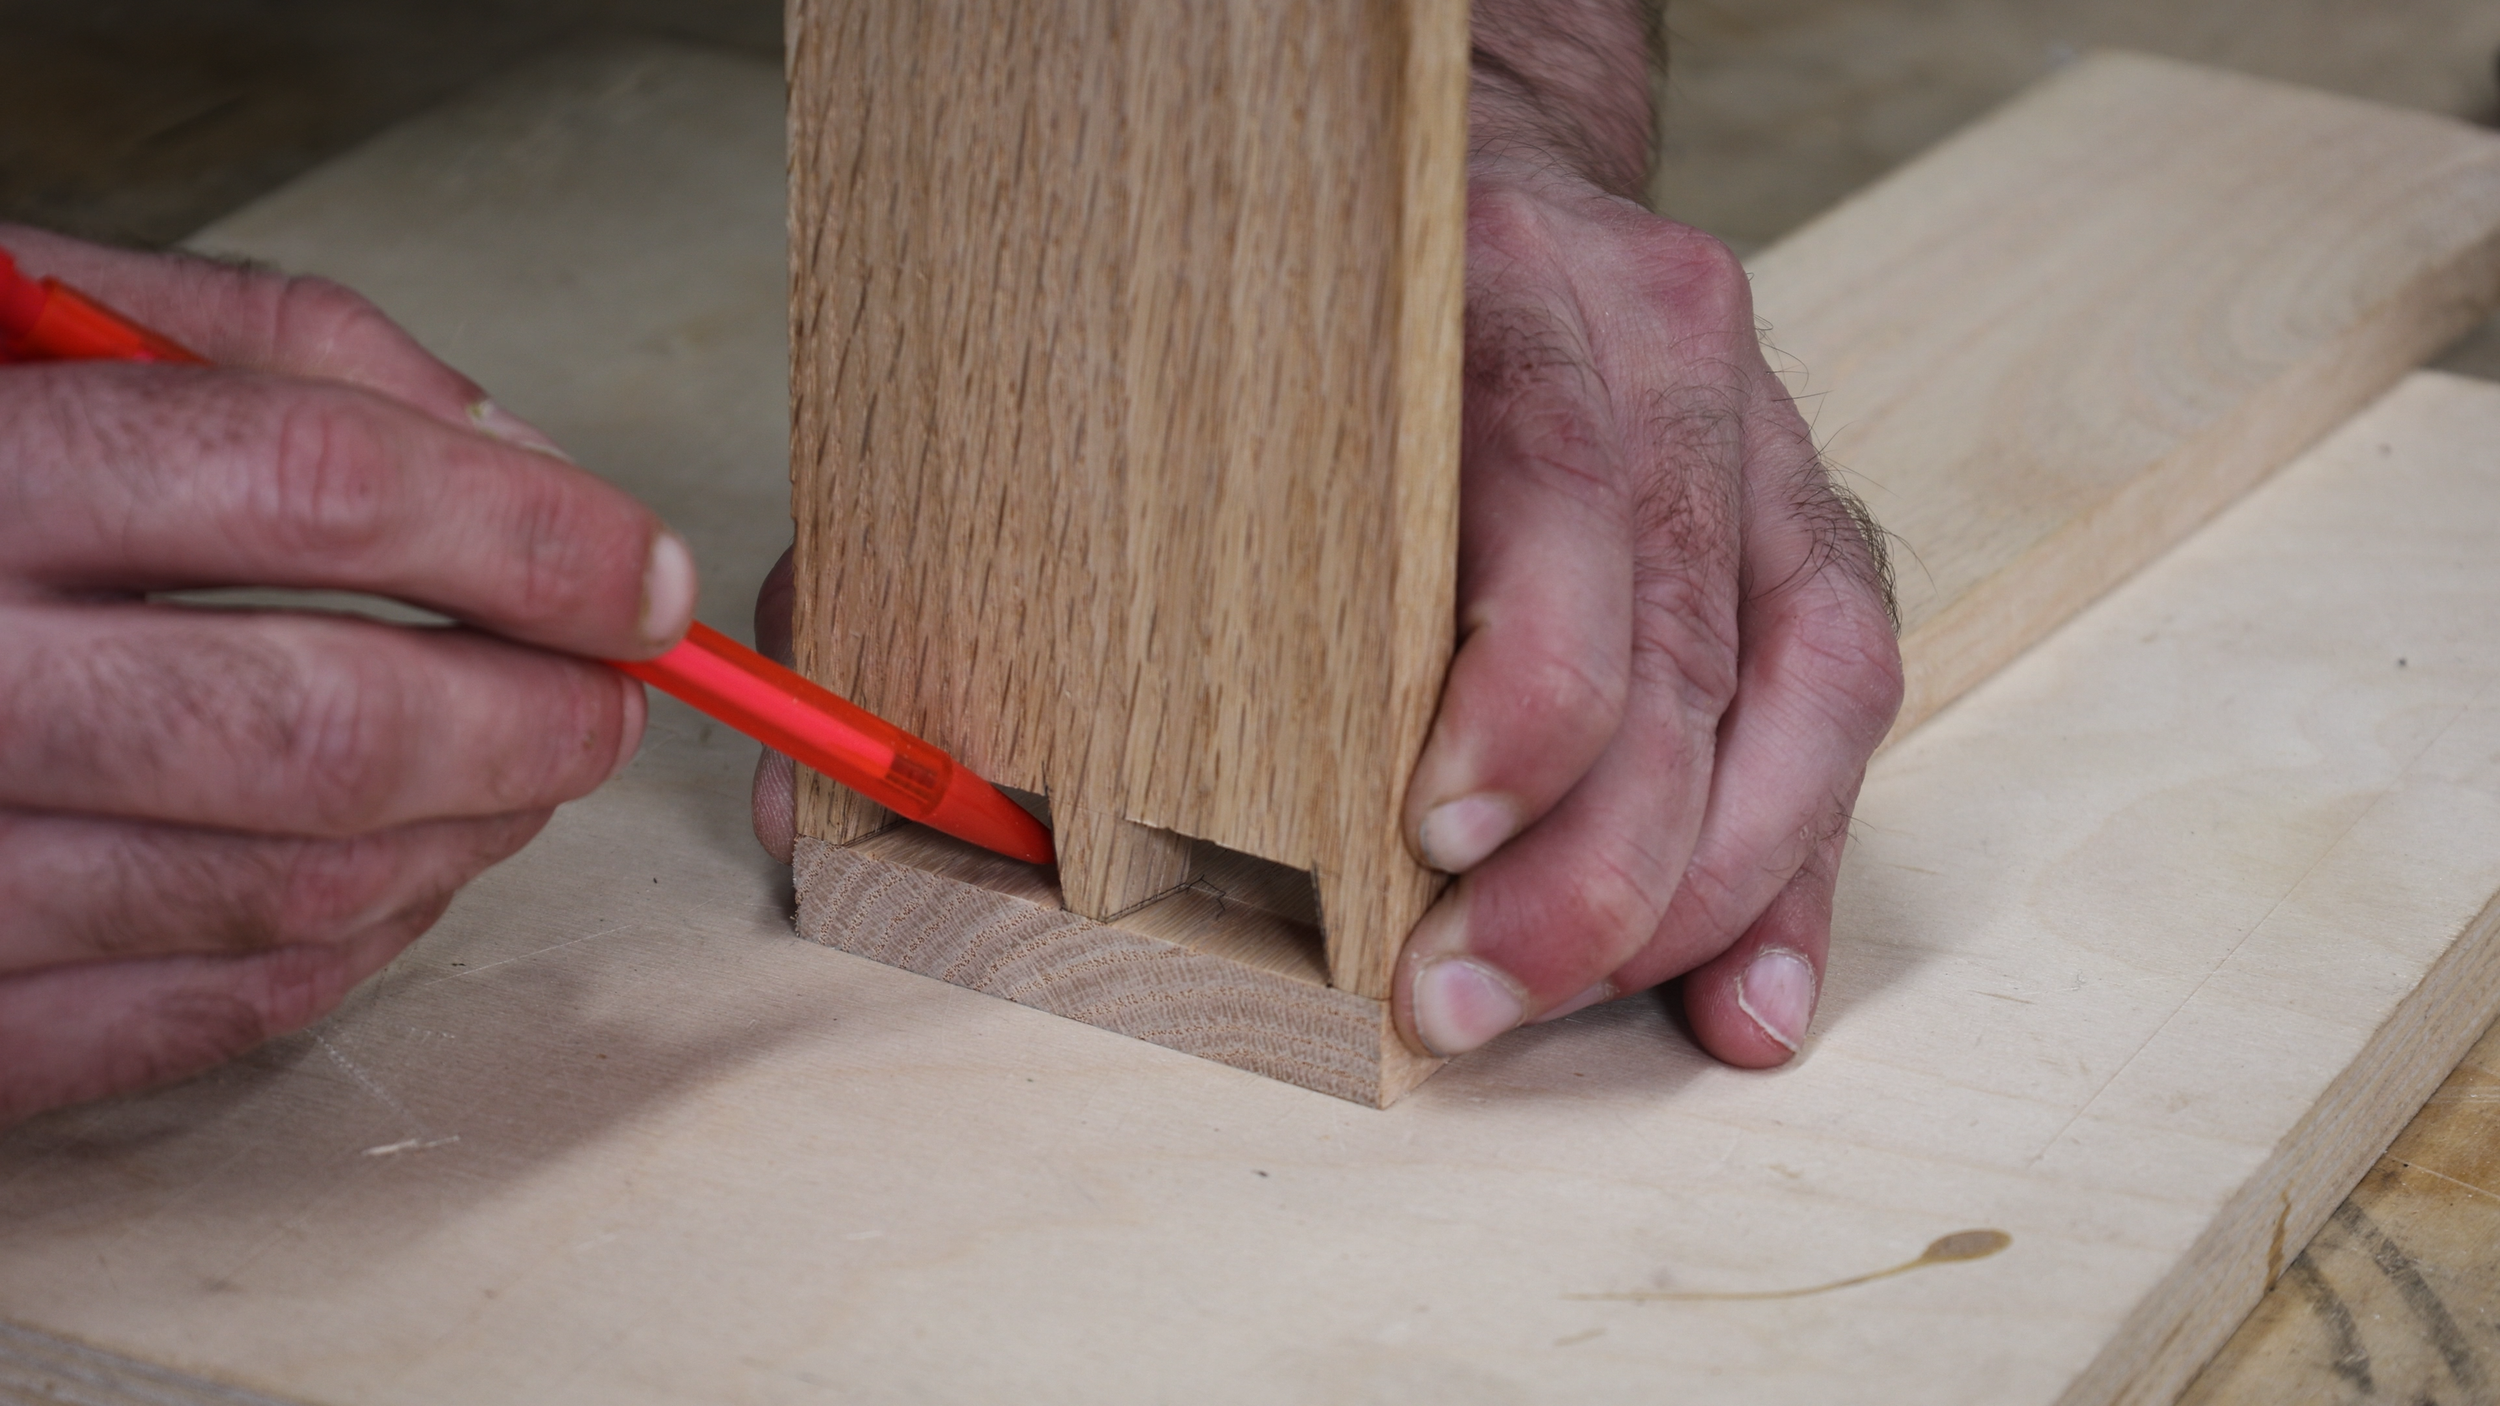


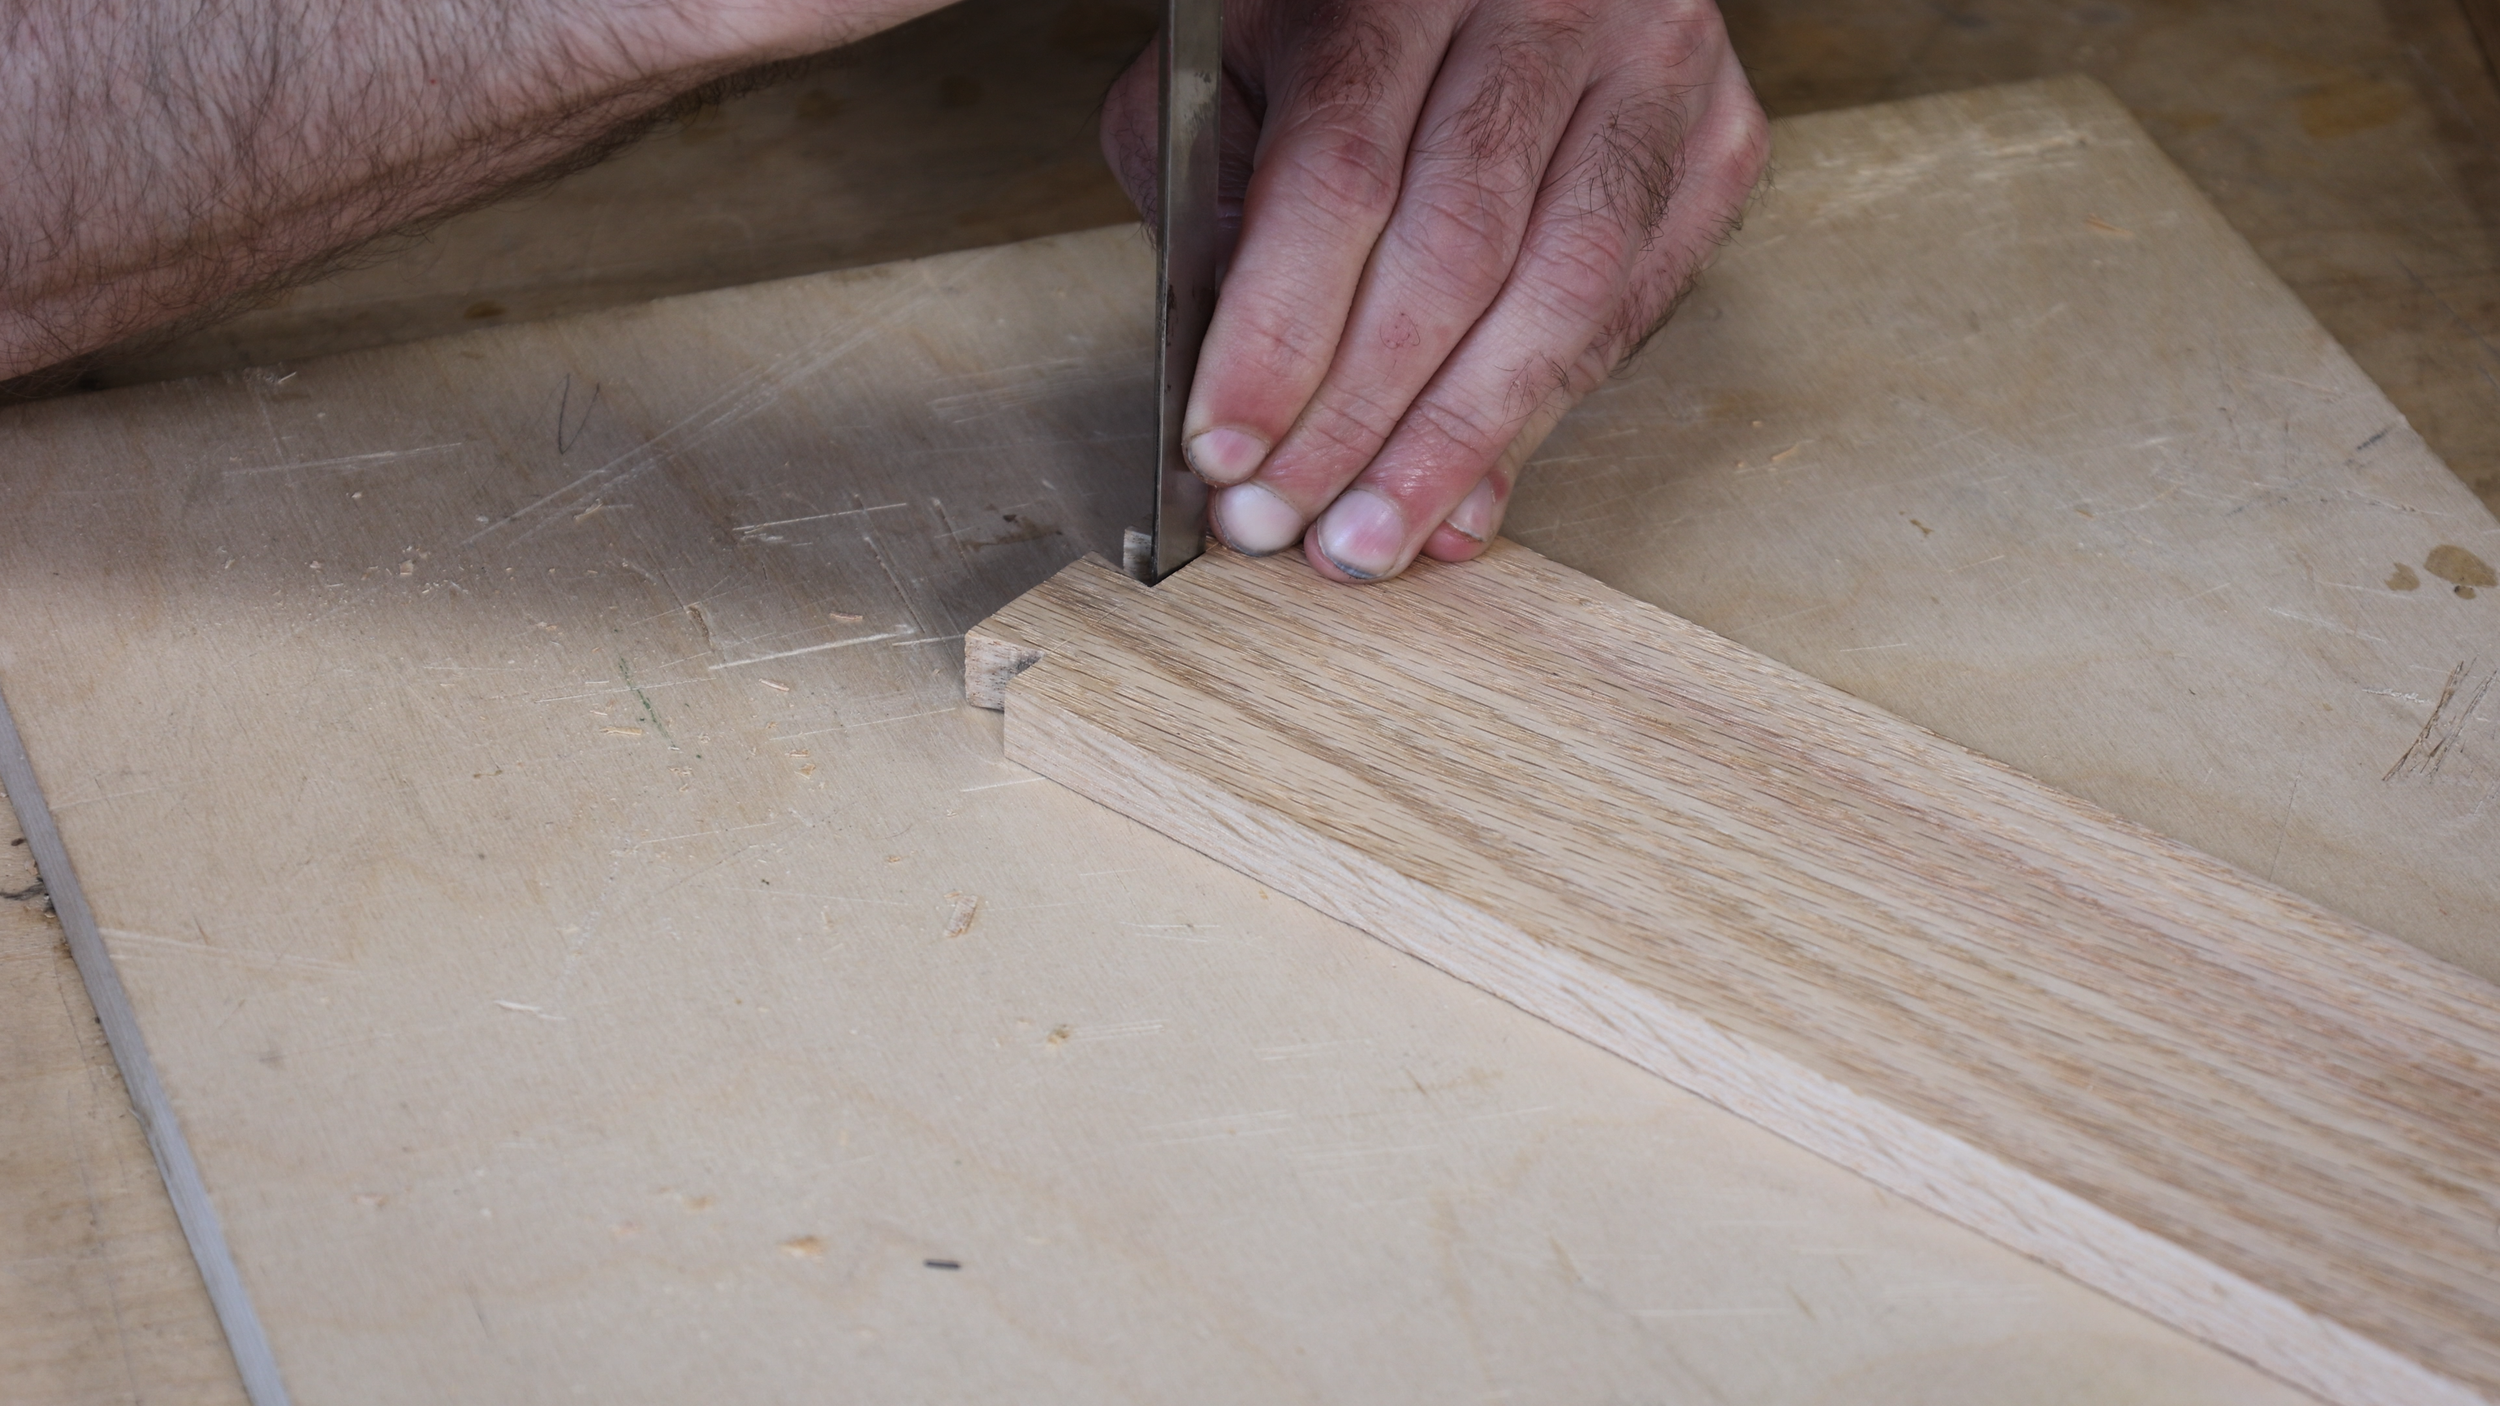
After cutting the tails, they will take a tiny bit of cleanup work with a chisel along the shoulder and scribe line. A sharp chisel makes quick work of it!


•• About NewtonMakes••
I’m Billy and I make fun things. Sometimes, it’s something I need like tool storage ideas. Other times it’s silly or nerdy stuff that I want to build. If you want to get ideas for making stuff, or just want to watch something entertaining then make sure you subscribe.
Like that sweet t-shirt I was wearing? Check it out here: https://newtonmakes.com/merch
•• My Links ••
Website: https://newtonmakes.com
Instagram: https://www.instagram.com/newtonmakes
Facebook: https://www.facebook.com/newtonmakes
Join this channel's Superhero membership to access perks: https://www.patreon.com/newtonmakes
Here’s a list of tools and materials that I used to make this project. As an Amazon Associate I earn from qualifying purchases.
•• Tools & Materials ••
My Amazon Store: https://www.amazon.com/shop/newtonmakes
Scroll Saw: https://amzn.to/2TVZEQO
Scroll Saw blade: https://amzn.to/3MtDn3c
Bandsaw https://amzn.to/3168ElS